
Joint knife drywall finishing gets frustrating fast when your seams look “almost smooth” but still show ridges after paint, and most of the time it’s not your mud, it’s your knife control, size choice, and how you manage edges.
If you’re trying to smooth compound with a joint knife and you keep chasing lines, this guide breaks down what actually changes results: which knife width fits which step, how much pressure to use, what “feathering” really means in practice, and when a different tool makes more sense.
One common misconception is that “more sanding fixes everything.” It helps, but heavy sanding often means you already put on too much mud or left hard edges. A cleaner pass with the right knife usually saves time, dust, and touch-ups.
Why smoothing with a joint knife goes wrong (and what it looks like)
Most finishing problems show up as predictable patterns. If you can name the pattern, the fix becomes simpler.
- Ridges on both sides of the seam: usually too much compound on the edges, or lifting the knife at the end of a stroke.
- One hard edge, one clean edge: uneven pressure, your wrist rolls one direction, or the seam sits at an awkward height.
- Chatter marks: dried bits on the blade, bent knife edge, or moving too fast with a stiff compound.
- Air bubbles: overworked mud, dusty drywall paper, or too much water added late.
- Visible tape line after paint: coats too narrow, not feathered wide enough, or sanding only the center and leaving shoulders.
According to OSHA, sanding drywall compound can create airborne dust that irritates eyes and lungs, so reducing rework and over-sanding isn’t just about speed, it’s also a comfort and safety win for many DIYers and crews.
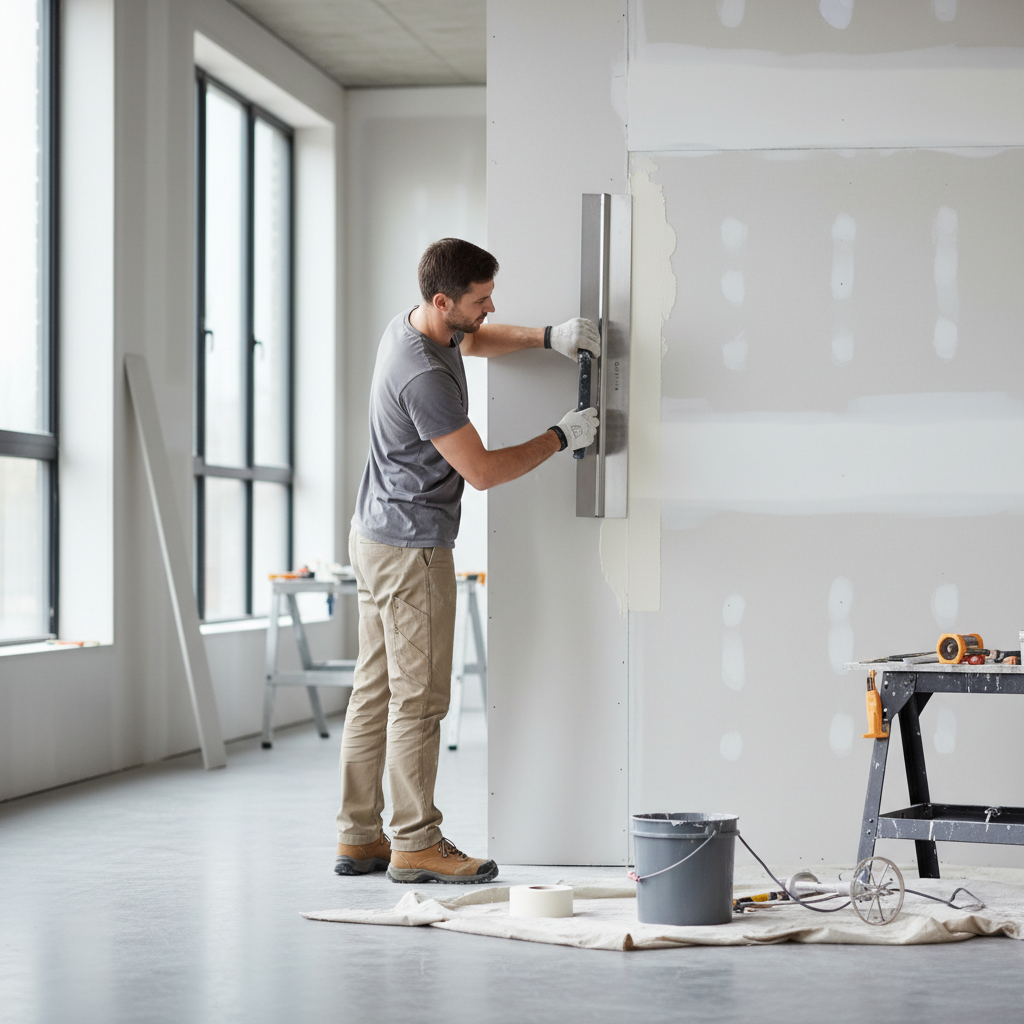
Knife sizes and where each one earns its keep
A lot of “joint knife drywall finishing” issues come from using one knife for every stage. You can do it, but you fight the tool the whole time.
| Knife width | Best use | Why it helps smoothing |
|---|---|---|
| 4–6 in. | Tape bed, corners, small patches | More control in tight areas, easier to set tape without starving it |
| 8 in. | First coat over tape, patch blending | Wider feathering without feeling “floaty” |
| 10–12 in. | Second/finish coats on flats | Creates a wider, softer transition so paint won’t highlight edges |
| 14 in. (less common) | High-skill finish coat, wide repairs | Fast coverage, but punishes uneven pressure |
For most homeowners, an 8-inch plus a 12-inch combo covers nearly everything on flat seams. If you only own one, 10–12 inches is usually the most forgiving for smoothing, but you still need a smaller knife for corners and taping.
A quick self-check before you change your whole process
Before buying new tools or switching compound types, check the basics. These small things cause the big-looking defects.
- Blade edge: run your finger lightly along the edge, if it feels nicked or wavy, it will leave lines.
- Knife flex: too stiff makes chatter more likely, too flexible can dump mud at the edges if your pressure drifts.
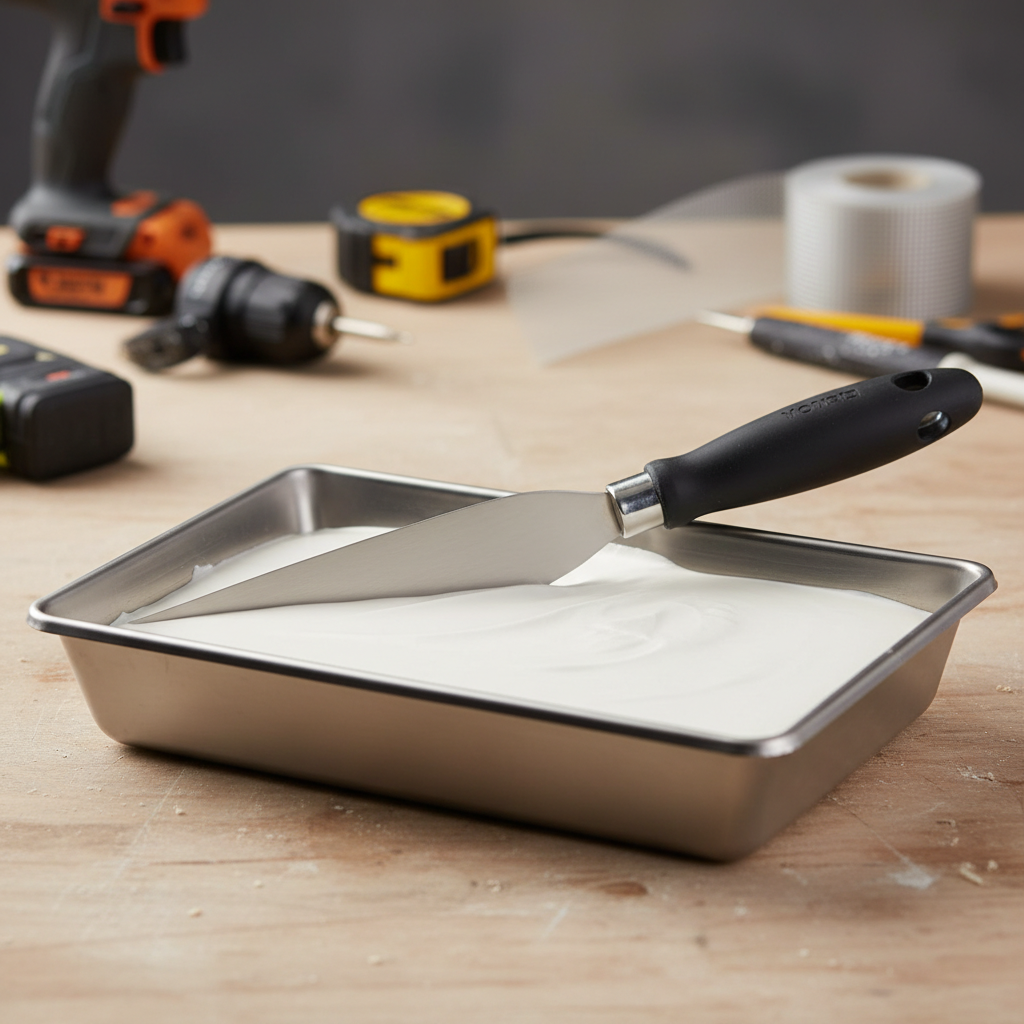
- Compound consistency: should spread without tearing, but not slump off the knife; if it’s glossy-wet and drippy, smoothing gets harder.
- Cleanliness: dried crumbs on the knife or in the pan create instant scratches.
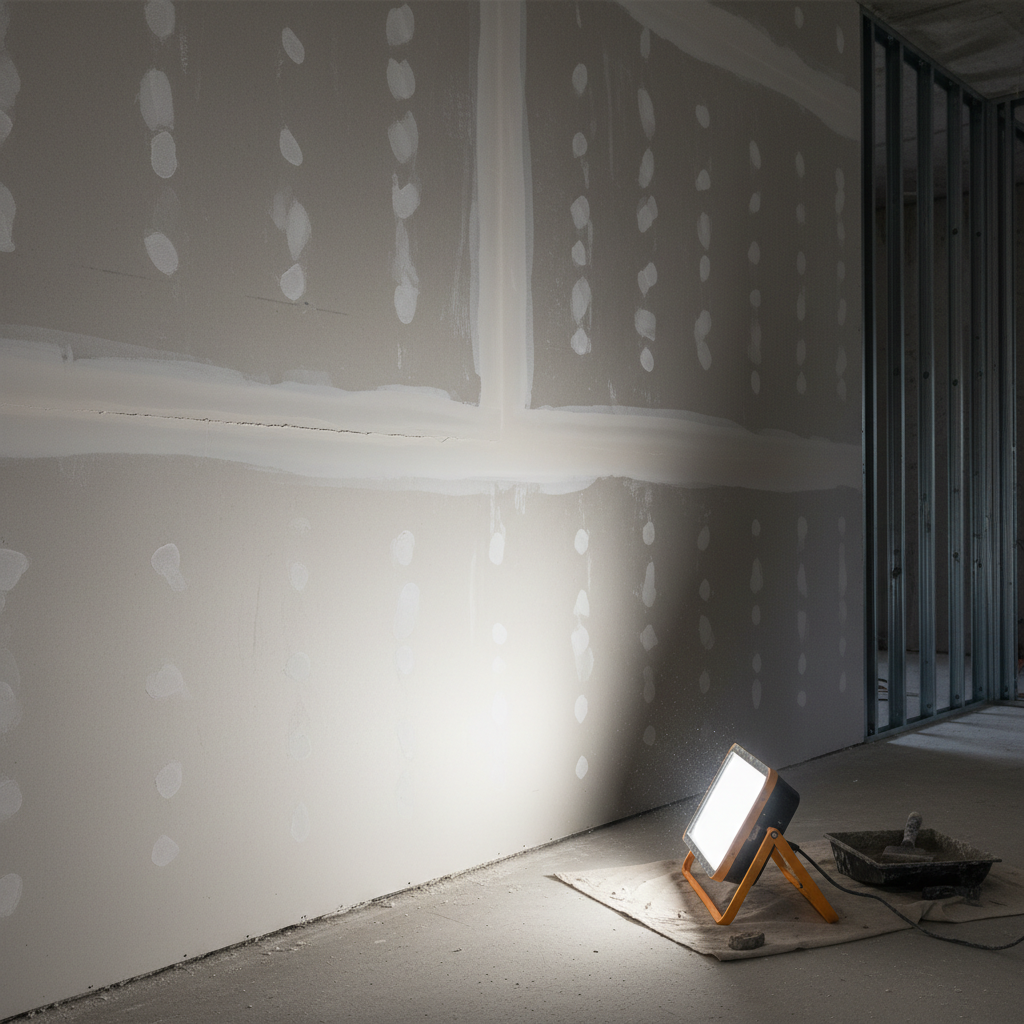
- Lighting: a side light (work light aimed across the wall) reveals ridges early, before they harden.
If your knife is clean and straight and your mud feels workable, but you still see hard edges, that’s almost always technique: blade angle, pressure, and how you end each pass.
Technique that actually smooths: angle, pressure, and the “two-edge” problem
Here’s the part most tutorials gloss over: every pass creates two edges, and your job is to intentionally make one edge disappear.
Use a slight tilt, not a flat blade
Hold the knife so one side leads slightly. The leading edge scrapes and feathers, the trailing edge carries a thin film. Flat blades tend to leave equal edges, which become ridges after drying.
Pressure belongs on the feather edge
Put more pressure on the side where you want the edge to vanish, and lighten pressure toward the mud side. If you press hard across the whole blade, you starve the center and leave shoulders.
Long strokes beat short “scrubs” on flat joints
Short strokes create start/stop marks. On flats, load the knife, set it down gently, then pull in one steady motion. If the seam is tall, do two long passes rather than lots of quick patches.
Don’t flick off at the end
That little wrist flick feels efficient but often builds a ridge. Instead, ease pressure down during the last inch, then lift the knife cleanly.
- Key takeaway: one deliberate feather edge per pass makes sanding lighter later.
Step-by-step: smoothing each stage of a standard flat seam
Drywall finishing varies by compound and climate, but the stage goals stay consistent. These steps assume paper tape on a flat joint.
1) Taping coat (embed without bulking up)
- Use a 4–6 inch knife to lay a consistent bed, then embed tape with firm, even pressure.
- Wipe excess out from under the tape, but don’t over-squeeze, dry tape edges tend to blister later.
- Do a final light pass to flatten the center, keep edges neat.
2) First coat over tape (cover, don’t “finish”)
- Switch to an 8 inch knife, apply compound slightly wider than the tape.
- Feather the outer edge, leave the center modestly full, it will shrink a bit as it dries.
- Scrape ridges the next day with the knife, sand only if needed.
3) Second/finish coat (make the transition disappear)
- Use a 10–12 inch knife, widen the coat so the wall looks flat under side light.
- Work clean: one or two confident passes beat repeated touching.
- After dry, knock down tiny lines with a sanding sponge or pole sander, avoid digging into tape line.
According to USG, following product instructions for drying time and application helps avoid defects like cracking and excessive shrinkage, so it’s worth checking the specific compound label rather than guessing.
Practical fixes for common smoothing headaches
When something looks off, you usually don’t need to redo the whole wall. Target the failure.
Ridges after drying
- Fix: scrape ridges with the knife edge before sanding, then skim a thin coat wider than the ridge line.
- Avoid: sanding ridges flat without widening the patch, that often leaves a shiny “dish” after paint.
Chatter and scratches while pulling
- Fix: clean knife, strain out dried bits, slightly loosen compound with small water additions and mix thoroughly.
- Fix: check knife edge, replace if bent or nicked, even minor damage telegraphs into mud.
Edges that won’t feather
- Fix: increase blade tilt and shift pressure to the feather side, your goal is one invisible edge.
- Fix: go wider with a larger knife, narrow coats almost always show under paint on smooth walls.
If you’re finishing a Level 5 style smooth wall, tiny ridges matter more, but on orange peel or knockdown textures, you can often stop sooner, chasing perfection under texture can become a time sink.
Mistakes that waste time (and how to avoid them)
- Overwatering compound in the pan: it may spread easier, but it can sag and shrink more; mix gradually and test a small area.
- Sanding between every coat aggressively: scraping high spots with a knife is faster and makes less dust.
- Trying to “fix” corners like flats: inside corners need lighter coats and controlled pressure, otherwise you build a hump that cracks.
- Ignoring room conditions: heat, airflow, and humidity change dry times; rushing recoats can pull mud and tear edges.
- Painting without a proper primer: joint compound is porous, paint sheen can flash; many situations benefit from a drywall primer.
According to EPA, dust control and ventilation are important during renovation activities, so if you’re sanding indoors, a vacuum-assisted sander or at least a proper mask and cleanup plan is worth considering, and if you have health concerns it’s reasonable to consult a professional.
Conclusion: a smoother finish comes from fewer, better passes
Smoother seams usually come from matching knife size to the coat, keeping tools clean, and making one edge disappear on every pass. If you do that, you sand less, you prime with fewer surprises, and you stop “finding” the joint again after paint.
If you want a simple next step, grab a side light and evaluate one seam, then adjust just one variable on the next coat, knife width, blade tilt, or compound thickness, because changing everything at once makes it hard to learn what worked.