
Best rivet gun for metal and plastic shopping gets confusing fast because “rivet gun” can mean very different tools, and the wrong match usually shows up as loose joints, cracked plastic, or rivets that never fully set.
If you only buy one tool, you want it to cover thin sheet metal projects, occasional plastic panels, and maybe a few awkward angles in the garage without turning every rivet into a mini wrestling match.
This guide focuses on the practical buying signals that matter in 2026: material range, nosepiece options, pulling force, and how easily you can control squeeze so you don’t crush softer plastics.
What “rivet gun” means for metal vs plastic
Most DIY searches for the best rivet gun for metal and plastic are really about blind rivets (often called pop rivets). You insert the rivet, pull the mandrel, and the backside expands where you can’t reach.
For mixed materials, the tool matters, but the rivet type often matters more. A strong rivet can still fail in plastic if the head style or grip range is wrong.
- Metal-to-metal: higher pulling force helps, and stainless rivets usually demand more effort.
- Plastic-to-plastic or plastic-to-metal: you typically want wider bearing surface, more controlled pull, and attention to cracking around the hole.
- Threaded inserts (rivet nuts): different tool category; useful when you need removable bolts, but not the same as a pop-rivet gun.
According to OSHA, hand and power tools should be used with appropriate safety precautions including eye protection, since fasteners and mandrels can become projectiles in real-world use.
Key buying criteria (what actually changes outcomes)
Specs can look similar across brands, but a few details tend to separate “fine for one shelf bracket” from “I’ll actually use this again.”
1) Rivet size range and grip range
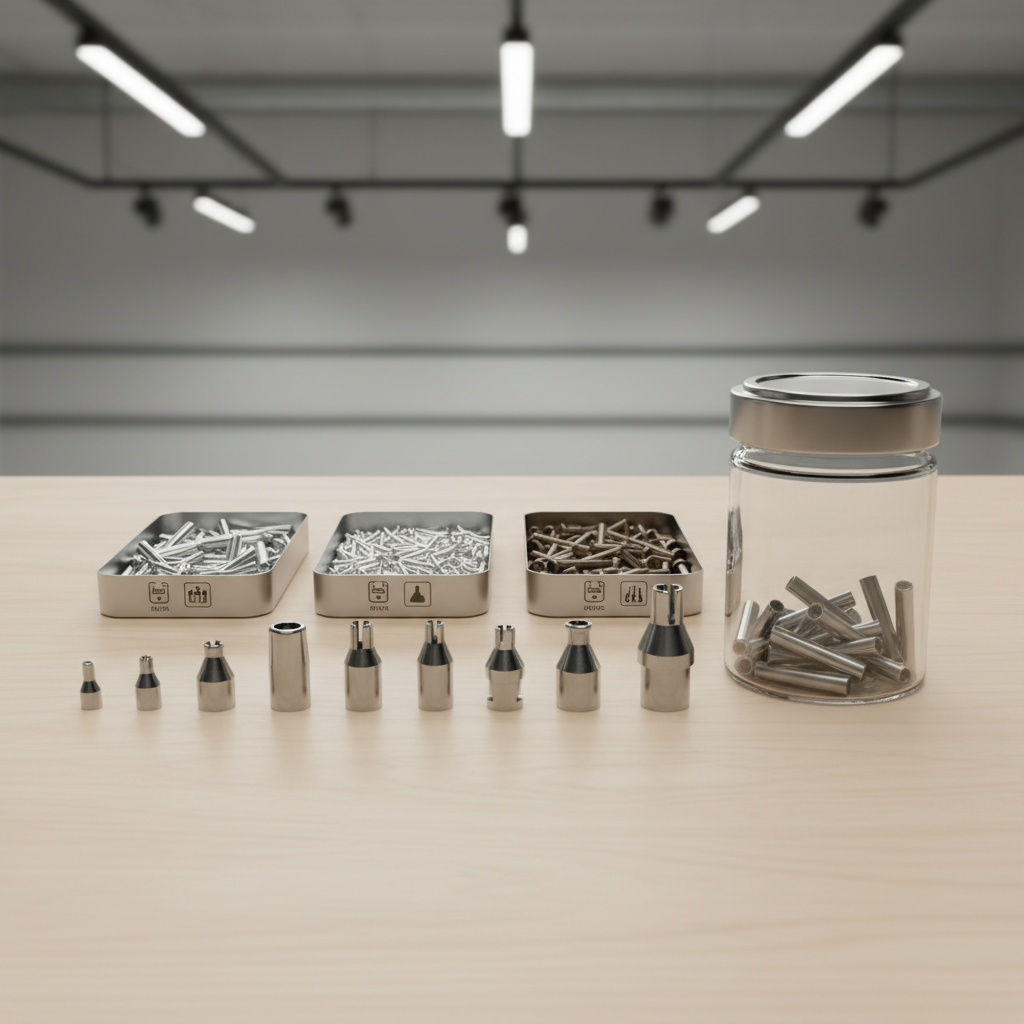
Most homeowners live in 1/8 in rivets, but light sheet metal sometimes likes 3/32 in, and thicker assemblies push toward 5/32 in. More important: each rivet has a grip range (total material thickness it can clamp). If your materials fall outside it, you get spinning rivets or loose joints.
2) Pulling force and leverage
Steel and stainless rivets take noticeably more pull. Look for long handles, compound leverage, or powered options if you’ll set more than a handful per project.
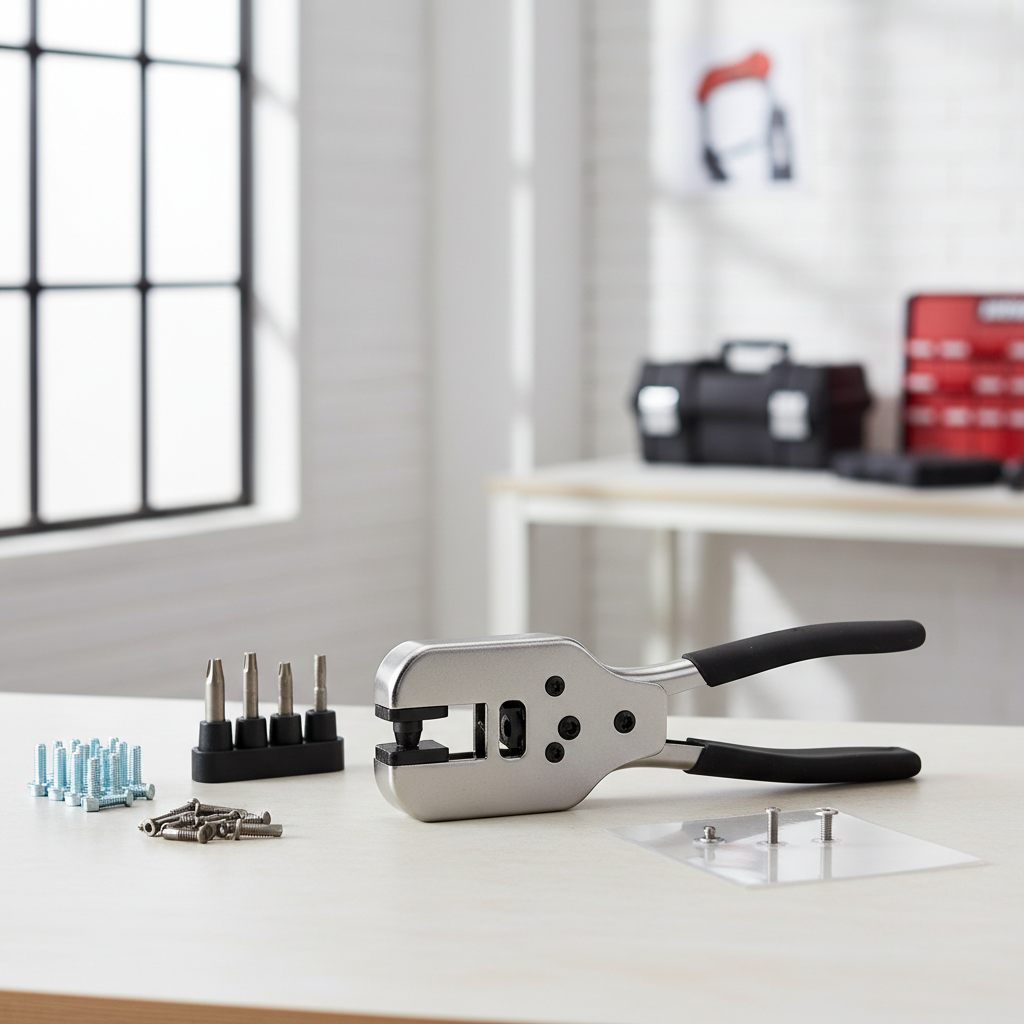
3) Nosepieces and reach
Swappable nosepieces reduce slipping and damaged mandrels. A longer nose can help around lips and channels, but it also reduces access in tight corners, so balance matters.
4) Control for plastic
Plastic doesn’t like sudden over-compression. Tools with smoother action (and fewer jerky “steps”) make it easier to stop when the joint seats, which can reduce stress whitening and cracks.
Quick comparison table: which rivet gun type fits your jobs
This is the fastest way to narrow options before you get lost in model names.
| Rivet gun type | Best for | Pros | Tradeoffs |
|---|---|---|---|
| Manual hand riveter (single/dual handle) | Occasional repairs, light sheet metal, plastic panels | Low cost, no power needed, easy to store | Hand fatigue, slower for stainless or large sizes |
| Long-handle / compound leverage riveter | More metal work, larger rivets, repetitive use | More pull force, less strain, better consistency | Bulkier, less convenient in tight spaces |
| Cordless rivet tool (battery) | High volume, mixed materials, awkward positions | Fast, consistent set, less fatigue | Higher cost, battery platform considerations |
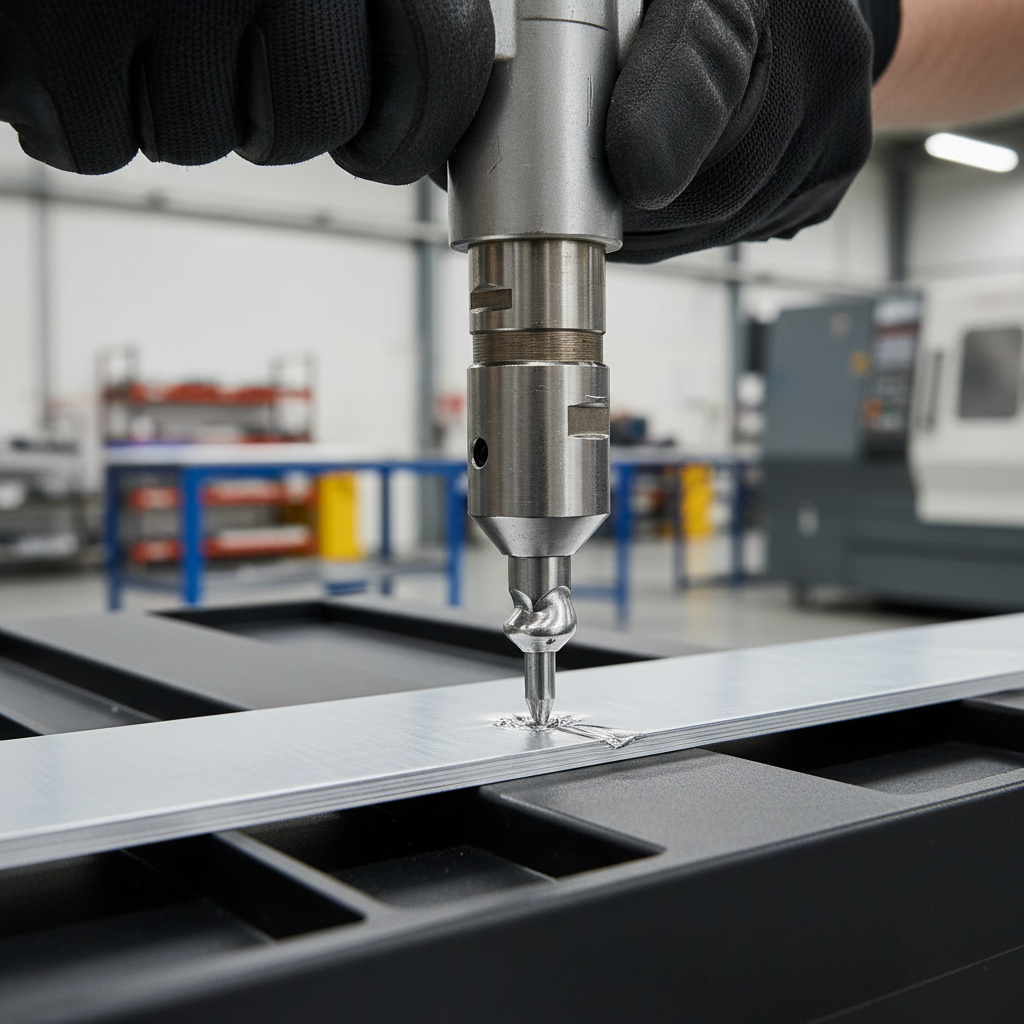
| Pneumatic/hydraulic (shop) | Production work, frequent stainless rivets | Strong pull, very fast cycles | Needs compressor, higher setup complexity |
How to choose the best rivet gun for metal and plastic (by scenario)
Instead of chasing a single “winner,” pick a class of tool that fits how you actually work, including how often you rivet and what materials you touch most.
If you do occasional DIY in a garage
- Choose a quality manual riveter with 3–4 nosepieces, comfortable grips, and a decent mandrel catch.
- Prioritize smooth action over maximum force; it helps on plastic and thin aluminum.
- Keep a small assortment of aluminum rivets and a few steel ones for when you need extra strength.
If you work with sheet metal frequently (HVAC, trailer panels, brackets)
- Look at compound leverage or cordless tools, especially if you often set 1/8 in steel rivets.
- Confirm it supports the larger sizes you use, and that replacement nosepieces are easy to find.
- Plan for access: a slightly longer nose and a slim head can matter more than one extra rivet size on paper.
If plastic is common (kayaks, fairings, appliance panels, enclosures)
- Pair the tool with large-flange rivets or washers when appropriate, so load spreads and the hole area doesn’t tear.
- Use lighter pull materials when possible, and stop as soon as the joint seats; over-pulling is where cracks start.
- Consider adding a backing washer on the blind side if you can access it, even though it’s less “blind.”
According to ANSI guidance on eye and face protection (ANSI/ISEA Z87.1), using appropriate safety eyewear matters for tasks where flying debris can occur, and riveting is one of those tasks in many shop settings.
Self-check: are your rivet failures tool-related or fastener-related?
Before you blame the riveter, run this quick list. In practice, many “bad rivets” come from hole prep and grip range mismatch.
- Rivet spins in the hole: hole oversized, wrong rivet body diameter, or material too thin for chosen head style.
- Joint feels loose after setting: grip range too long, stack thickness too small, or mandrel snapped early.
- Plastic cracks around hole: hole too tight, no deburring, head too small, or over-compression.
- Mandrels jam in tool: worn jaws, cheap mandrels, or not keeping the nose clean.
- You can’t set stainless reliably: tool leverage or pull rating likely too low, or your technique changes mid-pull.
When the checklist points to fastener selection, changing rivet style often fixes the issue faster than upgrading the tool.
Practical steps: getting clean rivets in metal and plastic
If you want consistent results, treat riveting like a small process. This is the routine that usually reduces rework.
Step 1: Drill the right hole (and clean it)
- Use the rivet manufacturer’s recommended drill size when available.
- Deburr both sides; thin burrs can prevent the head from seating flat.
- For plastic, a slightly cleaner cut often helps, and a step bit can be gentler on some plastics.
Step 2: Match rivet material to the job
- Aluminum rivets: easier to pull, common for light sheet metal and many plastic assemblies.
- Steel/stainless rivets: stronger but harder to set; confirm your tool can handle them without constant jams.
- Watch corrosion: mixed metals outdoors can corrode depending on environment, so consider compatibility for marine or coastal use.
Step 3: Control compression on plastic
- Stop pulling once the rivet seats and the joint stops shifting.
- If the head starts to sink into plastic, switch to a large-flange rivet or add a washer.
- On brittle plastic, you may need to test on scrap because crack behavior varies by plastic type and age.
Step 4: Keep the tool working smoothly
- Empty the mandrel catch regularly, a full catch can cause weird jams.
- Wipe the nose and jaws; tiny shavings add friction.
- If jaws slip, it may be time for a rebuild kit, many mid-range riveters offer one.
Common mistakes (and the small fixes that save a weekend)
A few habits cause most of the frustration, even with a solid tool.
- Picking rivets by diameter only: grip range mismatch is the quiet killer, check your stack thickness.
- Over-tightening “to be safe”: especially on plastic, more pull can mean less strength after cracks start.
- Using the wrong head style: wide heads spread load, countersunk heads can concentrate stress unless the material is prepared for it.
- Ignoring access angle: pulling at an angle can distort the set and chew up mandrels.
- Assuming one tool fits every rivet: some compact hand riveters struggle with stainless, and that’s not user error.
Conclusion: what to buy in 2026 (clear recommendations by need)
If your goal is one reliable setup, the “best” choice usually comes down to how much force you need and how much you care about fatigue.
- Best all-around for most DIY: a sturdy manual riveter with multiple nosepieces and smooth leverage, paired with aluminum rivets plus a few large-flange options for plastic.
- Best for frequent metal work: compound leverage or cordless, especially if steel or stainless rivets show up often.
- Best for plastic-heavy projects: prioritize control and fastener selection, then add washers or wide-flange rivets before you spend big on power.
If you want one action item, measure your typical material stack thickness, then buy rivets that match that grip range and a tool that comfortably pulls the hardest rivet material you expect to use. That combination usually beats chasing hype.
Key takeaways
- Tool type matters, rivet selection matters more, especially for plastic.
- Grip range is the spec most people skip, and it causes most “loose rivet” complaints.
- For stainless or high volume, leverage or battery power pays off in consistency and comfort.
FAQ
What is the best rivet gun for metal and plastic if I only buy one?
For many homeowners, a quality manual riveter with a comfortable grip, multiple nosepieces, and a mandrel catcher covers the most ground, as long as you mainly use aluminum or occasional steel rivets.
Will one rivet gun work for both aluminum and stainless rivets?
Sometimes, but stainless needs much higher pull force. Many basic hand riveters can set small stainless rivets, but it may feel inconsistent, and fatigue shows up fast on larger sizes.
How do I stop plastic from cracking around a rivet?
Use a clean hole, deburr, avoid over-pulling, and spread load with a large-flange rivet or washer. If the plastic is old or brittle, test on scrap because cracking can vary by material.
Do I need a rivet nut tool instead of a rivet gun?
Only if you need a threaded connection you can remove later. For permanent fastening of panels, a standard pop-rivet setup is usually simpler.
Why do my rivets spin instead of setting?
Common causes include an oversized hole, the wrong rivet diameter, or thin material that doesn’t give the rivet body enough bite. Switching to the correct diameter or a different head style often fixes it.
Is a cordless rivet gun worth it for DIY?
If you do bigger projects or set dozens of rivets at a time, it can be worth it for consistency and reduced hand strain. If you only set a few a month, a better manual riveter plus the right rivets is often the smarter spend.
If you’re trying to pick a tool fast, list your top two materials, your usual rivet size, and whether stainless appears in your projects, then compare tools by rivet range and pulling comfort rather than marketing claims.