
How to use a spirit level correctly comes down to two things people often skip: confirming the level itself is trustworthy, and knowing where to place it so the bubble tells the truth.
If you have ever “leveled” a shelf, stepped back, and still felt something looked off, you are not alone. A small reading error, a bowed board, or a level that is slightly out of calibration can turn a simple DIY task into a frustrating redo.
This guide breaks the process into quick checks and repeatable steps, plus a few practical rules that save time on walls, floors, posts, and longer runs like cabinets and deck framing.
What a spirit level actually measures (and why it can fool you)
A spirit level measures level (horizontal) and plumb (vertical) using a vial with liquid and an air bubble. When the bubble sits centered between the marks, the surface under the level is aligned with gravity.
Where people get tripped up is assuming the bubble always reflects the surface they care about. If the level bridges over a dip, rocks on a screw head, or sits on a twisted board, the reading may be “correct” for the level’s contact points but wrong for your finished line.
- Level: a surface that is flat relative to gravity, like a shelf that does not tilt.
- Plumb: a vertical line, like a stud or post that stands straight up and down.
- True vs. flat: something can be level but not flat if the material bows between the ends.
Choose the right level for the job (size and type matter)
Using the wrong size is a quiet way to create errors. A tiny torpedo level on a long shelf makes it easy to “average out” a bend, while an oversized level in a tight corner forces awkward placement.
| Task | Recommended tool | Why it works |
|---|---|---|
| Hanging pictures, towel bars | 9–12 in. torpedo level | Fits in tight spots, fast to position |
| Shelves, small cabinets | 24 in. box level | Longer reference reduces small placement mistakes |
| Doors, posts, framing | 48 in. level | Better plumb accuracy over height |
| Long runs (counters, base cabinets) | 72 in. level or straightedge + level | Spans more area, shows humps and dips |
If you only own one, a 24-inch level is a practical middle ground for many DIY projects.
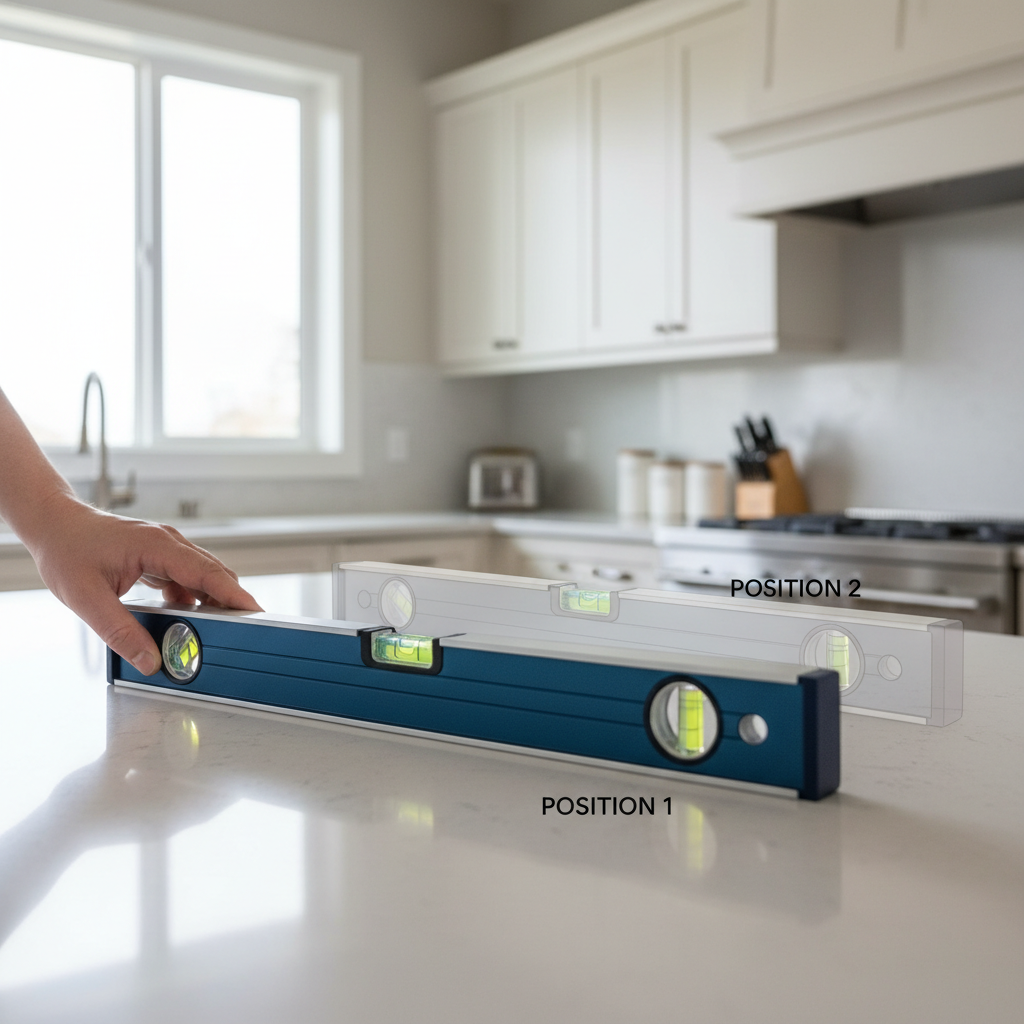
Before you start: a quick accuracy check (takes 30 seconds)
Even a decent level can drift after a drop, and cheaper ones sometimes arrive a bit off. This is where many “I swear I leveled it” moments begin.
Do this simple test on any reasonably flat surface:
- Place the level on the surface and note where the bubble sits.
- Rotate the level 180 degrees in the same spot.
- If the bubble lands in the same place, your level is likely accurate enough for DIY work. If it shifts noticeably, treat readings with caution.
According to NIST (National Institute of Standards and Technology), measurement results depend on traceable, reliable tools and proper method. For DIY, that translates to: verify your tool before trusting your layout.
How to use a spirit level correctly on common projects
The core technique is consistent: clean contact, steady pressure, read the bubble at eye level. The details change by surface and goal.
Reading the bubble without “parallax” mistakes
Look at the vial straight on. If your eye is off to the side, the bubble can appear centered when it is not. This sounds picky, but it shows up fast on longer runs like cabinets.
- Bring your face to the vial instead of tilting the level toward you.
- Use consistent pressure, too much force can flex thin materials.
- Wait a beat for the bubble to settle after you move the tool.
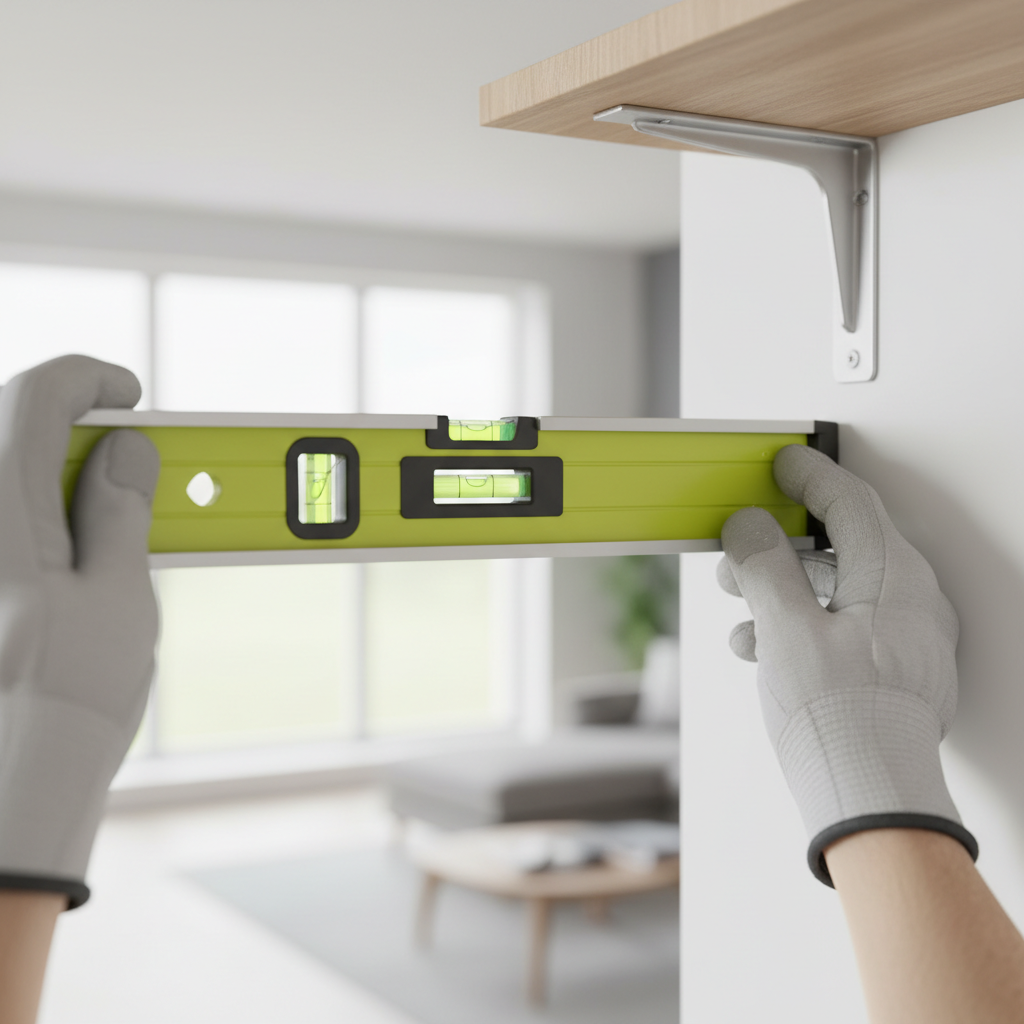
Leveling a shelf or bracket
For shelves, you usually care about the support points. If you level the shelf board itself while the brackets are slightly off, the shelf may still look wrong once loaded.
- Set the level on the bracket (or across both brackets if possible).
- Mark hole locations only after the bubble centers.
- If the wall surface is textured, confirm the level sits flat and does not rock.
A small trick that helps: use painter’s tape where you plan to mark, the pencil line stays crisp and you avoid smudging on drywall.
Plumbing a post, stud, or door jamb
For vertical work, check two faces of the post or jamb. Lumber can twist, so one side may read plumb while the adjacent side does not.
- Hold the level against one face and adjust to center.
- Rotate 90 degrees to the next face and confirm.
- Shim as needed, then re-check after fastening.
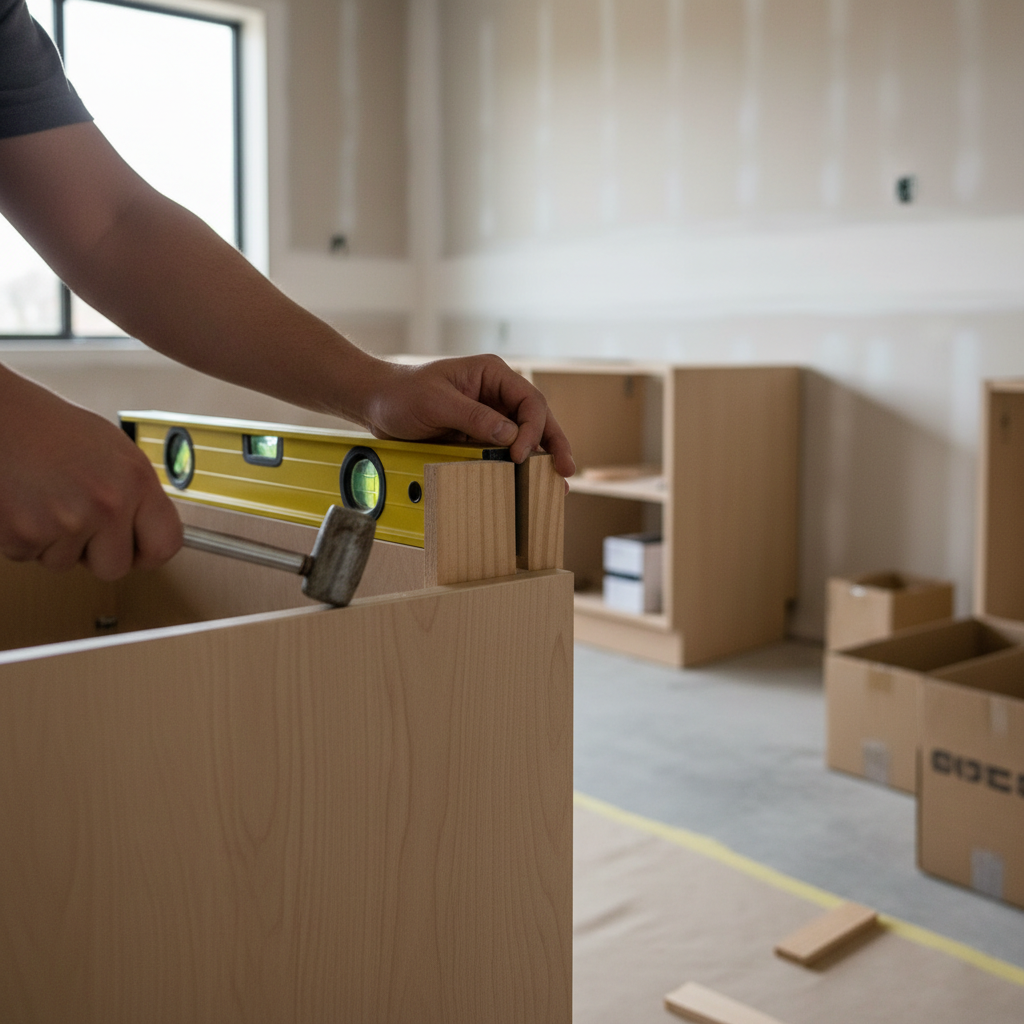
Leveling cabinets and long countertops
This is where “short level, long problem” becomes real. You want to catch humps and dips, not average them away.
- Use the longest level you can manage, or pair a shorter level with a straightedge.
- Check front-to-back and left-to-right, then re-check after each cabinet is secured.
- When something is out, correct at the base using shims, not by forcing the cabinet box to twist.
A quick self-check: which mistake are you most likely making?
If your results keep drifting, this checklist usually points to the real cause.
- The bubble centers, but the line still looks crooked: the surface may be bowed, or you are referencing the wrong edge.
- It was level yesterday, now it is not: fasteners may have pulled, drywall anchors may have shifted, or the shelf is sagging under load.
- Readings change depending on where the level sits: the level could be damaged, or the surface has a dip that the level bridges differently.
- Vertical seems impossible to “hit”: you may be watching one face of twisted lumber, or you are pushing the level so hard it rocks.
Practical tips that make your results look “pro”
These are not fancy tricks, just the habits that reduce rework.
- Mark a reference line once you confirm level, then work to the line instead of chasing the bubble during drilling.
- Use shims intentionally, stack them neatly and trim after the final check, messy shims often shift.
- Measure twice, level once sounds cliché, but the real point is to confirm layout before you commit holes.
- Control the contact points, remove debris, back out proud screws, and avoid placing the level on caulk beads.
- Check at multiple points on longer surfaces, center can sag while ends look fine.
Common misconceptions and avoidable errors
A few patterns show up over and over, especially with quick weekend projects.
- “The bubble is centered, so the shelf will look right.” Not always, your room may be visually out of square, so aligning to trim or an adjacent line sometimes matters more than perfect level.
- “Any flat surface is good for checking the level.” Many countertops and garage benches are close but not truly flat, do the 180-degree flip test rather than assuming.
- “A longer level is always better.” Longer helps, but only if it can sit fully supported without rocking, otherwise it introduces its own error.
- “I can read the vial from an angle.” This is a sneaky one, and it is why people fight a towel bar for an hour.
When you should consider a pro tool or professional help
For basic home tasks, a spirit level and careful method usually get you where you need to go. But some situations justify stepping up.
- Large tile layouts or floor leveling: small errors multiply across a room, a laser level or professional layout can reduce costly mistakes.
- Structural or load-bearing work: decks, beams, and major framing changes carry safety risk, it may be worth consulting a qualified contractor or engineer.
- Persistent “not square” rooms: older homes often have settled floors and walls, a pro can help decide what to make level versus what to make visually aligned.
If you are unsure whether a wall is load-bearing or a change affects structure, it is safer to ask a licensed professional rather than guessing.
Key takeaways you can apply today
If you want your next project to land cleanly, keep it simple: verify your tool, place it on the right reference surface, read the vial straight on, then lock in a line before you drill. That is the reliable path to consistent results.
If you want one action item, do the 180-degree check on your level, then re-level your next shelf by referencing the supports instead of the board edge.
FAQ
- How do I know if my spirit level is accurate?
Use the 180-degree flip test on the same spot. If the bubble position changes noticeably, treat the level as unreliable for precision work. - Why does my shelf look crooked even when the bubble is centered?
Walls and trim are often not perfectly straight, and shelf boards can bow. In many homes, aligning to a nearby visual reference can look “straighter” than true level. - How to use a spirit level correctly on uneven walls?
Make sure the level sits on solid contact points, not on texture peaks or caulk. For brackets, level across the brackets themselves, then use shims behind brackets if needed. - Is a torpedo level good enough for cabinets?
It can work for small adjustments, but it often misses dips across longer spans. For cabinet runs, a 24-inch or longer level, or a straightedge plus level, usually gives more dependable feedback. - Can I use a spirit level to check if my floor is flat?
You can spot obvious slopes, but “flat” is a tighter standard than “level.” For diagnosing dips or high spots, a long straightedge helps, and major issues may need a flooring pro. - Should I level to the floor or to the ceiling?
For functional items like shelves, you usually aim for true level. For trim or decorative alignments, matching an existing line sometimes looks better, especially in older homes. - What is the difference between level and plumb?
Level is horizontal relative to gravity, plumb is vertical relative to gravity. Most spirit levels have separate vials for each orientation.
If you are working through a bigger install like cabinets, doors, or a long wall layout, and you would rather reduce guesswork, a simple plan helps: pick the right length level, verify it, and set reference lines before fasteners go in, it makes the rest of the work feel calmer and more predictable.