
Concrete caulking tube nozzle issues usually show up the same way, clogged tips, uneven beads, and sealant ending up everywhere except the joint. The good news is most problems come down to nozzle selection, how you cut it, and how you control flow, not some mysterious “bad product.”
If you work on concrete cracks, expansion joints, or masonry gaps, the nozzle is the last inch of the system, and it dictates bead size, placement, and how hard you have to squeeze. That affects appearance, bond quality, and how much material you waste.
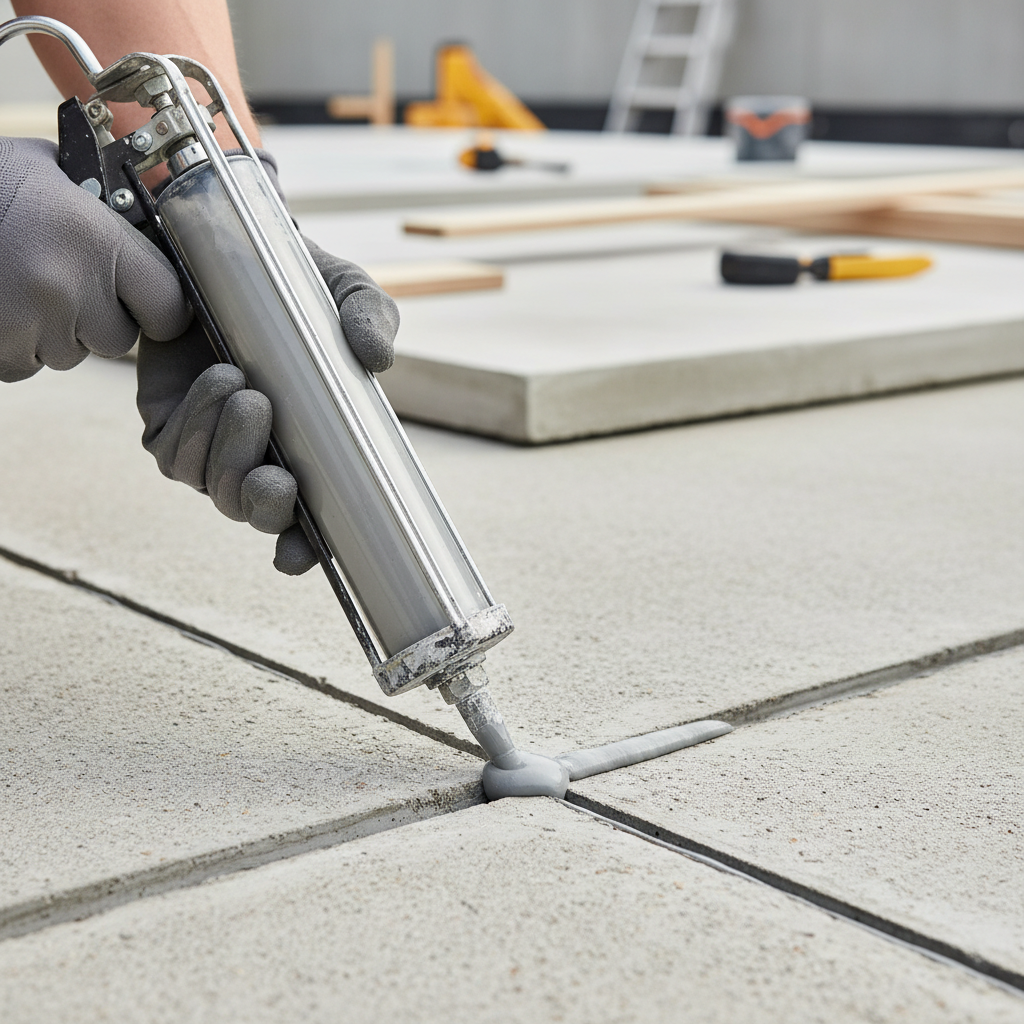
One more thing people miss, “concrete caulk” can mean different chemistries, polyurethane, silicone, hybrid, epoxy, and they don’t all behave the same through the same tip. This guide helps you pick a nozzle that fits the job, cut it correctly, and keep it from clogging mid-run.
Why the nozzle matters more than most people think
The nozzle is doing three jobs at once, it sets bead size, it shapes the bead, and it controls back-pressure. When any of those are off, your hands compensate, you squeeze harder, you speed up, you slow down, and the bead starts to look like a bad heartbeat monitor.
- Bead geometry: A clean, consistent bead wets both sides of a joint more reliably than a stop-and-go ribbon.
- Material control: Too small an opening increases pressure, which can cause blowouts at the cartridge, plunger slip, or wrist fatigue.
- Placement: A longer tapered tip or angled cut can help reach narrow cracks without smearing edges.
According to ASTM International, joint sealant performance depends heavily on correct joint design and installation practices, so treating the nozzle as an afterthought often shows up later as adhesion or edge issues rather than “just cosmetic.”
Common causes of clogs, blowouts, and ugly beads
If your nozzle keeps clogging, it’s rarely because “the sealant is bad.” Most of the time it’s a mismatch between tip opening, material viscosity, and jobsite conditions.
1) The opening is cut wrong
Cutting too close to the base makes the opening oversized fast, and you end up overfilling or smearing. Cutting too small forces extra pressure, which increases mess and fatigue.
2) You’re using the wrong nozzle style for the joint
Deep, narrow cracks often work better with a longer tapered tip, while wide expansion joints may benefit from a larger, cleaner opening and tooling.
3) Sealant skins over in the tip
Many products start curing when exposed to air. In warm, dry conditions, the tip can skin over during short pauses, then the next squeeze blows out a chunk and leaves voids.
4) Nozzle and cartridge threads don’t seat cleanly
A loose or cross-threaded nozzle can leak at the collar, then you chase the leak with more pressure and the bead gets worse.
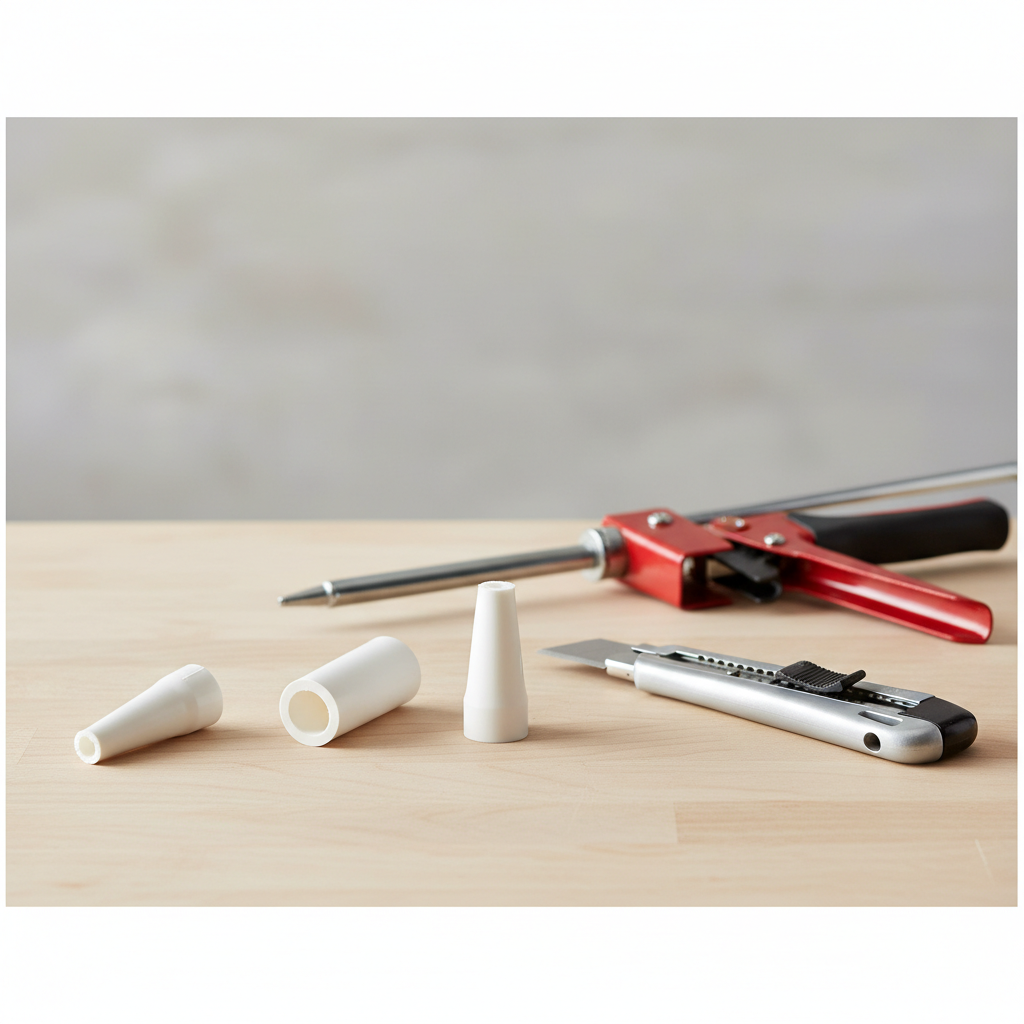
Quick self-check: what nozzle setup do you actually need?
Before you buy accessories or blame the cartridge, do a quick check. It takes two minutes and usually points to the fix.
- Joint width: Under 1/4 inch, around 1/2 inch, or wider?
- Joint depth: Shallow surface crack, or a deep gap that “swallows” sealant?
- Sealant type: Polyurethane/hybrid often feels thicker than many silicones, epoxy systems may require static mixers.
- Application pace: Continuous run, or lots of stop-and-start (corners, patchwork cracks)?
- Finish requirement: Utility fill vs visible, neat architectural joint.
If you have deep joints, check whether you should be using backer rod or bond-breaker tape. According to Portland Cement Association, properly designed joints help manage movement and cracking, and installation details like depth control often matter as much as the sealant itself.
Nozzle types and when to use each (with a practical table)
Not every concrete job needs a specialty tip, but knowing the options helps you stop fighting the flow.
| Nozzle / Tip Type | Best For | Pros | Watch Outs |
|---|---|---|---|
| Standard tapered nozzle (cut-to-size) | Most concrete cracks and small joints | Cheap, flexible bead sizing | Easy to cut too big; can clog if you pause a lot |
| Long tapered nozzle | Narrow, deep cracks; hard-to-reach gaps | Better reach and placement | More prone to skinning if left open |
| Wide opening / straight-cut tip | Wider joints where tooling follows | Lower pressure, faster fill | Messy edges if you rely on the tip to “draw a line” |
| Angled cut (on any nozzle) | Running beads along edges, control at corners | Cleaner sightline, smoother starts | Angle can cause one-sided smear if rotated mid-run |
| Static mixing nozzle (for 2-part systems) | Epoxy injection/repair cartridges | Proper mixing at the tip | Single-use in many cases; must match cartridge system |
How to cut and use a concrete caulking tube nozzle for cleaner beads
This is the part that changes results quickly. A few small habits make your bead look controlled even if you’re not doing this every day.
Cutting: aim smaller than you think
- Start with a smaller opening, you can always enlarge it, but you can’t un-cut it.
- For most joint runs, an angled cut gives better visibility and helps “lead” the bead.
- Try to match opening size to joint width, many installers aim for a bead that can be tooled to contact both sides without overflowing.
Puncture and prime without creating a surge
- Puncture the inner seal cleanly, then squeeze slowly until material reaches the tip.
- Wipe the first small squeeze onto scrap cardboard, that first push often includes air pockets.
Run the bead with steady pressure, not speed swings
- Keep the tip at a consistent angle, and avoid twisting your wrist mid-run.
- If you stop, release pressure on the gun immediately to reduce ooze.
- Tool the bead when the product is still workable, timing varies by chemistry and weather, so check the manufacturer instructions.
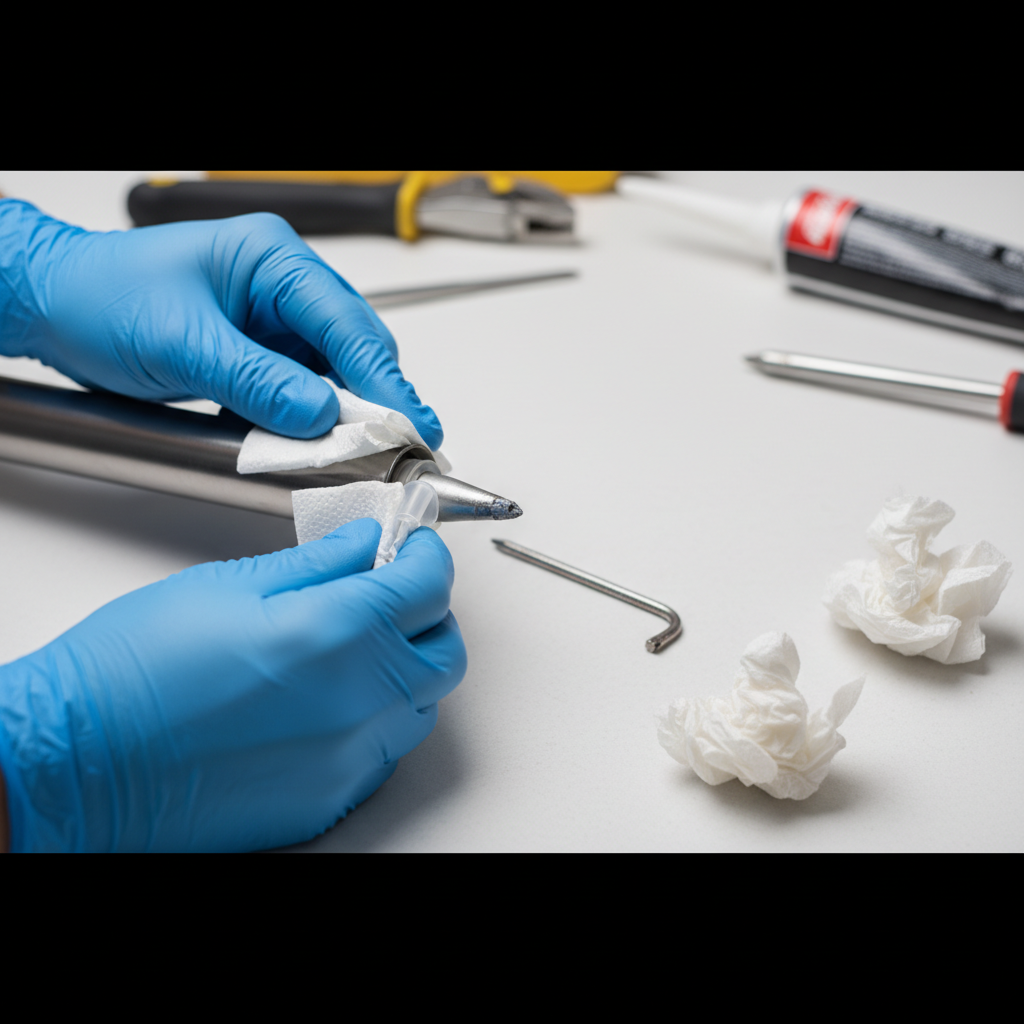
Preventing clogs and extending nozzle life (especially for stop-and-go jobs)
If you’re filling scattered cracks, clogs become the main frustration. A few practical habits usually help more than buying a “magic nozzle.”
- Cap between pauses: If your nozzle has a cap, use it. If not, many people insert a nail or screw into the opening as a temporary plug, just be careful not to enlarge the cut when you pull it out.
- Keep tips out of dust: Concrete dust sticks to curing sealant and turns the first squeeze into grit.
- Store upright: It can reduce seepage into the tip on some products.
- Don’t “over-prime”: Excess pressure and extra material sitting in the tip tends to skin faster.
For partially used cartridges, storage success varies by product. Some sealants tolerate short-term storage better than others, so checking the label guidance is worth it.
Common mistakes to avoid (they waste the most material)
These are the moves that look small in the moment and cost you a cartridge over a weekend.
- Cutting huge because the sealant feels thick: A big opening can hide pressure problems, but it usually creates overflow and messy edges.
- Trying to “paint” the joint with the nozzle: On concrete, you often get better results by placing a controlled bead and tooling, rather than smearing with the tip.
- Ignoring joint prep: Dirty, damp, or crumbling edges can undermine adhesion. According to OSHA, silica dust from concrete work is a real hazard, so use appropriate controls and PPE, and consider a pro if you’re unsure.
- Skipping depth control: For moving joints, depth and bond line shape matter. Overfilling deep gaps without backer rod can waste material and reduce performance in some cases.
When to consider a pro or a different system
Sometimes the nozzle is not the bottleneck. If any of these apply, getting professional input can save time and rework.
- The joint is an expansion joint in a slab or driveway and you’re unsure about movement, depth, or backer rod sizing.
- You see repeated cracking next to the joint, moisture intrusion, or suspected structural movement.
- You’re using a 2-part epoxy or injection repair where mixing and placement are more sensitive.
- The area has safety constraints, enclosed spaces, heavy dust, or you need to meet a spec on a commercial job.
In those cases, a contractor or product rep can help confirm joint design, compatible sealant type, and the right dispensing setup. It’s not overkill, it’s how you avoid doing the same joint twice.
Key takeaways you can use on the next cartridge
- Cut small, then adjust, most messy beads start with an oversized opening.
- Match nozzle style to the joint, long taper for reach, wider opening for wide joints, mixer tips for 2-part systems.
- Control pressure, release the gun when you stop, and cap the tip to limit skin-over.
- If the joint moves a lot, focus on joint design and prep, not just the nozzle.
If you want one simple action, cut a conservative angled opening, run a short test bead on scrap, and only then commit to the joint. That tiny “warm-up” prevents most avoidable mess.
FAQ
What size should I cut a concrete caulking tube nozzle?
Cut it slightly smaller than the bead you think you need, then test on scrap. If the bead sits on top without wetting both sides, open the tip a little more rather than jumping to a big cut.
Why does my nozzle keep clogging between passes?
Many sealants start curing when exposed to air, and warm or dry conditions can speed skin formation. Capping the tip during pauses and avoiding excess priming usually helps.
Is an angled cut better than a straight cut?
Often, yes, especially for visibility and control along edges. Straight cuts can work fine for wide joints where you plan to tool immediately and don’t need the tip to “steer.”
Can I reuse a nozzle after the sealant cures inside?
Sometimes you can clear a small skin plug, but fully cured material usually won’t clean out cleanly. For many products it’s more practical to replace the nozzle than fight it.
Do I need a special nozzle for polyurethane concrete sealant?
Not always. Polyurethane can feel thicker, so a slightly larger opening and a smoother, steadier trigger pull may be enough, but you still want to avoid cutting so large that the bead floods the joint.
What if the sealant leaks at the threaded collar instead of the tip?
That points to a seating or thread issue, or sometimes a damaged nozzle or cartridge neck. Remove it, clean the threads, re-seat carefully, and avoid over-tightening that can distort the fit.
How do I know if I should use backer rod instead of just adding more sealant?
If the joint is deep and you’re chasing depth with more material, backer rod often makes the bead more controllable and can help create a better sealant shape, but the right approach depends on joint movement and spec, so check manufacturer guidance or ask a pro.
If you’re trying to get cleaner joints with less waste, a small “nozzle kit” approach can be the most painless, keep spare standard nozzles, a couple of long tapered tips, and a way to cap or plug between passes, then match the tip to the joint instead of forcing one cut to do everything.