
Best caulking gun for home repairs usually means one thing in real life: you want a clean bead without fighting the trigger, the tube, or a mess you have to scrape later.
If you have ever sealed a tub and watched the line wobble, or you squeezed too hard and caulk kept oozing after you stopped, you already know the tool matters almost as much as the caulk type.
This guide focuses on what actually changes outcomes for DIY repairs in U.S. homes, how to pick the right style for your projects, and what features are worth paying for in 2026.
What “best” really means for a DIY caulking gun
Most people shop caulking guns like they shop hammers, grab one that looks solid and call it done. But caulking is more like painting trim, control beats raw force.
For home repairs, “best” usually comes down to four practical things: steady flow, easy stopping, comfortable grip, and less waste in the tube.
- Flow control: a smooth trigger and consistent push so the bead does not pulse.
- Drip control: a mechanism that reduces run-on after you release the trigger.
- Comfort: grip shape and trigger leverage that do not wreck your hand mid-job.
- Compatibility: works with standard 10 oz cartridges, and ideally handles thicker sealants too.
According to OSHA, sealants can contain chemicals that may irritate skin, eyes, or lungs depending on the product, so better control also means less accidental smearing and less time cleaning exposure-prone mess.
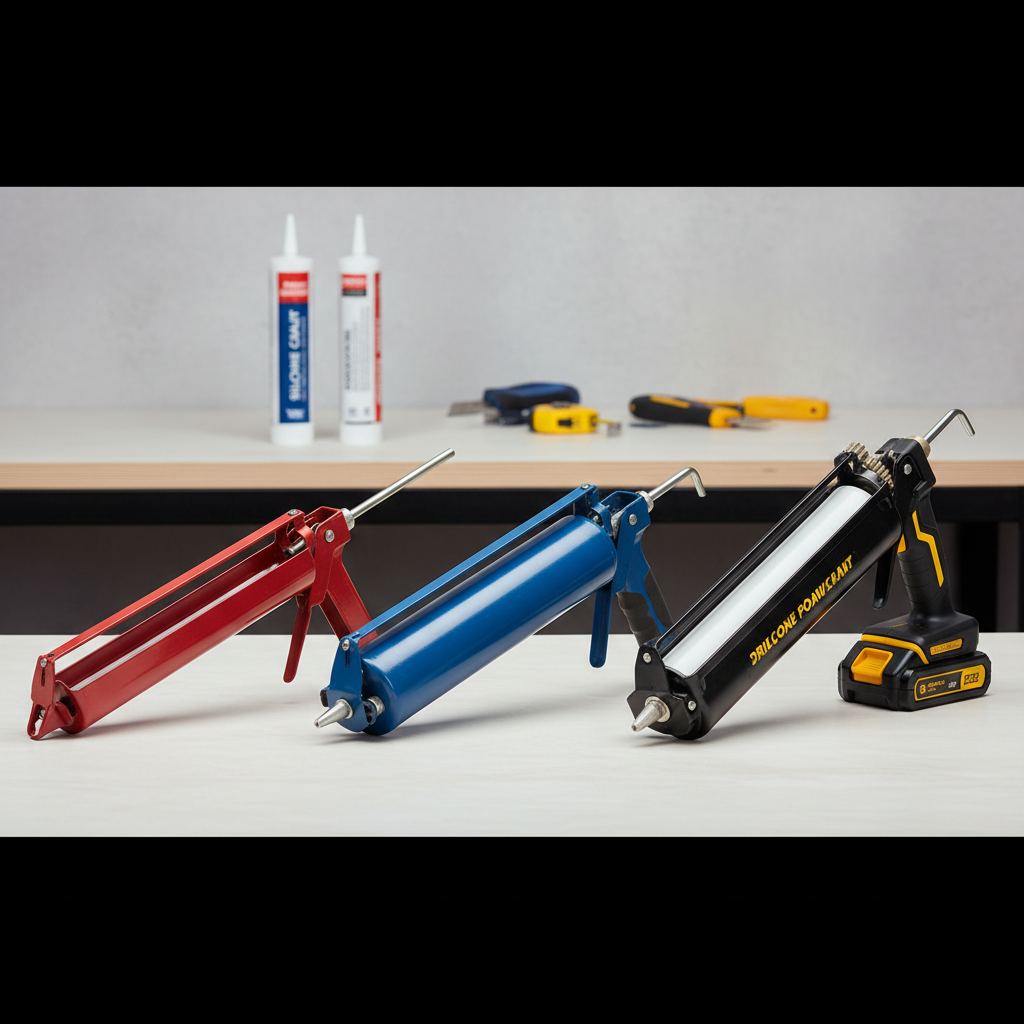
Quick chooser: manual vs dripless vs cordless
There is no single tool that fits every home. Pick based on how often you caulk and how picky you are about finish quality.
Manual rod caulking guns (basic)
These are the inexpensive, common frame guns. They work fine for occasional fixes, but they tend to surge and they can drip after release, especially with thin acrylic latex.
- Good for: one-off touch-ups, small gaps, baseboards.
- Watch for: hand fatigue, sloppy stop, bent rods on cheaper models.
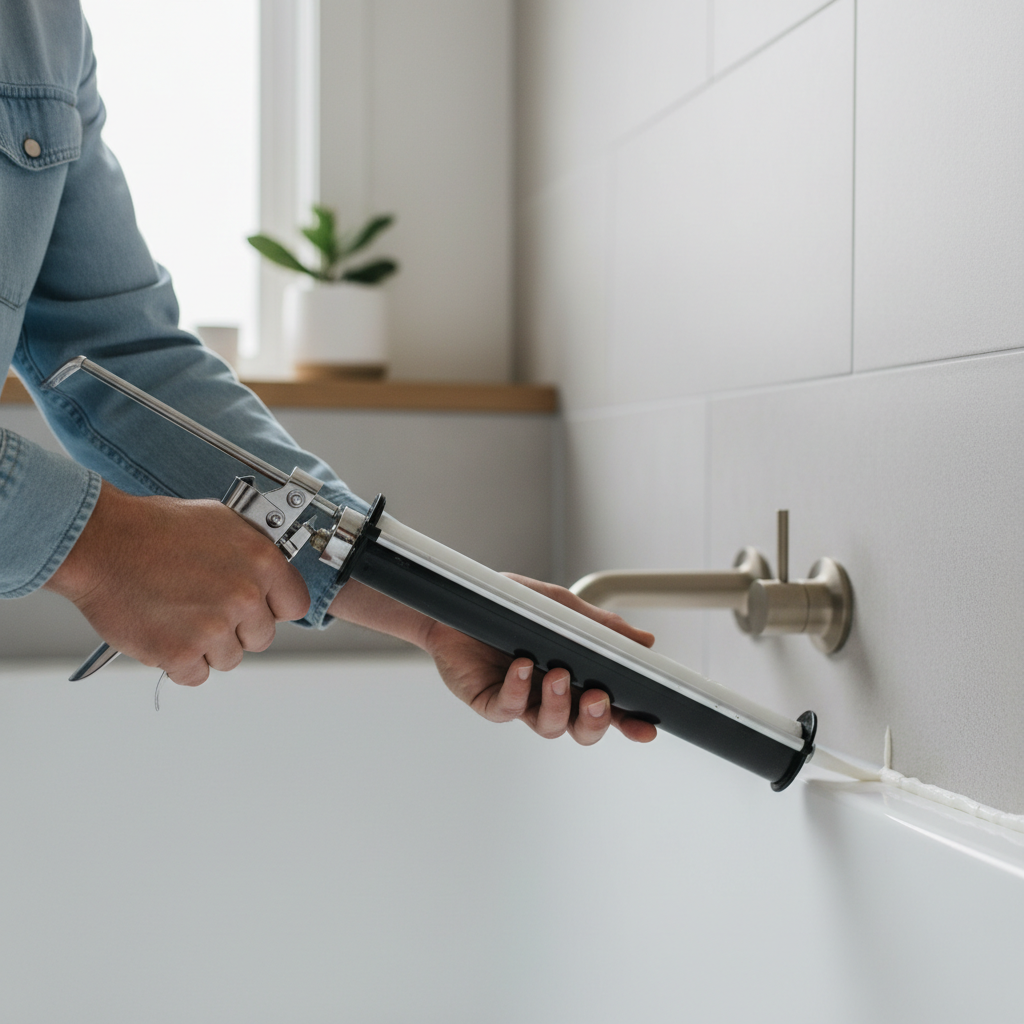
Dripless (a better manual experience)
A dripless caulking gun is still manual, but it uses a clutch or release system to relieve pressure when you let go. For many DIYers, this is the sweet spot in value.
- Good for: tubs, showers, backsplashes, windows.
- Why people like it: fewer blobs at the end of the bead, better control on corners.
Cordless caulk guns (battery-powered)
Cordless models push caulk with a motor, so your hand does steering, not squeezing. If you do longer runs, thicker sealants, or you have wrist issues, they can be a game changer, but only if you buy one with good speed control.
- Good for: big projects, exterior sealing, subfloor or panel adhesive.
- Watch for: weight, battery ecosystem cost, learning curve to avoid over-feeding.
Feature checklist: what to look for (and what to ignore)
If you only buy one caulking gun for years of home repairs, prioritize control features before flashy extras.
- Thrust ratio (mechanical advantage): higher ratios help with thick sealants and cold-weather tubes. For mixed household work, mid-to-high is usually safer than ultra-low.
- Dripless mechanism: look for a clear pressure-release design, not just marketing text.
- Comfort trigger: wider trigger and smoother pull reduce fatigue and bead wobble.
- 360° rotating barrel: helps keep your wrist straight when caulking around tubs and sinks.
- Built-in puncture wire and spout cutter: convenient, though not required if you already keep a utility knife and nail handy.
- Sturdy frame: flexing frames cause uneven push and sudden surges.
What to ignore more often than not: “extra-long” frames for standard cartridges, novelty holders, and vague claims about “professional results” without specifics like drip control or thrust ratio.
Recommended picks by scenario (2026 friendly)
Rather than naming one universal winner, it helps to match the tool to the work. This is usually how pros and serious DIYers think about it.
| Scenario | Best fit type | Must-have features | Why it works |
|---|---|---|---|
| Bathroom tub/shower re-caulk | Dripless manual | Drip control, rotating barrel, comfort trigger | Cleaner stops and starts, less smear on glossy surfaces |
| Kitchen backsplash, sink edge | Dripless manual or compact manual | Smooth trigger, narrow profile | Better corner control in tight spaces |
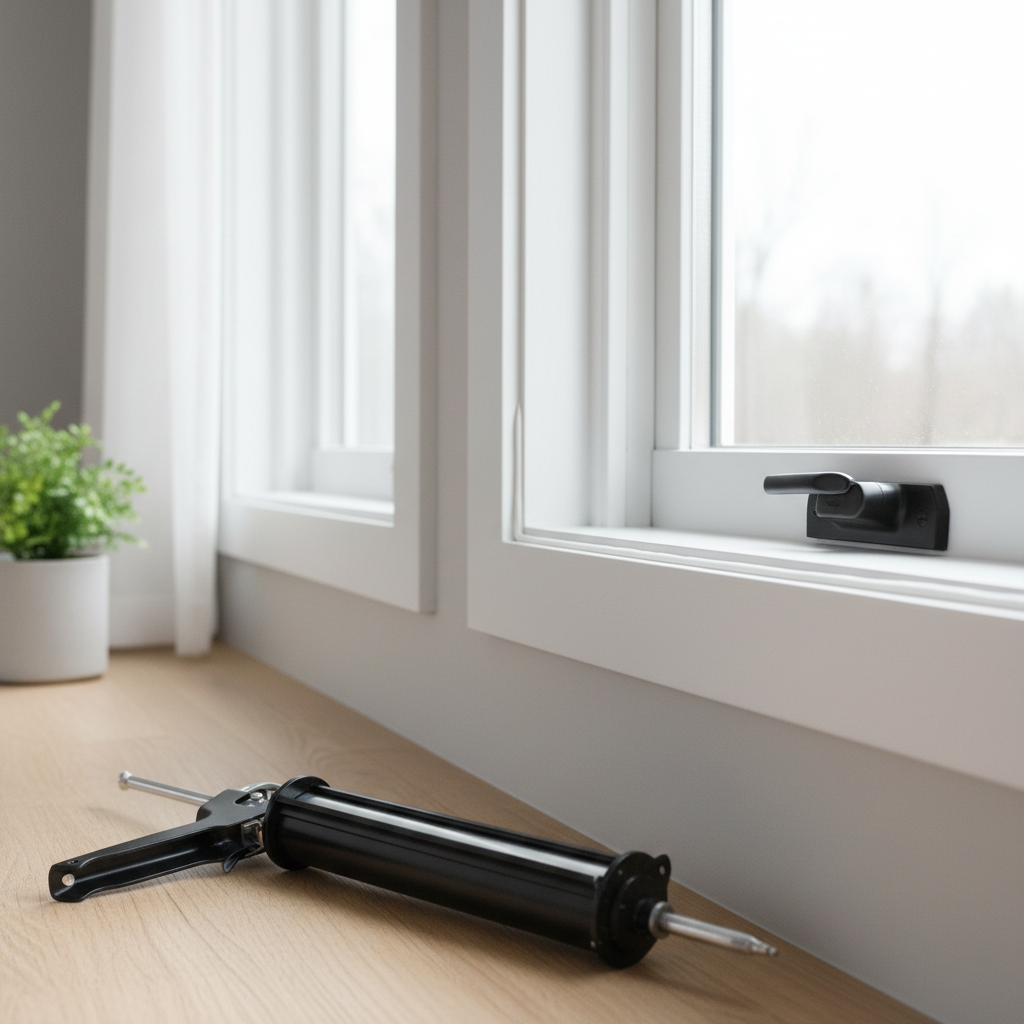
| Windows/doors weather sealing | Dripless manual (higher thrust ratio) | Higher leverage, sturdy frame | Handles thicker exterior sealants with less hand strain |
| Long runs: baseboards, trim, gaps | Dripless manual | Comfort trigger, consistent push | Reduces fatigue, keeps bead even over distance |
| Construction adhesive, subfloor, paneling | Cordless | Variable speed, anti-drip, good balance | Motor does the heavy pushing, you focus on placement |
Self-test: which caulking gun do you actually need?
If you are stuck between “cheap one” and “nice one,” this quick check usually settles it.
- You hate cleanup, you often overshoot corners, or you get blobs when stopping → go dripless.
- Your hand cramps, you have arthritis, or you plan to do multiple rooms → consider cordless.
- You only seal a tiny gap once a year and you are okay moving slow → a basic manual can be fine.
- You use thick silicone, polyurethane, or adhesive more than once → pick higher thrust ratio and a stiffer frame.
One more honest tell: if you have ever avoided a repair because caulking feels annoying, buying the best caulking gun for home repairs in a dripless style often removes that friction.
How to get clean results (the tool helps, but technique finishes the job)
Even the best caulking gun for home repairs cannot rescue rushed prep. The good news, you only need a simple routine.
1) Prep the joint so caulk can actually stick
- Remove loose old caulk, then wipe the area clean and dry.
- If there is mildew, treat it and let the surface dry fully, product labels vary, so follow directions.
- Use painter’s tape when you want sharp lines, it saves time compared to scraping later.
2) Cut the nozzle for the job you want
- Cut smaller than you think, you can always widen the opening.
- Angle-cut helps visibility, straight-cut can be easier for tight gaps.
- Puncture the inner seal cleanly so you do not create chunks that clog the nozzle.
3) Apply a steady bead you can smooth once
- Move your whole arm, not just your wrist, to keep the bead consistent.
- Keep the nozzle at a consistent angle and maintain light pressure.
- Stop, release pressure, then lift away, this is where dripless designs really shine.
4) Tool it quickly, then leave it alone
- Tooling means smoothing the bead with a finger, tool, or damp sponge depending on caulk type.
- Do one pass, multiple passes often pull material out and make the line uneven.
According to EPA, some indoor air quality issues come from volatile chemicals in household products, so ventilation during and after caulking is usually a smart default, especially with strong-odor sealants. If you have asthma or chemical sensitivities, it may help to choose lower-odor products and consider asking a professional for guidance.
Mistakes that make a “good” caulking gun feel terrible
When people say a caulking gun is junk, a few repeat issues show up.
- Using the wrong caulk: paintable acrylic latex for trim, silicone for wet areas, exterior products for outdoor exposure. Labels matter more than the gun.
- Cutting the nozzle too big: you end up fighting overflow, then blaming the trigger.
- Skipping surface drying: water and soap film cause failure and peeling, even with premium sealant.
- Not supporting the tube: if the cartridge wobbles in a flimsy frame, the bead pulses.
- Trying to “fix” a messy bead by re-smearing: it usually gets worse, remove it and re-run the line while it is still fresh.
When it’s worth calling a pro
Caulking looks simple, but some situations are really about moisture control and building envelope performance, not just cosmetics.
- Recurring water intrusion around windows or doors, especially with stained drywall or soft wood.
- Cracks that widen over time, or gaps that suggest movement in framing or foundation.
- Mold you cannot safely clean, or health concerns where product fumes may be a problem.
- Exterior sealing on tall ladders or roofs, fall risk is not worth it.
If any of those sound familiar, a contractor or qualified handyman can help diagnose the cause, not just cover the symptom.
Conclusion: the smartest “best” pick for most homes
For most DIY households, a sturdy dripless manual model ends up being the best caulking gun for home repairs because it improves control without the weight and cost of cordless tools.
If you do long runs, heavy adhesive, or you want your hands to last through bigger projects, cordless becomes easier to justify, especially if it shares batteries with tools you already own.
Your next step is simple: match the gun to the sealant thickness and job size, then slow down on prep, that is where clean results usually come from.
FAQ
What is the best caulking gun for home repairs if I only use it a few times a year?
A dripless manual gun is often the best “buy once, use forever” choice, even for occasional work, because it reduces the annoying run-on mess that makes people hate caulking.
Is a higher thrust ratio always better?
Not always. Higher leverage helps with thick sealants and cold tubes, but it can feel slower with thin acrylic caulk. Many DIYers land in a mid-to-high range for versatility.
Do I need a cordless caulk gun for bathroom caulking?
Usually no. Bathrooms benefit more from drip control and smooth stopping than raw pushing power. Cordless helps if you have hand pain or you are redoing multiple wet areas.
Why does caulk keep coming out after I let go of the trigger?
Pressure remains in the tube, especially with basic rod guns. A dripless mechanism reduces that pressure, and cutting a smaller nozzle opening also helps.
Can one caulking gun handle silicone, acrylic latex, and construction adhesive?
Many can, but performance varies. For adhesives and thicker products, prioritize a sturdy frame and higher leverage, or step up to cordless if you do that work often.
What’s the easiest way to get a straight caulk line?
Tape the edges, cut a small nozzle opening, then move at a steady pace. The gun matters, but straight lines usually come from prep and a single clean tooling pass.
How do I store a partially used caulk tube?
Cap it tightly and keep it upright when possible. Some people wrap the tip to slow drying, but results depend on caulk type, so check the manufacturer’s guidance on the tube.
Key takeaways
- Most homeowners do best with a dripless manual gun for control and cleaner stops.
- Cordless earns its keep on long runs, thick sealants, or if squeezing triggers hurts.
- Prep and nozzle size decide your finish quality as much as the tool.
If you are trying to pick the best caulking gun for home repairs and you can tell your projects are getting bigger than “one quick bead,” consider choosing a dripless model with a rotating barrel, then pair it with the right sealant for each room, it’s a small upgrade that often makes DIY feel calmer.