
Best belt sander for floor sanding usually means one thing in real life, fast stock removal without digging trenches into your hardwood or kicking up a dust storm you regret for days. If you’re refinishing a room, fixing cupping, or blending a patch, a belt sander can help, but it’s also the tool most likely to punish rushed technique.
The good news is you don’t need a “pro-only” setup to get pro-looking results. You do need the right sander style, the right belt width, and a dust plan that matches your home, especially if you have HVAC returns nearby or people living in the space.
This guide focuses on what actually matters in 2026 shopping: power and speed control, belt tracking stability, weight balance, dust collection, and how each choice changes your sanding workflow. I’ll also call out when a belt sander is the wrong tool, because in a lot of homes, it is.

What makes a belt sander good for floor sanding (and what doesn’t)
Not every “strong” belt sander behaves well on floors. Floors punish imbalance, aggressive leading edges, and weak belt tracking, because the surface area is huge and any mistake repeats across the room.
- Stable belt tracking: if the belt wanders, you waste time and risk edge gouges.
- Flat platen and even pressure: helps prevent washboarding and low spots.
- Variable speed (or at least a well-tuned fixed speed): useful when switching from heavy leveling to blending.
- Weight and balance: heavier can cut faster, but can also dig faster. Balance matters more than raw pounds.
- Dust collection that actually seals: a loose bag is mostly decoration when sanding floors.
What doesn’t matter as much as ads suggest, fancy handle materials, extra LED lights, or ultra-high top speed without control. For floor work, control beats hype.
Quick picks: best belt sander for floor sanding by use case (2026)
If you want a practical shortlist, start with your project type. A full-room refinish is a different animal than blending a pet-stained patch near a doorway.
| Use case | What to prioritize | Typical belt size | Notes |
|---|---|---|---|
| Spot repair / patch blending | Control, dust collection, speed control | 3x21 or 3x24 | Less aggressive, easier to feather edges |
| Leveling cupped boards (small area) | Power, tracking stability, flat platen | 3x21 or 4x24 | Plan for multiple grits and careful technique |
| Stair treads | Front clearance, maneuverability | 3x18 or 3x21 | A detail sander may still be needed for corners |
| Large rooms (DIY full refinish) | Honestly, consider renting a drum/orbital floor sander | Not a handheld belt sander job | Handheld belt sanders are hard to keep perfectly flat across big areas |
For many homeowners, the best belt sander for floor sanding is the one that helps with edges, transitions, and repairs, while a rental floor machine handles the field. That mix often saves time and saves the floor.

How to choose: motor power, belt size, tracking, and dust control
Motor power and speed control
More amps can mean faster removal, but it also means mistakes happen quicker. Variable speed is helpful when you move from 36–60 grit leveling into 80–120 grit blending, especially on softer species or older floors with uneven hardness.
Belt size: 3x21 vs 4x24 vs 3x18
- 3x21: the common “do most things” size. Enough surface area to stay stable, still manageable for DIY.
- 4x24: more coverage and often more weight, can flatten faster, but easier to over-cut if your technique is shaky.
- 3x18: compact, better for stairs and tight spaces, slower for leveling.
Tracking and platen quality
Tracking adjustment should be easy and hold its setting. A flatter platen usually leaves a more uniform scratch pattern, which matters because floor finish highlights sanding mistakes, not hides them.
Dust collection (bag vs vacuum)
Hooking to a vacuum beats a bag in most homes, assuming the port seals well and your vacuum has a fine filter. According to OSHA, wood dust can pose health risks and exposure control matters, so it’s worth taking dust seriously, not as an accessory.
If you sand indoors, consider a vacuum with a HEPA filter and a hose that won’t fight you around furniture. If you have asthma or sensitivities, it may be smart to ask a medical professional what level of exposure is appropriate for you.
Self-check: is a belt sander the right tool for your floors?
This is where a lot of DIY plans quietly go sideways. Belt sanders are great at removing material, which is exactly why they can mess up a floor fast.
- You’re dealing with localized damage (pet stain, water mark, adhesive residue) and plan to feather into surrounding boards.
- You need to blend a patch where boards were replaced.
- You’re working on stairs or thresholds where large rental machines can’t reach cleanly.
- You’re okay practicing on a scrap board first, because the learning curve is real.
A belt sander is often a poor choice when the entire room needs leveling, when the floor has severe unevenness, or when you’re sanding engineered wood with a thin veneer. With engineered flooring, sanding too deep can be irreversible, and many situations warrant a flooring pro’s opinion.
Practical setup and sanding steps (that reduce gouges)
The easiest way to ruin a floor is starting too aggressive, staying in one place, or tipping the sander at the end of a pass. Keep it moving, keep it flat, and let the grit do the work.
Step-by-step workflow
- Prep: pull base shoe molding if possible, set nails slightly below surface, vacuum grit off the floor. Small debris can create deep random scratches.
- Pick a starting grit: many repairs start at 60 or 80. Jumping straight to 36 can create more leveling than you intended.
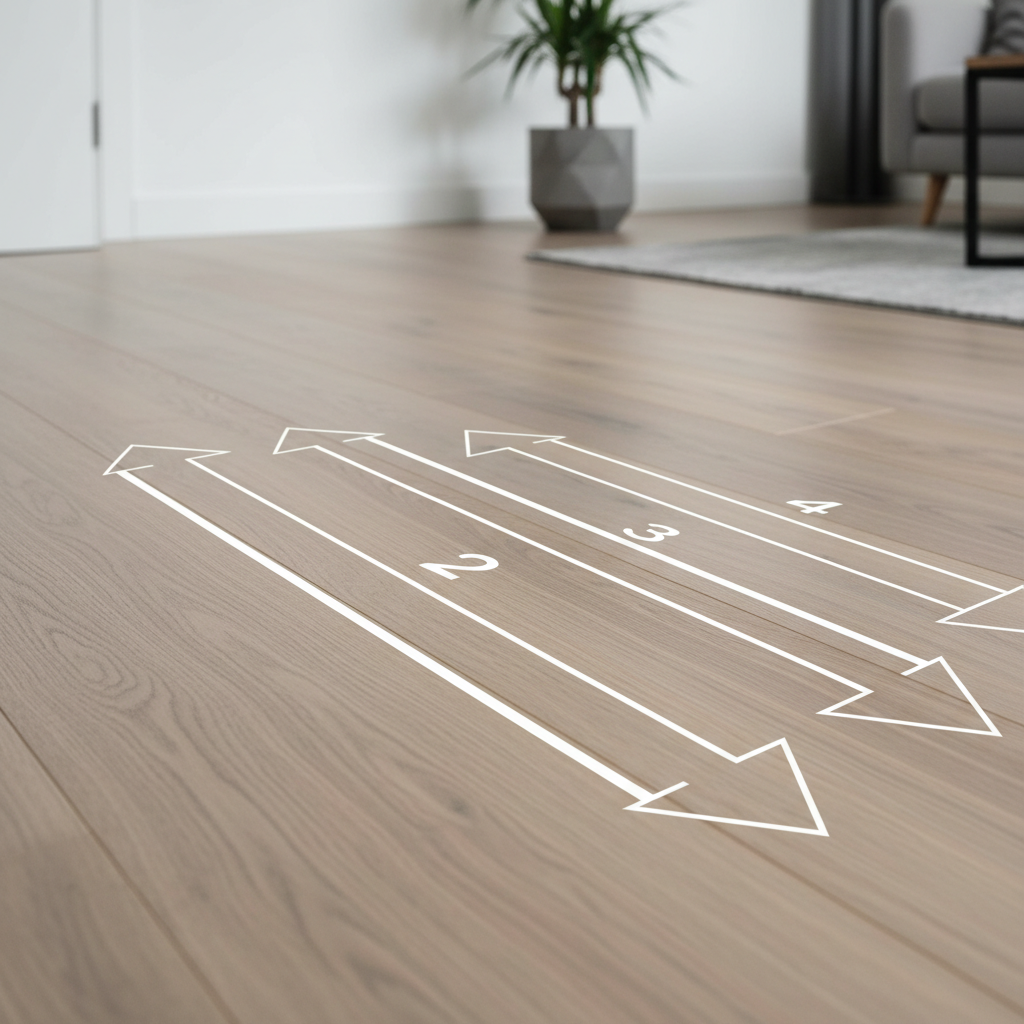
- Run with the grain when possible: slight diagonals can help flatten small highs, but it also increases visible scratch risk.
- Feather your edges: lighten pressure as you approach the boundary, overlap passes, avoid stopping on the wood.
- Progress grits: a common path is 60 → 80 → 100/120, but your floor species and finish plan may shift that.
- Final blend: many people switch to a random orbital or a floor buffer screen to soften belt-sander lines before finishing.
Key points that make the result look “normal” after finish
- Keep the sander flat at start and stop, tipping creates divots that show up after stain.
- Don’t skip grits when you plan to stain, scratches tend to telegraph through pigment.
- Control dust between grits, leftover coarse grit can re-scratch the surface.
Mistakes that waste time (and how to avoid them)
Most belt-sander floor disasters come from three habits, chasing speed, chasing perfection in one pass, and trusting your eyes under bad lighting.
- Parking the sander: even a one-second pause can leave a low spot. If you need to adjust your stance, lift the tool.
- Over-sanding edges: edges are easy to round over, especially near transitions. Blend wider than you think you need.
- Ignoring lighting: use a low-angle work light to reveal scratch patterns before you commit to stain or finish.
- Wrong belts: cheap belts can shed grit or clog fast. For floors, consistent cut matters more than a bargain pack.
Also, don’t assume a belt sander replaces a floor edger or corner tool. It’s one part of a system, not the whole system.
Safety and dust: what’s worth doing at home
Floor sanding creates fine dust that travels. According to CDC, improving indoor air quality and reducing airborne irritants can be helpful for respiratory comfort, and wood dust is a common irritant in workshops and renovation settings.
- Wear a well-fitting respirator rated for fine particulates, not just a loose mask.
- Seal off returns and door gaps when possible, then clean filters after the job.
- Use spark awareness: sanding near old nails or debris can create sparks, keep the area clear of solvents and finishes.
- Mind noise and vibration: take breaks if hands tingle or go numb, and consider gloves designed to reduce vibration.
If your home has lead paint nearby trim, unknown adhesives, or you suspect mold from water damage, it may be safer to pause and ask a qualified professional what you’re dealing with before sanding.
Conclusion: the right pick is the one you can control
The best belt sander for floor sanding is rarely the most aggressive model on the shelf, it’s the one with stable tracking, predictable handling, and dust control you’ll actually use. For most DIY floor projects, that points toward a controllable 3x21 class sander paired with quality belts and a decent vacuum hookup, plus a plan to finish-blend with an orbital tool.
If you’re deciding today, pick your use case first, then match belt size and dust collection to your space. And if your project is a full-room refinish, consider renting a dedicated floor sander for the field and using a belt sander only where it truly shines.