
A brake caliper piston tool solves one of the most common DIY brake problems: you remove the old pads, then the new pads won’t fit because the piston won’t retract cleanly.
If you’ve ever tried forcing the piston back with a clamp or a screwdriver, you already know how fast that turns into a torn dust boot, crooked piston, or a mushy pedal you can’t explain. The right tool is less about “making it easier” and more about controlling pressure so the caliper stays healthy.
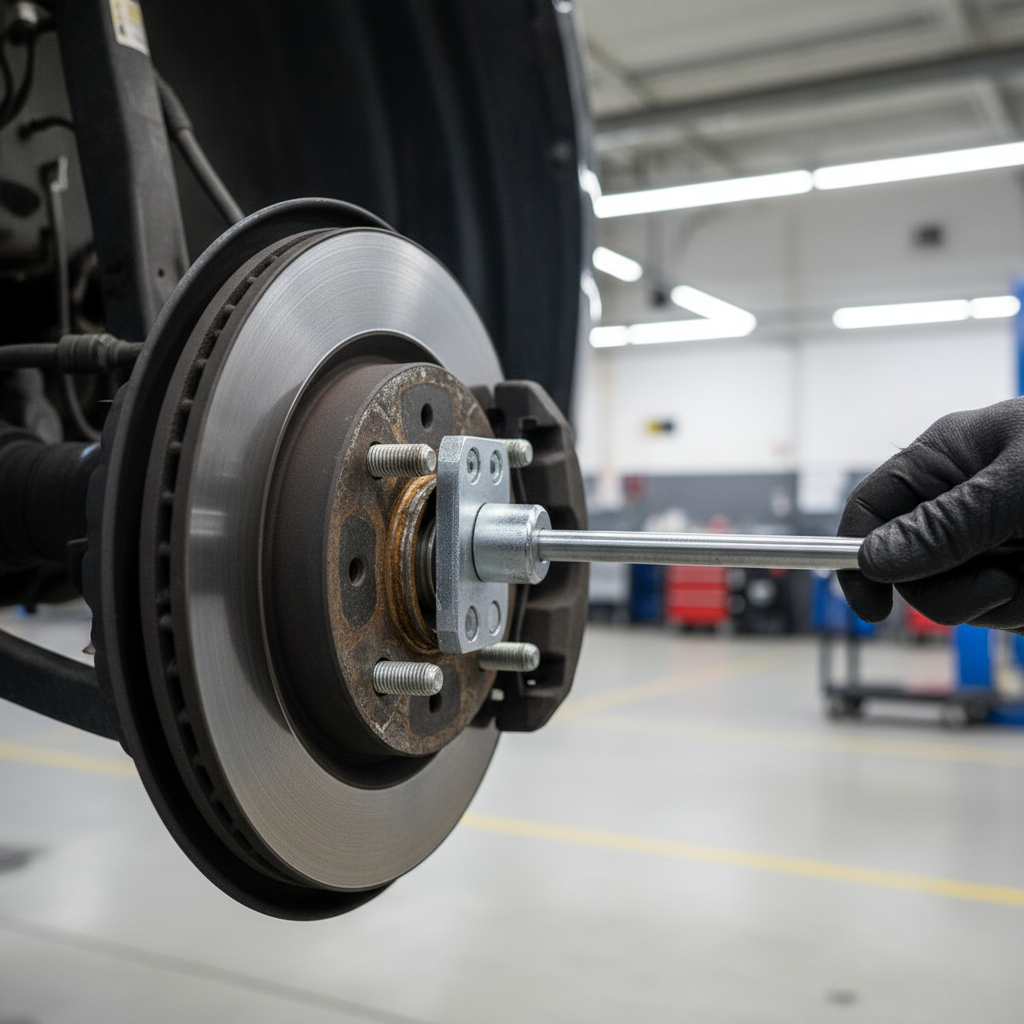
This guide breaks down which piston tools match which calipers, how to tell if your piston needs to push or twist, and what to check so you don’t “fix” the fitment issue while creating a brake issue.
Why the Piston Won’t Retract (and Why the Tool Matters)
Most pistons don’t fight you for no reason. The resistance usually comes from normal hydraulic behavior, caliper design, or a mechanical problem that the wrong method can hide.
- Fluid pressure has nowhere to go: if the system is closed and the reservoir is full, retracting the piston pushes fluid back up the line. That can feel like you hit a wall.
- Rear calipers may be “screw-in” style: many rear calipers integrate the parking brake, so the piston retracts by rotating while applying inward pressure.
- Corrosion or torn boots: moisture sneaks past a damaged dust boot, then the piston surface gets rough and drags.
- Stuck slide pins or uneven pad wear: the piston may be retracting, but the caliper can’t center itself, so everything still feels jammed.
According to NHTSA... actually, the practical takeaway most manufacturers emphasize in service literature is simpler: brakes are a safety system, so if anything feels abnormal (binding, leaking, uneven retraction), it’s smart to stop and verify rather than forcing parts together. If you’re unsure, a qualified technician can confirm whether the caliper is serviceable.
Types of Brake Caliper Piston Tools (and What Each Is For)
“Brake piston tool” gets used for several different tools. Matching the tool to the caliper design is the difference between a 2-minute reset and an hour of frustration.
1) C-clamp / quick clamp (basic push-back)
Best for many front calipers where the piston simply presses straight in. It’s common, cheap, and fine when you’re careful about keeping the piston square.
2) Dedicated piston press (screw press)
A piston press gives more control than a clamp and stays aligned better. This is the “workhorse” option for frequent brake jobs.
3) Wind-back / cube tool / multi-adapter kit (push + twist)
Used for rear calipers that must rotate while compressing. Kits usually include different pin patterns for different piston faces.
4) Spreader tool for multi-piston calipers
Some fixed calipers (often performance applications) don’t have one piston to push, they have multiple pistons. A spreader helps retract evenly so you don’t cock a piston.
Quick Self-Check: Do You Need to Push, Twist, or Both?
Before buying anything, confirm the caliper type. A lot of DIY mistakes happen right here.
- Front calipers (most vehicles): usually push straight in.
- Rear calipers with an integrated parking brake: often twist while pushing (wind-back style).
- Electronic parking brake (EPB): may require service mode through the vehicle menu or a scan tool before retracting.
- Clue on the piston face: if you see notches/pin holes, that often indicates a wind-back design.
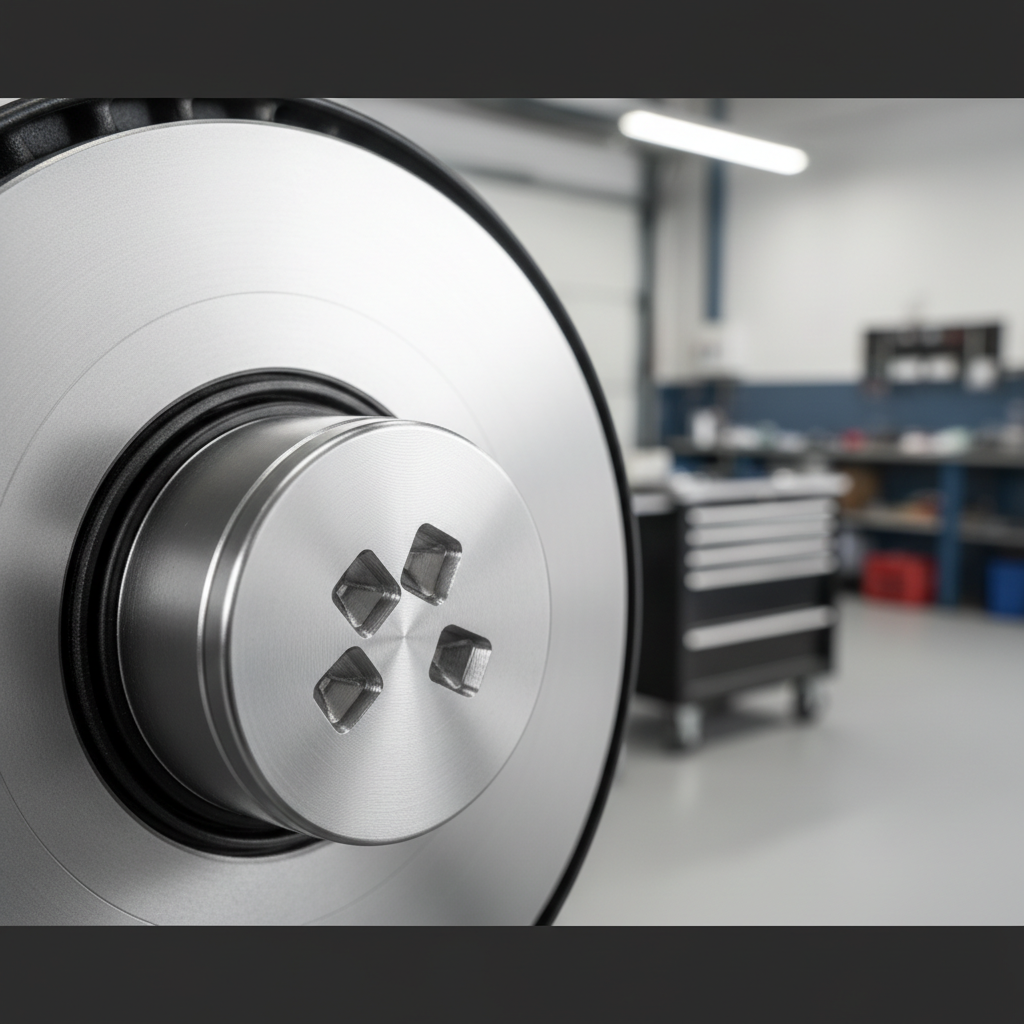
If you’re on the fence, look up your exact year/make/model brake procedure. Many vehicles look similar but use different rear caliper mechanisms, and “close enough” can become expensive.
How to Use a Brake Caliper Piston Tool (Safe, Repeatable Steps)
Using a brake caliper piston tool is mostly about setup and patience. The goal is smooth movement with the piston staying straight, not maximum force.
Prep (before you touch the piston)
- Park on level ground, use wheel chocks, and support the vehicle with jack stands.
- Check the brake fluid reservoir level; if it’s near the max line, plan for overflow when you retract pistons.
- Inspect the dust boot for tears and look for wetness that could suggest a leak.
Compression process
- Position the old pad against the piston face to spread the load and protect the piston surface.
- Align the tool square to the piston and caliper body, then apply pressure slowly.
- Watch the boot as the piston moves; if it twists, bunches, or starts pulling out, stop and reset alignment.
- For wind-back pistons, use the correct adapter pins and rotate in the direction your vehicle specifies while maintaining inward pressure.
After the piston seats
- Confirm the piston sits evenly, not tilted.
- Reinstall pads and hardware, then ensure the caliper slides freely on its pins.
- Before driving, pump the brake pedal until it firms up to seat the pads against the rotor.
According to AAA... the broader safety message they consistently reinforce is that brakes are critical, so if you don’t feel confident in the procedure or notice irregular braking afterward, having the work inspected is a reasonable call.
Tool Selection Table: What to Buy for Your Situation
If you do brakes once every few years, you don’t need a shop cabinet. But you do need the right mechanism.
| Vehicle/Caliper Situation | Recommended Tool Type | Why it’s a good fit | Watch-outs |
|---|---|---|---|
| Most front disc brakes (single piston, floating caliper) | Screw-type piston press or quality clamp | Controlled straight compression | Keep piston square, don’t crush the boot |
| Rear calipers with parking brake mechanism | Wind-back kit with adapters | Retracts by rotating while pushing | Wrong adapter can slip and gouge piston face |
| Electronic parking brake (EPB) | Service mode + appropriate retraction tool | Prevents fighting the motor/gearbox | May require scan tool, follow OEM steps |
| Multi-piston fixed calipers | Piston spreader designed for even retraction | Reduces uneven piston movement | Inspect for seized pistons before forcing |
Common Mistakes That Cause Leaks, Noise, or a Soft Pedal
These are the “it seemed fine in the garage” issues that show up on the first test drive. Most are avoidable.
- Forcing a wind-back piston straight in: this can damage the mechanism, and the parking brake may stop working correctly.
- Skipping slide pin service: if pins are dry or seized, new pads can wear unevenly and the caliper may drag.
- Letting the reservoir overflow: brake fluid can harm paint, and contamination near the cap area is not ideal.
- Not seating the pads: if you forget to pump the pedal, the first stop can be alarming because the pedal travels far.
- Ignoring a twisted dust boot: that boot keeps water out; if it’s not seated, the caliper’s life usually shortens.
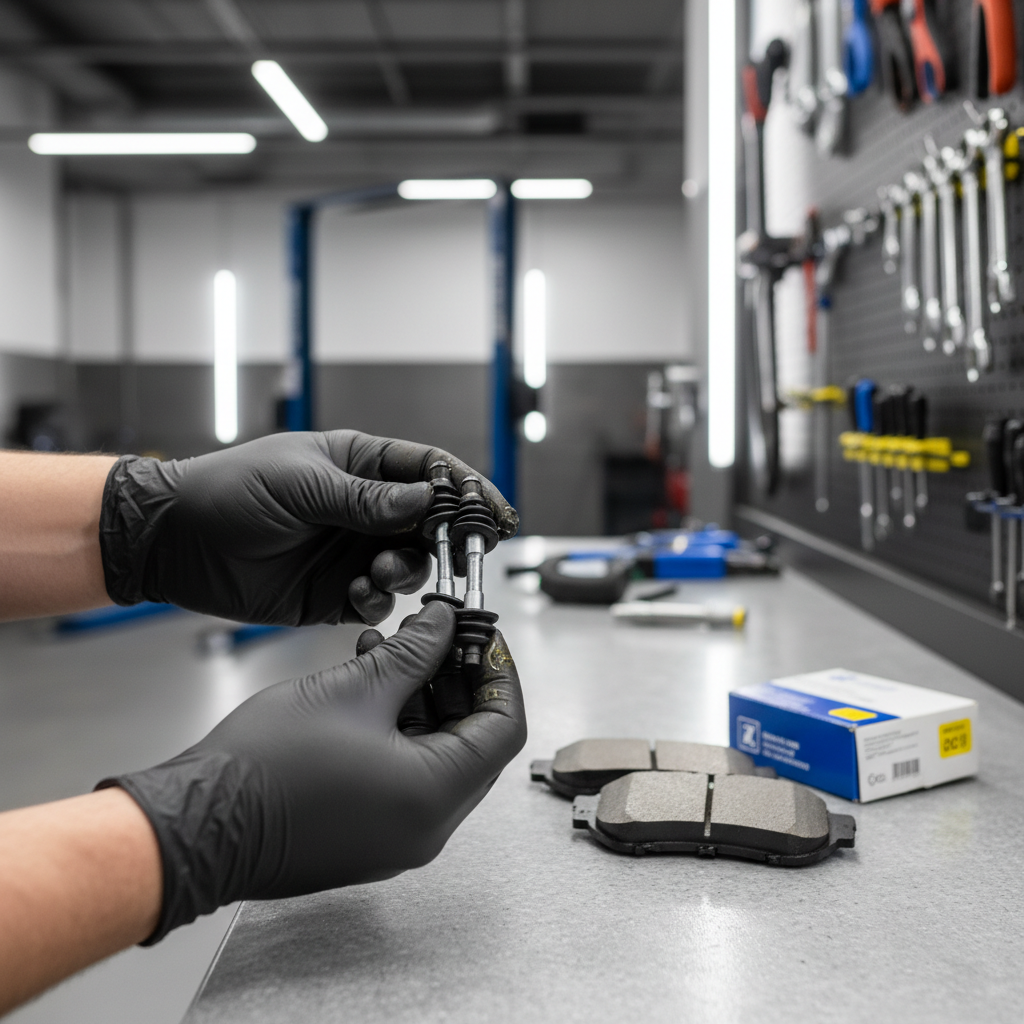
Key point: a brake caliper piston tool should make the piston move smoothly. If you need extreme force, something else may be wrong.
When a Tool Won’t Fix It: Signs You Should Stop and Get Help
DIY brakes are doable for many people, but certain symptoms usually mean the caliper (or system) needs diagnosis, not more leverage.
- The piston retracts partway, then locks up hard.
- You see fluid weeping around the piston seal area.
- The dust boot is torn and the piston surface looks pitted.
- One pad is dramatically thinner than the other on the same wheel.
- After reassembly, the wheel doesn’t spin freely or the brakes smell hot quickly.
In these cases, it’s reasonable to consult a professional mechanic. Brakes affect stopping distance, so treating “weird” as a warning sign is usually the safer mindset.
Practical Tips for Better Results (Even If You’re Not a Pro)
- Go slow on compression: steady pressure helps the seal roll correctly instead of grabbing.
- Keep everything aligned: most piston damage comes from pressing at an angle.
- Use the right adapter: with wind-back tools, a better-fitting pin pattern prevents slipping.
- Do a calm test drive: low speed, gentle stops, then recheck for leaks and abnormal heat.
Conclusion: Pick the Right Tool, Protect the Caliper
A brake caliper piston tool is a small purchase compared with the cost of replacing a damaged caliper, and it also makes the job feel predictable instead of “fight the piston and hope.” Match the tool to your caliper type, compress slowly with good alignment, and treat any binding or leaking as a reason to pause.
If you’re doing brakes this weekend, the most practical next step is simple: confirm whether your rear calipers are wind-back style or straight-push, then choose the tool that matches that mechanism. That one check prevents most of the frustrating surprises.
FAQ
- How do I know which brake caliper piston tool I need?
Start with whether the piston pushes straight in or requires rotation. Rear calipers tied to a mechanical parking brake often need a wind-back kit, while many front calipers work with a press or clamp. - Can I use a C-clamp instead of a dedicated tool?
Often yes for straight-push pistons, as long as you keep the piston square and use an old pad to distribute pressure. If the piston feels gritty or takes excessive force, don’t keep tightening. - Why won’t my rear brake piston compress?
Many rear pistons are designed to screw back in. If you try to push without twisting, it may not move. EPB systems can also require service mode before retraction. - Should I open the bleeder screw when compressing the piston?
Some people do to reduce backpressure and push old fluid out, but it depends on condition and procedure. If you’re not confident about bleeding brakes afterward, it may be better to follow the vehicle service instructions or ask a professional. - What if brake fluid overflows when I push the piston back?
Stop, clean it carefully, and avoid getting fluid on paint. Next time, remove a small amount from the reservoir before compressing, and keep the cap area clean to avoid contamination. - Is it normal for the piston boot to twist while compressing?
A little movement can happen, but heavy twisting or bunching is a red flag. Reset the tool alignment and make sure you’re pressing evenly; a mis-seated boot can shorten caliper life. - After using a piston tool, why is my brake pedal soft?
Sometimes it’s simply unseated pads, so pumping the pedal firms it up. If it stays soft, you may have air in the system or a leak, and it’s safer to stop driving and have the brakes checked.
If you’re doing a pad and rotor swap and want a more predictable workflow, choosing a tool that matches your caliper design (straight press vs. wind-back, and EPB considerations) usually saves time and helps you avoid the “forced fit” mistakes that turn a simple brake job into troubleshooting.