
Upholstery tack remover tools exist for one reason: pulling old tacks and staples without shredding fabric, cracking wood trim, or turning a “quick refresh” into a repair job. If you have ever tried needle-nose pliers and watched the tack snap off flush, you already know why a purpose-built tool matters.
In most upholstery projects, fastener removal is the first real bottleneck, it dictates how clean your edges look later and how much time you burn before you even touch new fabric. The right remover also reduces the temptation to pry too hard, which is where frames get dented and veneer chips happen.
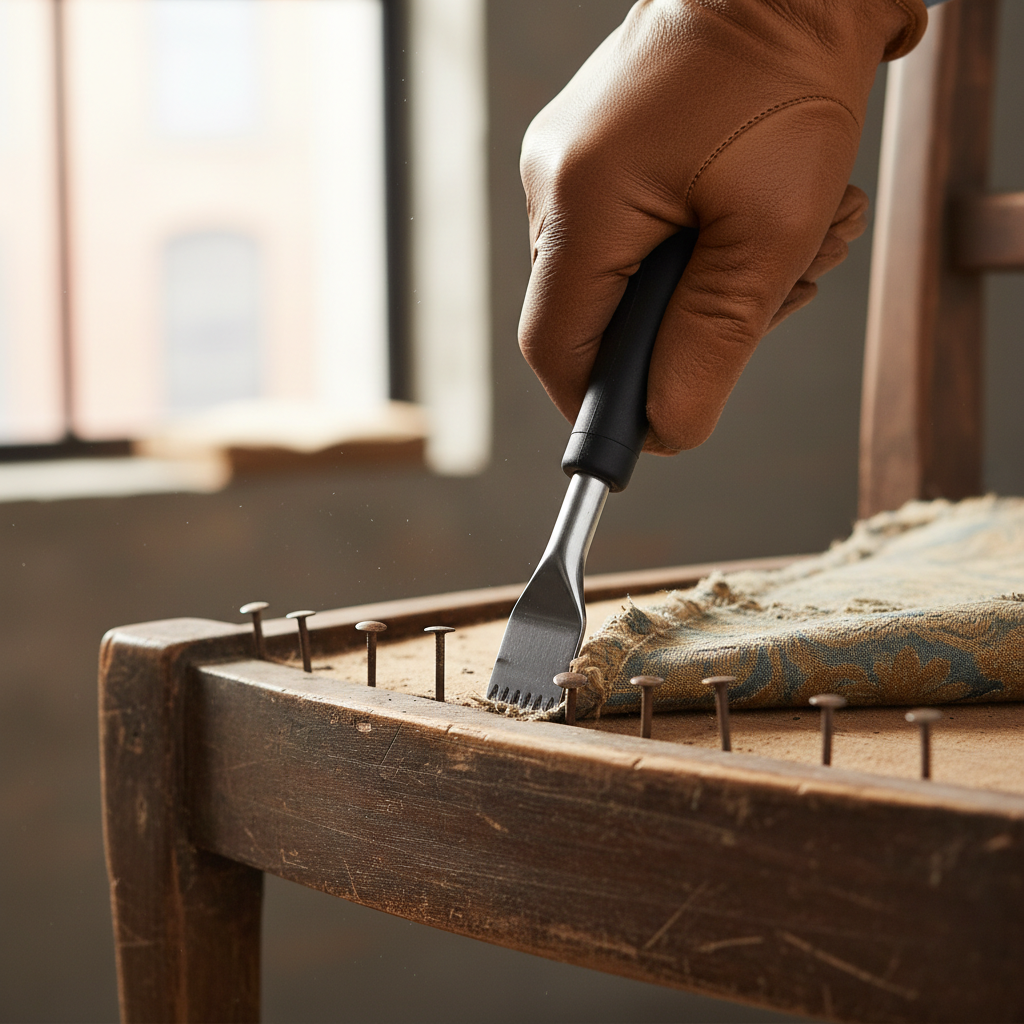
This guide breaks down which tack remover style fits which job, how to tell if your fasteners are actually tacks, staples, or decorative nails, and a practical technique that keeps the surface intact. I’ll also call out a few “looks helpful, usually isn’t” moves people repeat from old DIY videos.
What this tool actually does (and why it beats pliers)
An upholstery tack remover is basically a controlled prying tool with a thin blade that slips under a tack head and a curved fulcrum that lifts with leverage. That leverage is the whole point, it pulls up and out rather than twisting until something fails.
Pliers can work on proud fasteners, but they usually introduce side-to-side torque. On old, brittle tack shanks, torque is what causes snap-offs. On softer wood frames, torque is what leaves crescent-shaped divots.
- Cleaner lift: the blade gets under the head, so force goes upward.
- Better control: you can “walk” a stubborn tack out in small steps.
- Less surface damage: the curved neck spreads load across a wider contact area.
Common upholstery fasteners, and why misidentifying them wastes time
People say “tacks” for everything, but the removal method changes depending on what’s in the frame. Before you commit to a tool, take 30 seconds to identify what you’re pulling.
- Upholstery tacks: small heads, straight shank, often used under trim or fabric edges.
- Staples: U-shaped, usually narrow crown, often in long runs.
- Decorative nailheads: larger visible domes, sometimes individual, sometimes nailhead trim strips.
- Brads/pins: tiny heads, can be buried under layers or dust cover.
If you’re mostly dealing with staples, a staple lifter or end-cutting nippers might outperform a tack tool. If you’re dealing with nailhead trim, you may want a thin pry tool plus a small block to protect the wood.
Types of upholstery tack remover tools (and when each makes sense)
Not all removers feel the same in hand. The differences seem minor online, but they show up fast after 200 pulls.
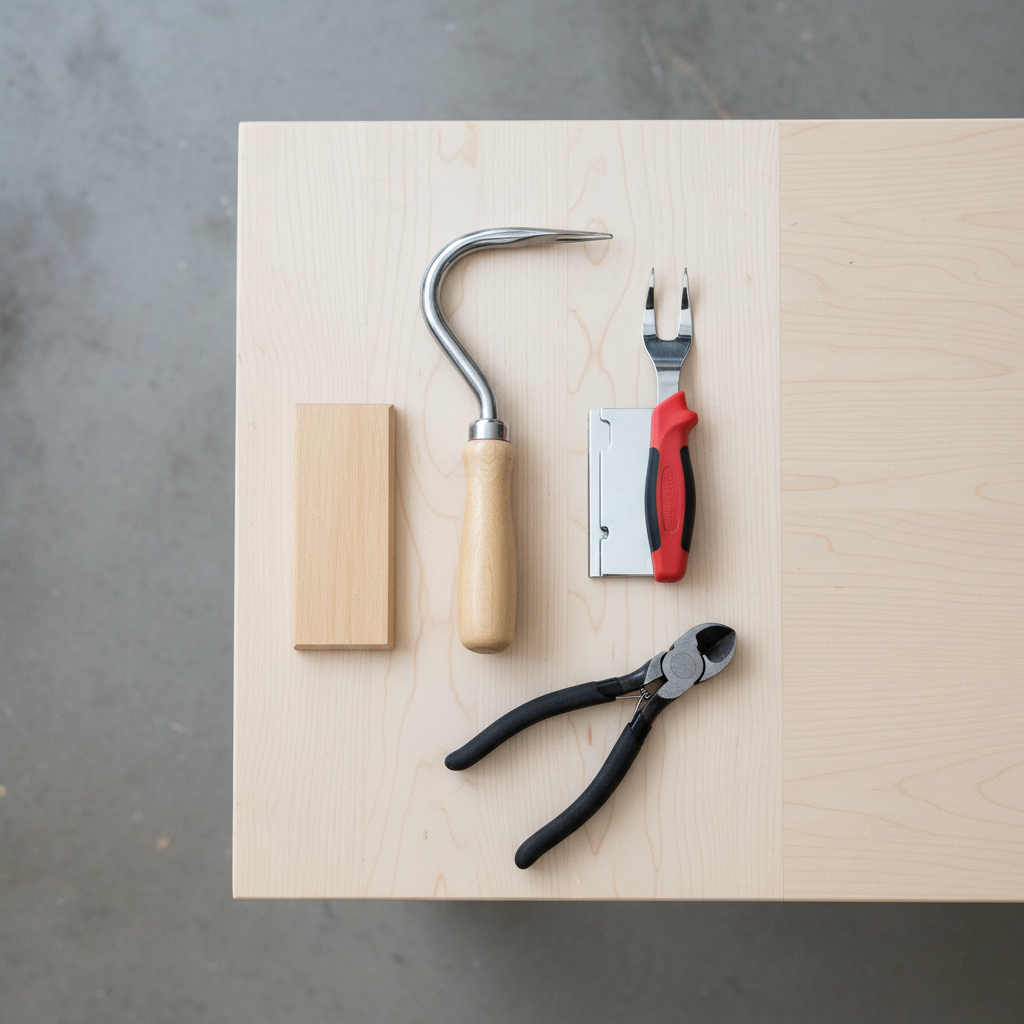
1) Traditional curved “gooseneck” tack remover
This is the classic style, a thin forked or notched blade and a curved neck. It’s the most versatile for furniture frames, especially where you need to get under a head without lifting fabric too aggressively.
2) Forked staple/tack lifter
Typically flatter with two tines. Great for staples and some tacks, but can struggle if tack heads sit tight to trim, since the tines need room to slide in.
3) Nippers (end-cutters) used as a “puller”
Not a tack remover in the strict sense, but often used in upholstery. They shine when a fastener breaks and you need to grab the remaining shank. The risk is leaving bite marks in wood if you don’t use a shim.
Quick self-check: which remover should you buy?
If you want one tool that covers most beginner-to-intermediate jobs, you’re usually looking at the classic upholstery tack remover with a comfortable handle. But “usually” has exceptions, here’s a fast way to decide.
- You see long rows of U-shaped fasteners: prioritize a forked staple lifter (a tack remover can still help for stragglers).
- Tacks are buried tight under fabric welting: look for a thin blade and a narrow neck.
- Old hardwood frames with delicate edges: choose a tool with a smoother rounded fulcrum, and plan on using a shim.
- Your hands fatigue quickly: handle ergonomics matter more than you think, thicker grips often feel better.
- You often face snapped-off metal: add end-cutting nippers to your kit.
According to OSHA, hand tools should be selected and used in ways that reduce slipping and injury risk, which is a practical reminder here, a secure grip and predictable leverage are safety features, not “nice to have.”
How to remove tacks cleanly: a technique that protects fabric and wood
Upholstery tack remover technique is less about brute force and more about staging the pull so the head rises without tearing surrounding material. If you take one thing from this article, make it this: lift a little, reposition, lift again.
Step-by-step
- Expose the head: brush away dust and fibers so the blade can seat under metal, not into fabric.
- Slide, don’t stab: keep the blade nearly parallel to the wood surface and work it under the head.
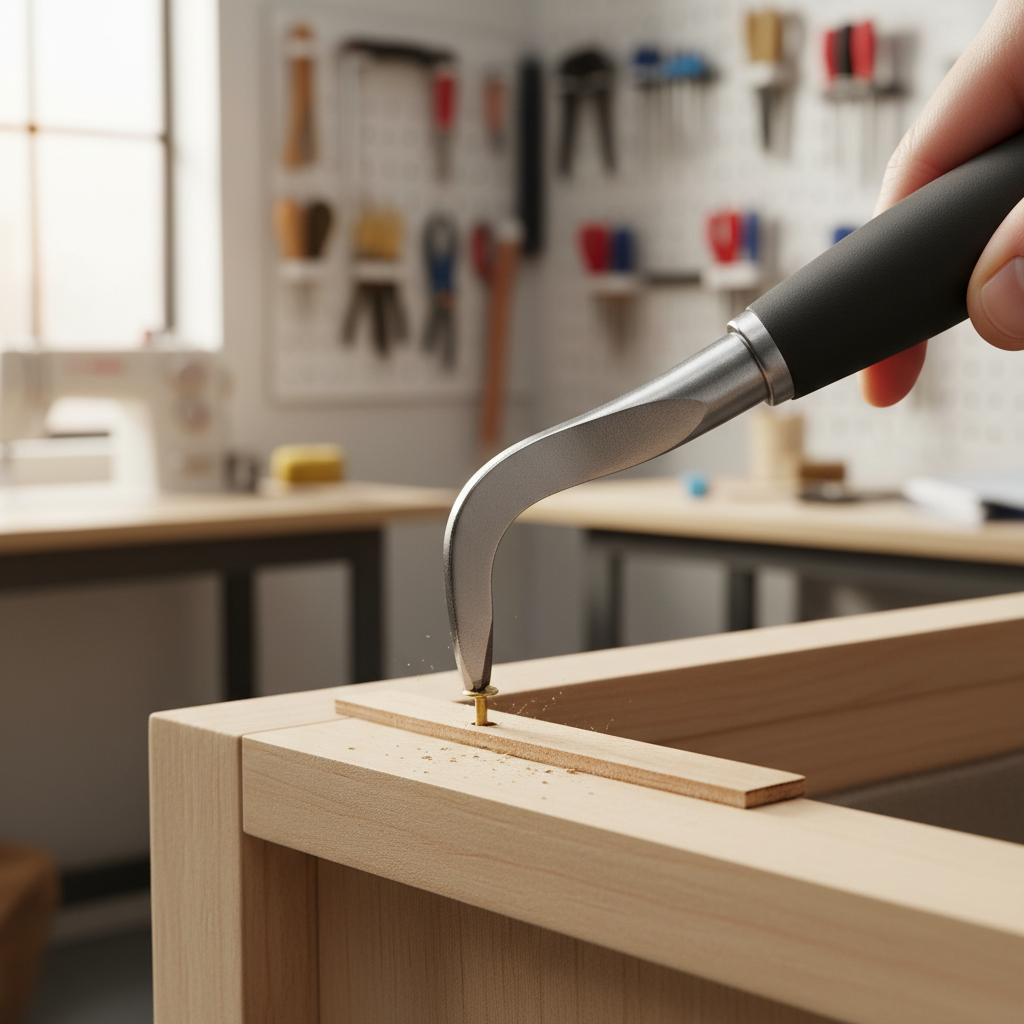
- Use a shim: a thin scrap of wood, rigid plastic, or even a folded putty knife guard helps prevent dents.
- Lift in small increments: pry just enough to raise the head, then move the tool to the opposite side and repeat.
- Finish with a straight pull: once the tack is proud, you can use the remover or switch to pliers for a vertical pull.
If the tack squeals and won’t budge, stop and reassess. Many frames have glue squeeze-out, corrosion, or old finish that effectively “locks” the shank in place.
A practical comparison table (what matters in real projects)
Spec sheets rarely tell you what you feel after an hour of work, so use this as a reality check while shopping.
| Feature | Why it matters | What to look for |
|---|---|---|
| Blade thickness | Too thick won’t slide under heads, too thin can flex | Thin, stiff steel with a clean grind |
| Notch/fork shape | Controls how well it captures the tack head | A notch that “hooks” without slipping off |
| Fulcrum radius | Impacts dents and marring on wood | Smoother rounded curve, not sharp edges |
| Handle comfort | Hand fatigue becomes the limiting factor | Non-slip grip, thicker handle if you have larger hands |
| Durability | Cheap steel can chip or roll at the tip | Hardened steel, solid tang connection |
Common mistakes that cause damage (and what to do instead)
Most damage comes from rushing the first few pulls, then repeating the same approach 300 times. A few corrections save a lot of surface repair.
- Prying against finished show wood: put a shim down even if the finish looks tough, dents don’t sand out easily on edges.
- Pulling through fabric: if fabric is staying, separate it from the fastener head before you pry.
- Trying to yank one-motion removals: “walk” the tack out, especially on old frames.
- Ignoring rusty fasteners: corrosion can bind the shank, rocking gently and lifting incrementally works better than force.
- Leaving broken shanks in place: they can telegraph through new padding, grab with nippers and roll-pull using a shim.
If you’re working around dust and unknown old materials, basic PPE can be a smart choice. According to CDC guidance on lead, older painted surfaces can contain lead, if you’re scraping or sanding nearby areas, consider precautions and consult a professional when you’re unsure.
Key takeaways before you start
- Match the tool to the fastener: tacks, staples, and nailheads behave differently.
- Leverage beats strength: small lifts and repositioning prevent splits and dents.
- Protect the frame: a simple shim often matters more than an “upgraded” tool.
- Plan for breakage: keep nippers handy for snapped shanks.
Conclusion: a small tool that makes upholstery feel manageable
An upholstery tack remover won’t make every fastener easy, but it dramatically improves control, speed, and the quality of what you leave behind. If you’re choosing just one, pick a comfortable classic remover with a thin, stiff blade, then add a staple lifter or nippers when your projects demand it.
Your next step can stay simple: test your technique on a hidden section, use a shim from the start, and if you keep snapping tacks, switch from “pull harder” to “lift in stages.” That’s usually the moment the whole job stops feeling like a fight.
FAQ
- What is an upholstery tack remover used for?
It’s used to lift upholstery tacks and similar small fasteners with controlled leverage, aiming to reduce fabric tears and wood damage compared with improvised tools. - Can I use an upholstery tack remover on staples?
Often yes for occasional staples, but for long staple runs a forked staple lifter tends to be faster and slips under the crown more reliably. - Why do my tacks keep breaking when I pull them?
Old tacks can be brittle, and twisting force from pliers snaps shanks. Try incremental lifting with a shim, and switch to end-cutters if a head breaks off. - How do I avoid denting the wood frame?
Use a thin wood or plastic shim under the tool’s fulcrum and lift in smaller steps. If the frame has veneer or softwood, be extra conservative. - Do I need a tack remover if I’m reupholstering just one chair?
If the chair has many tacks or tight trim areas, the tool usually pays off in time and cleaner edges. If it’s mostly staples, a staple lifter may be the better single purchase. - What’s the difference between a tack remover and nail puller?
Nail pullers are often thicker and built for construction nails. Upholstery tools are slimmer so they can slip under small heads without chewing up surrounding material. - When should I call a professional upholsterer instead of forcing it?
If the frame starts splitting, trim cracks, or you suspect hazardous old finishes, it’s worth pausing and getting advice. Some repairs cost more than the fabric you’re trying to save.
If you’re trying to pick an upholstery tack remover without overbuying, focus on the fasteners you actually see on your piece, then build a small removal kit around that reality, a good remover, a shim, and nippers cover most “stuck tack” moments without drama.