
Digital angle gauge level tools solve a simple problem that wastes a lot of time: you think something is square or set to 45°, then the joint gaps or the cut tells you it wasn’t. When you’re building cabinets, setting a miter saw, leveling a machine, or dialing in a drill press table, being off by even a hair can snowball into rework.
This guide breaks down what actually affects accuracy, how to pick the right gauge for your work, and the small habits that make the readings trustworthy. I’ll also point out the traps people fall into, like relying on a “perfect” number while the surface underneath is the real issue.
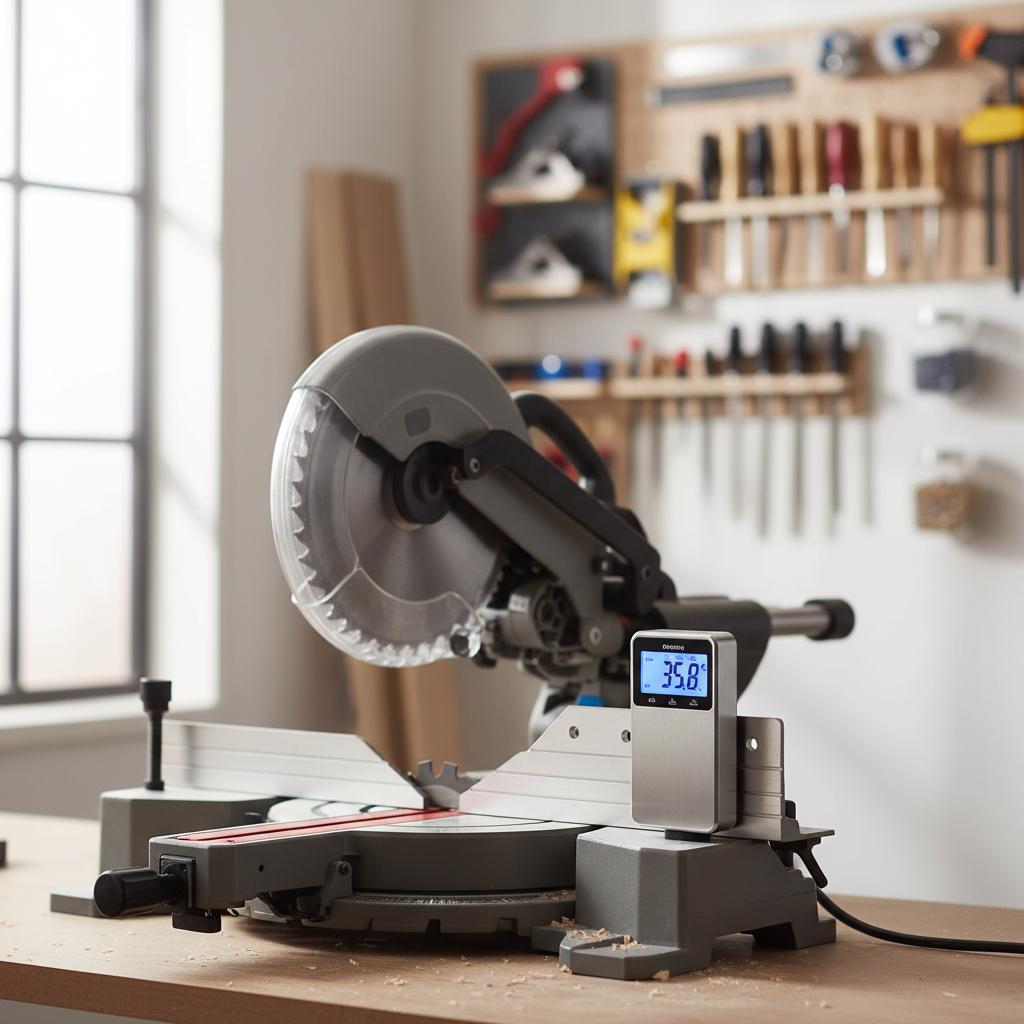
If you’re buying your first unit, the goal is not “the fanciest meter,” it’s repeatable angles you can trust across your typical materials, surfaces, and jobsite conditions.
What a Digital Angle Gauge Level Does (and What It Doesn’t)
At its core, this tool uses an internal sensor to measure tilt relative to gravity. That’s why it can read angles on a saw blade, table, pipe run, or any surface you can place it on. Many models also function as a mini level, but the “angle” feature is usually what people care about.
Two terms matter in real use:
- Accuracy: how close the reading is to the true angle.
- Repeatability: whether you get the same reading each time you set it the same way.
Repeatability often matters more for woodworking and fabrication because you’re matching parts. If your gauge repeats reliably, you can calibrate your process around it. If it drifts, every setup becomes a guess.
Also, an angle gauge can’t fix a warped fence, a dirty reference face, or a saw with play in the pivot. It measures what you give it, including the flaws.
Why Readings Drift: Real-World Causes of “Off by 1 Degree”
When people complain that their numbers don’t match a square or a known angle, it’s usually one of these issues, not “bad luck.”
- Reference surface problems: pitch, sawdust, burrs, paint drips, or a slightly crowned table can change contact points.
- Zeroing on the wrong baseline: zeroing on the bench, then moving to the tool, only works if the bench is truly your reference.
- Temperature and handling: some units can shift slightly if moved from a cold truck to a warm shop, especially right after turning on.
- Magnet contact: if magnets are weak or the surface is non-ferrous, tiny slips happen when you tighten knobs.
- Battery issues: low battery can cause flaky displays or inconsistent readings on some tools.
According to NIST (National Institute of Standards and Technology), measurement reliability depends heavily on calibration and controlled reference standards. You don’t need a lab, but you do need a consistent baseline and a quick calibration habit.
Quick Self-Check: Is Your Setup the Problem or the Tool?
Before returning a tool or chasing your tail on a saw adjustment, run a short sanity check. This takes five minutes and saves hours.
- Flip test: place the gauge on a flat surface, note the reading, rotate it 180° on the same spot, note again. A big difference suggests either surface inconsistency or a gauge issue.
- Zero discipline: zero the unit on the exact surface you’re referencing (for example, the saw table), not “something nearby.”
- Surface wipe: clean both the gauge base and the contact surface. A single chip can ruin a setup.
- Stability check: set the angle, lock it, then re-check. If it changes after tightening, you’re fighting tool movement or flex.
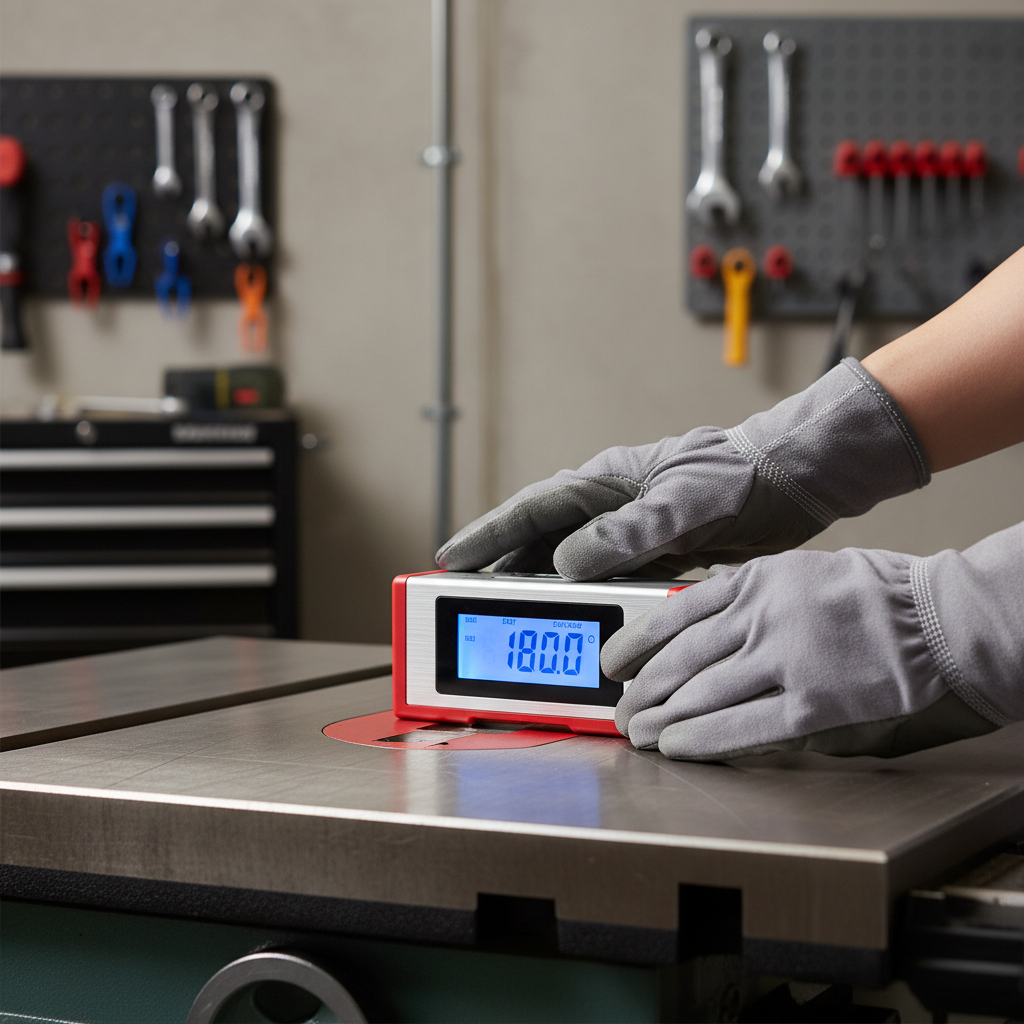
If those steps tighten things up, you’re probably fine. If readings still wander, then it makes sense to look harder at the gauge or at mechanical slop in the machine you’re measuring.
Choosing the Right Digital Angle Gauge Level: Features That Actually Matter
A lot of product pages focus on max range or flashy modes. In practice, a few details decide whether the tool feels reliable day to day.
Key buying criteria
- Resolution vs. accuracy: 0.1° resolution looks precise, but confirm stated accuracy (often ±0.2° or similar, varies by model).
- Magnetic base strength: crucial for saw blades, fences, and steel framing, weak magnets create “mystery drift.”
- Zero function: you want a simple, reliable zero so you can measure relative angles on the same tool.
- Display readability: bright shop lighting, dim garages, and odd viewing angles punish cheap screens.
- Build and sealing: if you work around dust or occasional moisture, a tighter housing helps long-term stability.
One more practical call: if you only do occasional home projects, you can accept more fuss. If you set angles daily, paying for better repeatability is usually worth it because it reduces “setup anxiety.”
Feature Comparison Table (What to Prioritize by Use Case)
This table isn’t about brands, it’s about matching features to how you work.
| Use case | Top priority | Nice to have | Common pitfall |
|---|---|---|---|
| Miter saw / table saw bevel setup | Strong magnets, easy zero, repeatability | Backlit display, hold function | Zeroing on the bench instead of the saw table |
| Cabinet install / finish carpentry | Clear display, fast relative readings | Compact body, protective case | Trusting a number without checking the substrate |
| Metal fab / welding fixtures | Durable housing, magnet strength | Angle lock/hold | Measuring on hot material without letting temps stabilize |
| Machinery setup (drill press, jointer tables) | Repeatability, stable zero | Fine resolution | Ignoring mechanical play in the machine adjustment |
How to Use It for Precise Work: Practical Steps That Hold Up
Digital readouts tempt you to chase perfection. The better approach is consistent reference + controlled tightening, then verify with a quick cross-check when the cut or alignment really matters.
For saw bevel calibration
- Clean the saw table and the gauge base, then place the gauge on the table.
- Zero on the saw table, not the stand or a nearby bench.
- Attach the gauge to the blade (avoid teeth if possible), then tilt to your target angle.
- Lock the bevel, re-check the reading after tightening, then make a test cut on scrap.
For setting a miter or compound angle repeatably
- Use the gauge to verify bevel angle, then use a separate method for miter if your workflow needs it (many people mix tools here).
- Write down the angle that produces the joint you want for your material thickness and saw behavior, then treat that as your shop standard.
For machine table squareness (drill press, band saw table)
- Zero on the base surface, then measure the table tilt relative to that same reference.
- If the machine has backlash, approach the final setting from the same direction each time, otherwise the table can shift when you tighten.
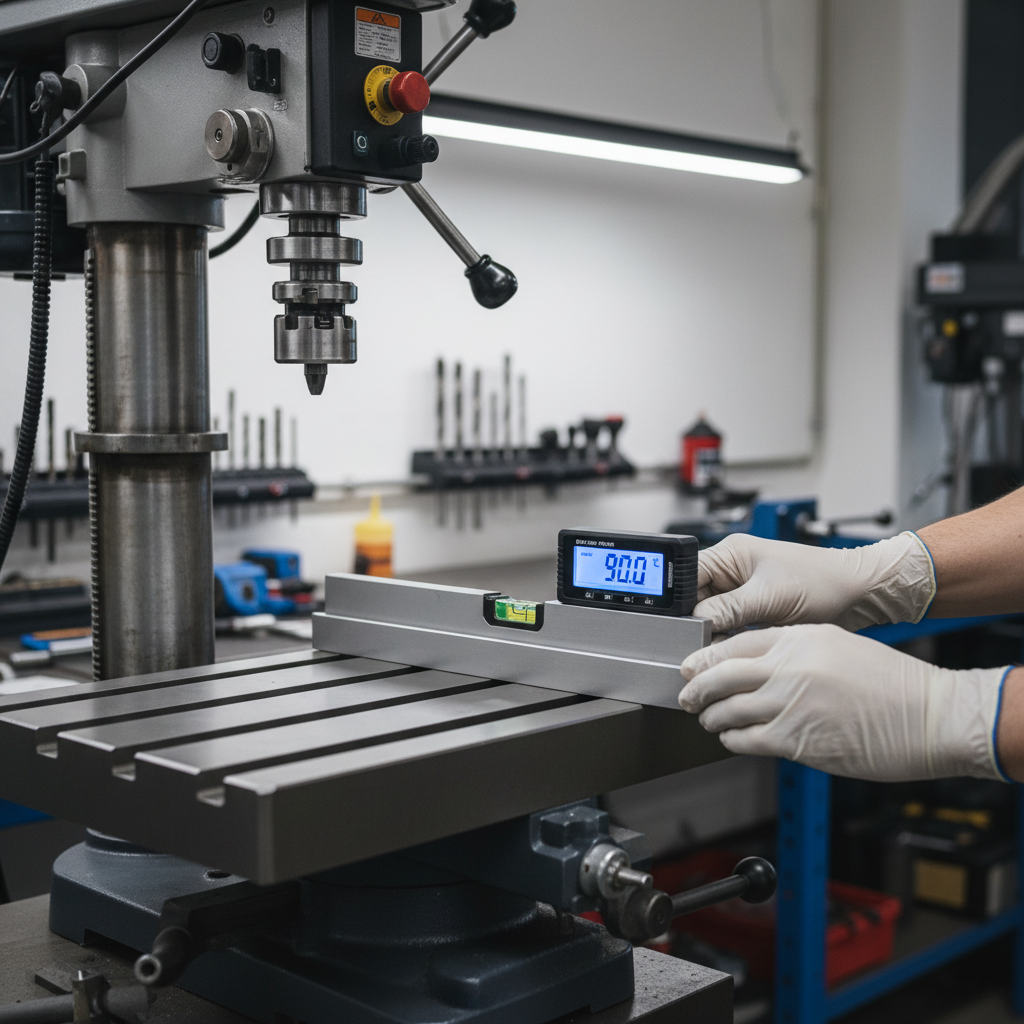
Key takeaway: when accuracy matters, do the final check after everything is tightened and settled. Most “wrong readings” show up at that moment.
Mistakes That Waste Time (Even If the Tool Is Fine)
- Chasing 0.0° on a surface that isn’t flat: you can’t measure past your reference quality.
- Not verifying with a cut or fit: for woodworking, the joint is the truth, not the screen.
- Forgetting relative vs. absolute angle: if you need “45° relative to this surface,” always re-zero on that surface.
- Assuming all 90° standards match: a framing square, a machinist square, and a saw stop can disagree for good reasons.
Also, if you’re working overhead, on ladders, or around spinning blades, keep the workflow simple. According to OSHA, employers should provide training and safe work practices for power tools and machinery; for DIYers, the practical translation is to avoid awkward measuring positions and make adjustments with power disconnected when appropriate.
When to Consider Professional Calibration or a Higher-End Tool
Most people don’t need formal calibration, but there are times it becomes the sane move.
- You’re producing parts where angle error compounds across assemblies, and rework costs more than tooling.
- You see inconsistent results across multiple known-flat reference surfaces.
- The tool was dropped and now fails the flip test repeatedly.
- You’re in a regulated environment or documenting measurements for quality control, where a calibrated instrument or documented procedure may be required.
If precision ties into safety or compliance at a workplace, it’s smart to consult a qualified supervisor, safety officer, or metrology service for guidance on acceptable tolerances and calibration intervals.
Conclusion: Getting Trustworthy Angles Without Overthinking It
A digital angle gauge level pays for itself when you treat it like a reference tool, not a magic truth box. Clean contact surfaces, zero on the correct baseline, lock adjustments carefully, and verify the result in the way your project “reveals” accuracy, usually with a test cut or a fit-up.
If you want one action step today, do this: pick one machine you rely on, run the flip test, then recalibrate your common angles using a consistent zero point. That single habit tends to remove most of the mystery from angle setups.
FAQ
How accurate is a digital angle gauge level for woodworking?
Many units are accurate enough for typical woodworking, but results depend on your reference surface and repeatability. In practice, a reliable, repeatable reading plus a test cut usually beats chasing the smallest displayed number.
Do I need to calibrate a digital angle gauge level every time?
You usually don’t need a full calibration each session, but re-zeroing on the surface you’re referencing is worth doing often. It’s the quickest way to avoid “good tool, wrong baseline” errors.
Why does my reading change when I tighten the bevel lock?
This often comes from mechanical movement as the lock engages or from the gauge shifting slightly on a weak magnetic hold. Try tightening in stages, re-checking after each stage, and ensure the contact surface is clean.
Can I use a digital angle gauge on aluminum or wood?
Yes, but magnets won’t help on non-ferrous surfaces or wood. In those cases, stable placement matters more, and some users add a flat steel plate as an intermediate reference when it fits the workflow.
Is a digital angle gauge the same as a digital level?
They overlap, but they’re not always the same tool. Many angle gauges are compact cubes meant for relative angles on machines, while digital levels are often longer and better for checking level/plumb over distance.
What’s the best way to set a 45-degree bevel reliably?
Zero on the saw table, attach the gauge to the blade body, set to 45°, lock carefully, then make a test cut and check the joint. If the joint closes cleanly, that’s the angle that matters for that saw and blade combo.
My gauge reads 0.0°, but my square says it’s not square—who’s wrong?
Either could be off, or you might be measuring different references. Confirm the surface is flat, do the flip test, and if possible compare against a known reference like a quality machinist square or a verified flat plate.
If you’re setting up a shop and you’d rather skip the trial-and-error phase, it can help to choose an angle gauge that’s easy to zero, stable on your machines, and simple to read at a glance, then build a quick checklist around it so every setup feels repeatable.