
How to organize a tool chest efficiently comes down to one thing: make it faster to grab the right tool and just as fast to put it back, without fighting crowded drawers or mystery piles.
If your chest feels “full” but you still can’t find a 10mm socket, the problem usually isn’t storage space, it’s layout. A few smart rules about zones, drawer priorities, and labeling can turn the same box into something that works like a workstation.
This guide walks through a realistic setup you can maintain, not a perfect-looking chest that falls apart after one weekend. You’ll sort what matters, build a drawer plan, and choose organizers that match how you actually work.
Start with a quick reset: empty, sort, and be a little ruthless
Before you buy organizers or print labels, clear the decks. Pull everything out, wipe drawers, and sort on a bench or floor with enough room to see duplicates and “why do I own this?” items.
A simple sorting approach that usually works:
- Daily-use: tools you touch almost every session.
- Job-specific: tools used for one hobby or one type of repair.
- Rare-use: specialty tools, odd sizes, backups.
- Not tools: random hardware, manuals, batteries, tape, parts.
Be honest about duplicates. Keeping two tape measures makes sense, keeping six mismatched adjustable wrenches “just in case” often does not. If you want a safety net, keep one backup per critical item and store it separately so it doesn’t crowd daily drawers.
Plan your drawer “real estate” like a workflow, not like a catalog
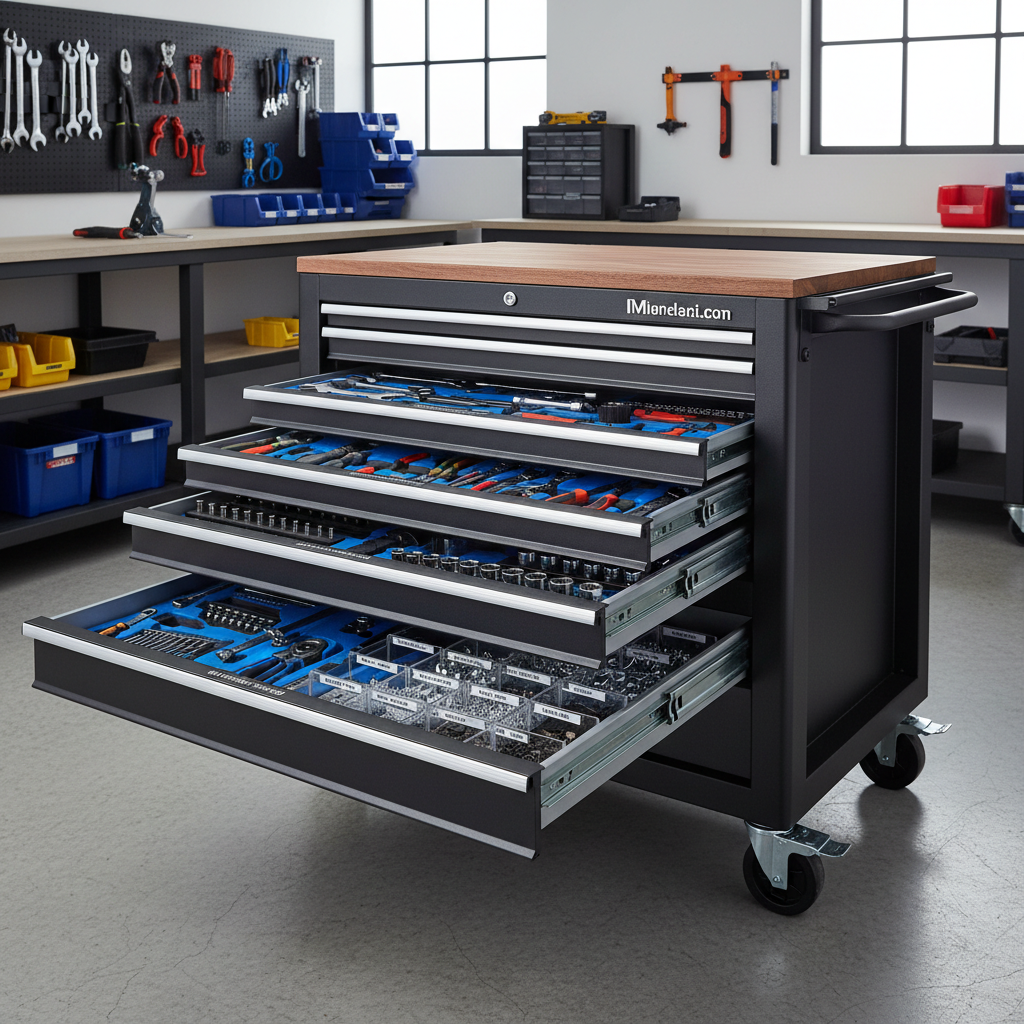
Tool chests work best when drawer placement matches motion: the most-used tools go in the most accessible drawers, and heavier items live lower so the chest feels stable.
A practical rule:
- Top chest / top drawers: small hand tools, measuring, marking, bits.
- Middle drawers: sockets, ratchets, wrenches, pliers, screwdrivers.
- Lower drawers: power tools, large hammers, pullers, bulky kits.
Also, group by “task families,” not brand or tool type alone. For example, if you do automotive work, you’ll often want sockets, ratchets, extensions, and torque tools close together, even if that mixes categories.
Use this drawer map (and adjust it to your chest size)
People get stuck because they never decide where things belong. A drawer map is just a default answer so you’re not rethinking storage every time you clean up.
Below is a starting template you can tweak. The goal is consistency, not perfection.
| Drawer Zone | Best For | Organizer Tip |
|---|---|---|
| Top tray / shallow | Utility knife, tape measure, pencil/marker, small flashlight | Small compartments + one “dump” spot for today’s project |
| Shallow drawers | Screwdrivers, pliers, hex keys, picks | Foam or divider rails to stop rolling |
| Medium drawers | Sockets/ratchets, wrenches, torque wrench | Socket rails; wrench racks; leave finger space |
| Deep drawers | Drill/driver, grinders, cases, larger kits | Non-slip liner + bins to separate batteries/chargers |
| Bottom drawer | Heavy items: big hammers, pullers, pry bars | Keep weight low; avoid stacking sharp edges |
If you share the chest with family or a crew, this mapping matters even more. It reduces “tool drift,” where items slowly migrate into the wrong drawer because nobody knows the default home.

Choose organizers that fit your tools (not the other way around)
The best organizer is the one you’ll keep using. Many people overbuy fancy trays, then hate putting tools back because each slot feels too specific. A balanced setup usually mixes a few systems:
- Socket rails: fast identification, easy to see missing sizes, minimal space waste.
- Wrench racks: keep sets in order; consider angled racks if drawers are shallow.
- Modular dividers: flexible for mixed hand tools, especially pliers and cutters.
- Foam (shadow) organizers: great for precision or travel kits, slower to maintain for big mixed collections.
- Small parts bins: for bits, blades, connectors, fuses, hose clamps.
Also consider drawer liners. A simple non-slip liner reduces sliding and noise, and it can protect tool edges. If you work around oils or solvents, pick a liner that won’t get gummy.
According to OSHA, good housekeeping practices help reduce slip, trip, and fall hazards in work areas, and organized storage supports that goal. Your tool chest won’t fix a messy shop by itself, but it sets a baseline.
Labeling that actually sticks: clear, minimal, and placed where your eyes go
Labels aren’t about aesthetics, they’re about speed. The trick is keeping labels readable and durable without turning every drawer into a sticker collage.
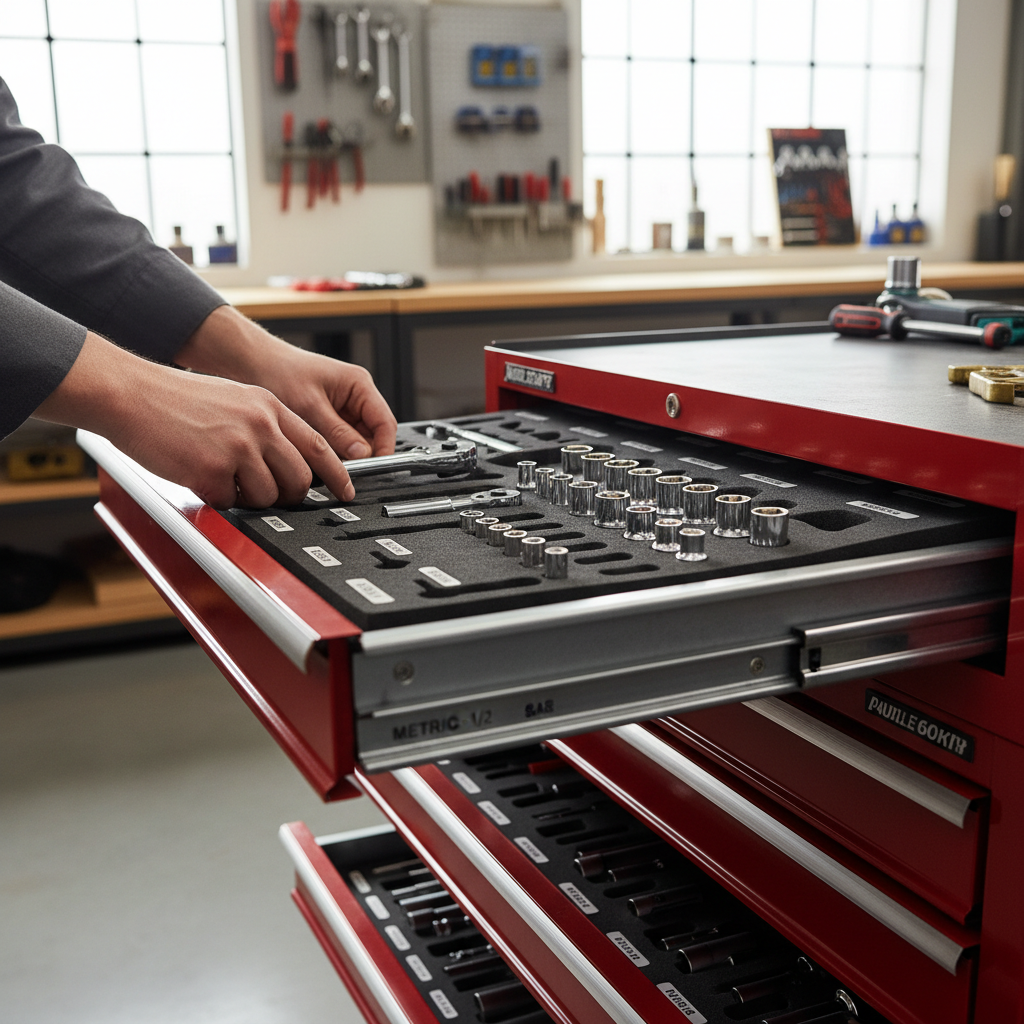
- Label the front of drawers with broad categories: “Sockets,” “Wrenches,” “Electrical,” “Cutting.”
- Label inside only when needed, like “Metric” vs “SAE,” or “Drill Bits” vs “Driver Bits.”
- Use consistent words so you don’t create duplicates like “Fasteners” and “Hardware.”
If you print labels, use oil-resistant tape or a label maker. If you use masking tape, accept it as a temporary solution and schedule a quick upgrade once the layout proves itself.
Step-by-step: a setup you can finish in one afternoon
If you want a straightforward path, this sequence is usually the fastest without causing a full weekend spiral.
1) Put daily-use tools away first
Start by placing your most-used items into the most accessible drawers. Don’t chase perfect spacing yet, just create the “working core” so the chest is usable immediately.
2) Build sets and keep them complete
Group socket sets, wrench sets, and driver sets together. In practice, missing pieces create the most frustration, so make it easy to notice what’s gone.
3) Give parts and consumables their own lane
Fasteners, zip ties, electrical connectors, blades, and sandpaper tend to invade every drawer. Put them in bins or a dedicated drawer, and keep a small “project bin” for current jobs.
4) Add one intentional empty space
This feels wrong, but it’s the difference between a system and a photo. Leave a little buffer space for new tools or temporary overflow so you don’t break the whole layout next month.
Key point: If you’re aiming for how to organize a tool chest efficiently, your “put-back friction” matters more than your “first-time layout.” Make returning tools the easy part.
Mistakes that quietly ruin an organized tool chest
Most tool chests don’t fail because people never organized them, they fail because the system is annoying to maintain.
- Over-categorizing: too many micro-drawers makes cleanup slow, so tools land wherever.
- Mixing “clean” and “dirty” tools: oily automotive tools will spread grime; consider a separate drawer or liner.
- Storing heavy tools up high: drawers bind, the chest gets tippy, and you stop using that drawer.
- No home for small parts: loose bits and screws become drawer sand, which scratches tools and wastes time.
- Buying organizers before measuring: common issue, and it’s expensive. Measure drawer depth and internal width first.
If the chest is in a shared garage, another common problem is “borrowed tools with no return path.” A simple fix is a small return bin on top labeled “Put Away,” so borrowed items don’t get shoved into the wrong drawer.
When to rethink your storage (or ask for help)
Sometimes it’s not an organization issue, it’s a capacity or safety issue. Consider a different setup if drawers won’t close without forcing, or if sharp tools shift when you roll the chest.
- If you store chemicals, batteries, or fuel items in the chest, check manufacturer guidance and local safety rules, and when in doubt, ask a qualified professional.
- If your work involves regulated environments like aviation or industrial maintenance, your workplace may require shadow boards, tool control, or inventory checks.
- If you keep injuring knuckles on jammed drawers or dropping heavy tools, it may be time for a larger chest or a wall storage add-on.
According to NFPA, safe storage and good housekeeping support fire prevention in many settings. You don’t need to overthink it, just avoid stuffing flammables into random drawers and keep your workspace easy to move through.
Conclusion: keep it simple, keep it repeatable
If you want how to organize a tool chest efficiently to stick, aim for a layout you can maintain on a tired weeknight. Put daily tools where your hands naturally reach, keep sets together, and give small parts a contained home.
Pick one action today: sketch a drawer map on paper, or empty just one problem drawer and rebuild it with a clear category. Small wins compound fast with tool storage.