
Floor scraper tool adhesive jobs are usually where DIY confidence goes to die, not because the work is “hard,” but because adhesive behaves differently on concrete, wood, and vinyl, and the wrong blade or angle can turn a clean-up into a repair project.
If you’re removing carpet glue, vinyl tile mastic, peel-and-stick backing, or construction adhesive, the goal stays simple, lift the residue efficiently while keeping the substrate intact. The trick is matching tool style, blade type, and softening method to what’s actually on your floor.
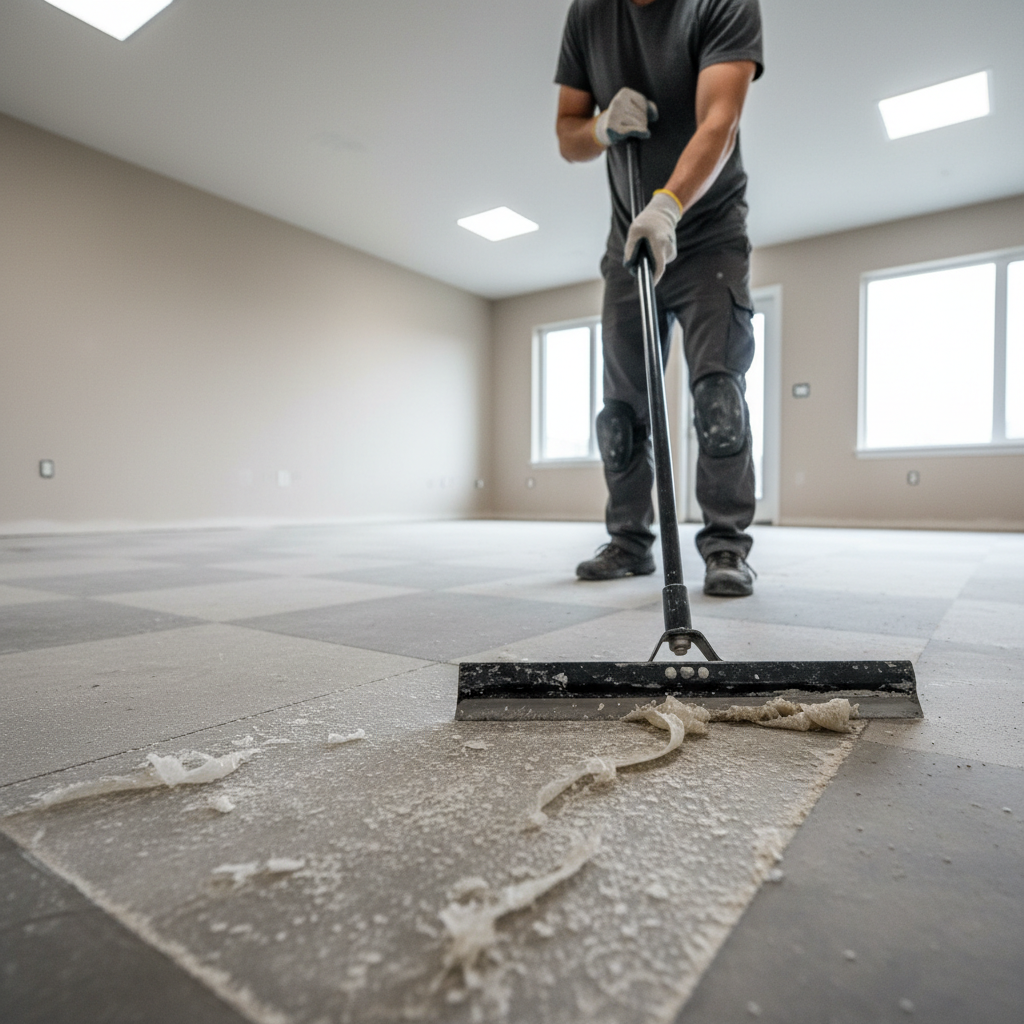
This guide helps you decide what scraper works, how to avoid gouges, and when a chemical remover or a pro makes more sense. I’ll also call out common “it worked on YouTube” advice that often backfires in real homes.
Why adhesive removal gets messy (and why scrapers struggle)
Most people assume adhesive is a single problem, but in practice it’s a family of problems. A floor scraper can feel useless if you’re fighting the wrong kind of stickiness.
- Adhesive type: Carpet glue and VCT mastic can be rubbery or tar-like, while thinset or construction adhesive can be rigid and brittle.
- Adhesive age: Older adhesive can harden and shear cleanly, or it can oxidize into a gummy film that smears under a blade.
- Subfloor texture: Smooth concrete releases differently than porous concrete; wood can splinter; vinyl can tear if you catch an edge.
- Temperature and humidity: Warm adhesive cuts easier, cold adhesive chips or skates, and that changes how you hold the tool.
According to OSHA, tools and blades that slip are a common source of hand and body injuries on job sites, which is a good reminder that “just scrape harder” is rarely the right move.
Pick the right floor scraper tool for adhesive removal
There isn’t one scraper that wins every time. What you want is enough leverage and the right blade profile so you remove material, not dig trenches.
Common scraper options (what they’re good at)
- Long-handle floor scraper (stand-up): Best for large areas, reduces back strain, works well on concrete and underlayment.
- Hand scraper: Better for corners, around door jambs, stairs, and detail work where control matters more than speed.
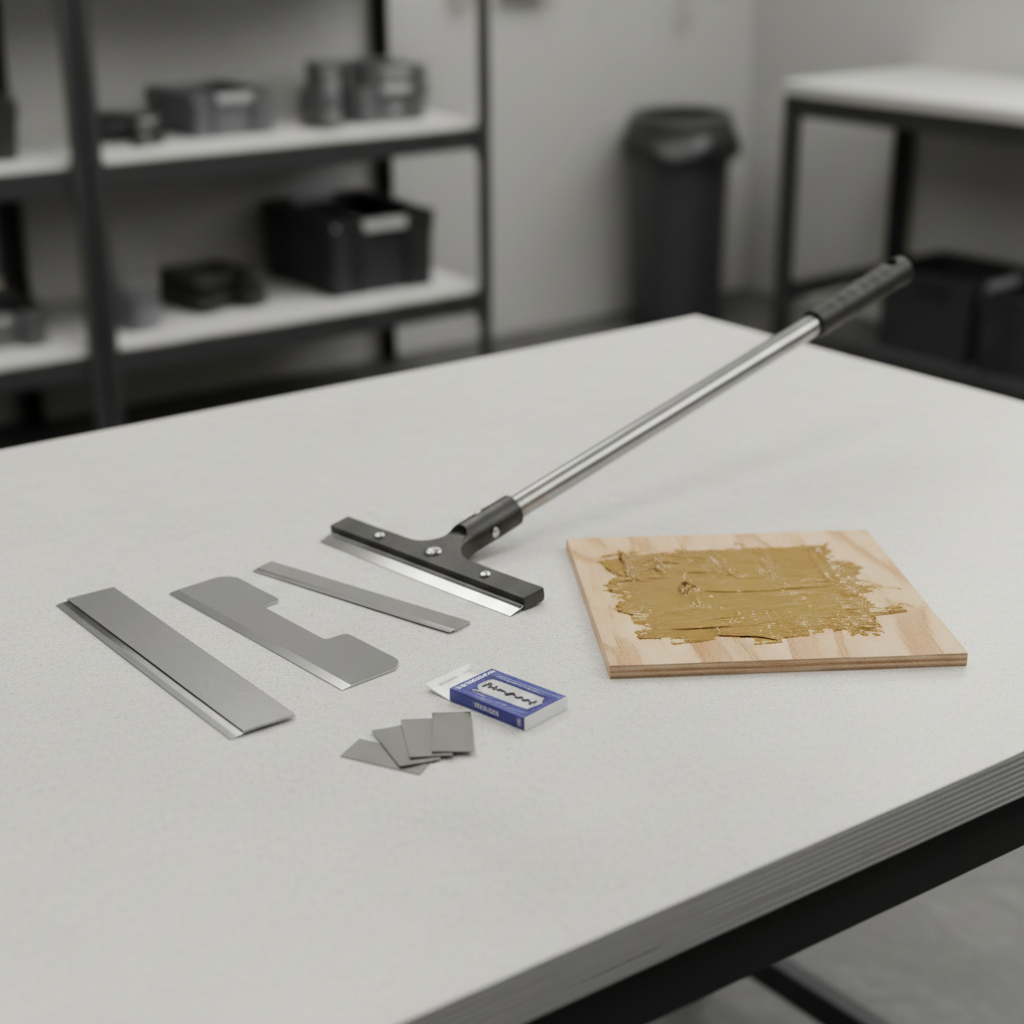
- Razor scraper (with replaceable blades): Good for thin films on smooth surfaces, but can chatter and gouge soft wood.
- Oscillating multi-tool scraper blade: Helpful for tight spots and brittle adhesive, slower for whole-room removal.
Blade material and edge shape matter
- Rigid steel blades: Strong for thick adhesive, more likely to scratch if you keep a steep angle.
- Flexible blades: Better for thin residue, they ride the surface and reduce gouging risk.
- Beveled vs square edge: Beveled edges bite and lift, square edges can be gentler on softer substrates.
Quick self-check: what are you actually removing?
Before you buy another blade pack, take two minutes and identify what you’re up against. It changes everything about a floor scraper tool adhesive approach.
- Color and texture: Black/brown tar-like material often behaves like mastic, clear/yellow can be construction adhesive, tan can be carpet glue.
- Smear test: If it smears when warmed by your hand, plan on softening or using a remover instead of brute force.
- Chip test: If it chips cleanly with a putty knife, scraping usually works fast with a sharp rigid blade.
- Surface sensitivity: If it’s hardwood you plan to refinish, assume you must minimize scraping aggression.
If you suspect asbestos in older tile/mastic (common concern in pre-1980s materials), stop and consider testing. According to the EPA, asbestos fibers can be hazardous when disturbed; local rules and lab testing options vary, and a professional assessment is often the safer route.
A practical method that works in most rooms
This is the workflow many contractors default to because it balances speed and control. You’ll still adjust based on the floor type, but the sequence holds up.
Step-by-step scraping workflow
- Clear and protect: Remove tack strips, staples, and nails, then tape off vents and doorways to limit dust travel.
- Choose your “test corner”: Start in a small area to confirm blade angle and whether softening is needed.
- Set blade angle low: Aim for a shallow angle so the blade slides under adhesive instead of digging into the substrate.
- Work in lanes: Push forward 12–24 inches, lift, reset, and overlap slightly, this prevents random gouges.
- Swap blades early: Dull blades waste time and tempt you to add force, which is where damage happens.
- Finish with residue strategy: Scraping is for bulk removal; thin films often need a different finish step.
If your adhesive turns gummy and rolls into balls, that’s your cue to stop “more pressure” and switch to softening or chemistry, otherwise you’ll spend hours polishing a smear.
Use this table to match surface, adhesive, and approach
Think of this as a quick decision map. It won’t cover every edge case, but it prevents the most common mismatches.
| Floor surface | Common adhesive | Scraper choice | Helpful add-on |
|---|---|---|---|
| Concrete | Carpet glue, mastic | Long-handle scraper, rigid blade | Adhesive remover or heat for gummy spots |
| Plywood/OSB | Construction adhesive, felt backing | Long-handle scraper, flexible blade | Gentle softening, avoid aggressive grinding |
| Hardwood (to refinish) | Thin glue film | Hand scraper, flexible edge | Mineral-spirits-type cleanup (check finish compatibility) |
| Vinyl sheet/VCT (keep surface) | Sticker/adhesive residue | Razor scraper with light pressure | Residue remover designed for vinyl |
When scraping isn’t enough: heat, solvents, and mechanical help
A floor scraper tool adhesive plan works best for bulk removal, but thin residue often needs a second tool. The key is choosing the least aggressive method that still moves the job forward.
Heat (good when adhesive turns rubbery)
- Use a heat gun carefully, keep it moving, test small areas.
- Watch for fumes and soften only what you can scrape within a minute or two.
- If you’re near baseboards, paint, or unknown underlayment, heat can cause warping or discoloration.
Chemical adhesive removers (good for films and smears)
- Pick products labeled for your adhesive type and floor surface, especially for vinyl or finished wood.
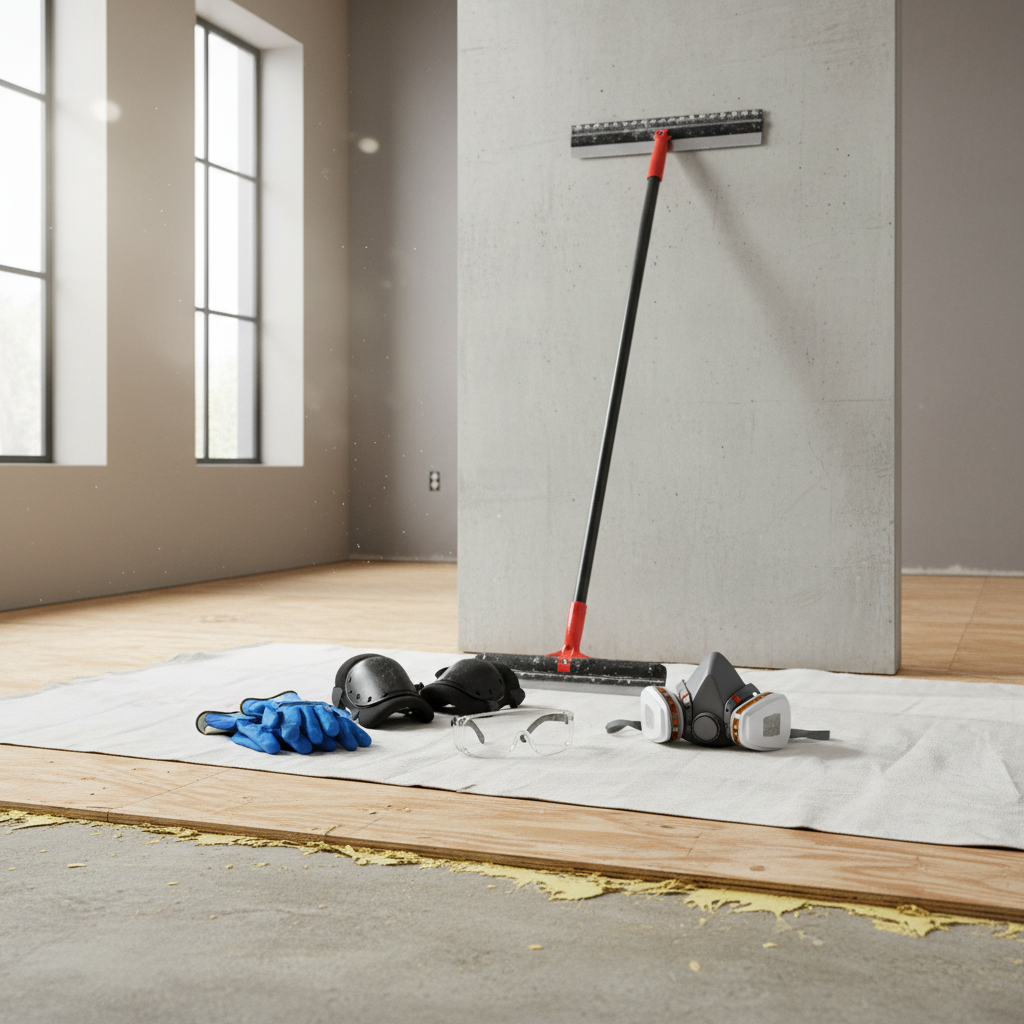
- Ventilate well, wear gloves, and follow label dwell time, rushing usually makes a sticky mess.
- Plan for cleanup, many removers leave an oily residue that can interfere with new flooring adhesives.
Mechanical options (use with caution)
- Floor buffer with stripping pad: Can help with thin residue on concrete, but it can spread goo if adhesive is soft.
- Diamond grinding: Effective on concrete for stubborn mastic, but it creates dust and changes the surface profile.
According to NIOSH, silica dust from concrete work can be harmful when inhaled; if you grind, dust control and proper respiratory protection matter, and many people decide to hire this part out.
Common mistakes that waste hours (or damage the subfloor)
- Using a steep blade angle: It feels powerful, then you notice gouges that telegraph through new flooring.
- Over-wetting with remover: Too much liquid can soak into seams, swell wood products, or create a slick residue layer.
- Skipping blade changes: A sharp blade is faster and safer than “one more pass” on a dull edge.
- Not checking re-bond risk: Some adhesives re-tack as they cool or dry, you scrape twice and wonder why it returns.
- Ignoring compatibility with new flooring: Certain residues can cause failure with self-leveler, primer, or new glue.
Key takeaway: If you feel like you must muscle the scraper, it usually means the blade is wrong, dull, or you need to soften the adhesive before scraping.
When it’s smarter to call a pro
DIY is reasonable for many rooms, but a few scenarios are where professional help often saves money, not just time.
- Suspected asbestos materials in old tile or black mastic, testing and abatement rules can be strict.
- Large square footage where rental ride-on or powered scrapers make more sense than hand labor.
- Concrete moisture or leveling issues if you plan to install LVP, tile, or glue-down flooring afterward.
- Health sensitivities to dust or chemicals, ventilation and containment become a bigger deal.
If you’re unsure, a flooring installer or remediation professional can often give a quick assessment and tell you whether scraping alone is realistic for your specific adhesive.
Conclusion: a cleaner adhesive removal plan (without wrecking your floor)
Getting good results comes from a simple mindset shift, use the floor scraper tool for adhesive bulk removal, then switch methods for the last thin layer instead of trying to scrape everything perfectly in one pass.
Pick one small test area, confirm your blade angle and whether the adhesive smears or chips, then commit to the workflow. If you hit red flags like suspected asbestos, heavy dust, or a surface you can’t afford to damage, pause and get professional input before pushing forward.
FAQ
What is the best floor scraper tool for adhesive on concrete?
A long-handle floor scraper with a sharp rigid blade is a common pick for concrete because it gives leverage and covers area quickly. If residue smears, pairing scraping with an adhesive remover often finishes faster than forcing the blade.
How do I keep a scraper from gouging plywood or OSB?
Use a shallower blade angle and consider a more flexible blade so it rides over the surface. If adhesive is thick, take thinner passes rather than trying to lift it in one chunk.
Should I use heat or chemical remover for sticky glue?
For rubbery or gummy glue, gentle heat can help it release, but fumes and surface damage are real risks. A remover designed for that adhesive type can be more controlled, as long as you follow label directions and clean residue before installing new flooring.
Can I scrape adhesive off hardwood floors I plan to refinish?
You can, but it’s easy to leave chatter marks that show up later. Many people do light scraping for bulk removal, then use sanding as part of the refinishing process, if you’re not experienced, a flooring pro can advise based on wood species and thickness.
Do I need to remove all adhesive before installing LVP?
Often you need the surface reasonably flat and stable rather than visually spotless, but requirements vary by manufacturer and underlayment system. Check the installation instructions for your specific product, especially around level tolerances and primer needs.
Why does adhesive feel like it comes back after I scrape it?
Some products re-tack as solvents evaporate or as temperatures change, and thin films can stay sticky even after bulk removal. Switching to a remover and doing a proper final wipe-down usually fixes that better than repeated dry scraping.
Is grinding adhesive off concrete safe?
It can be effective, but dust control matters, and silica exposure is a real concern. If you don’t have the right vacuum setup and respiratory protection, it’s one of those tasks that may justify hiring out.
If you’re trying to choose a scraper, blade style, or remover that fits your exact floor and adhesive type, it often helps to list your surface, the adhesive behavior (chips vs smears), and what flooring goes on next, with that, you can narrow to a more “set it up once and finish” plan instead of cycling through random tools.