
how to use a hole saw for clean holes usually comes down to three things: the right saw and arbor, a drill setup that stays stable, and a cutting technique that avoids heat, chatter, and tear-out.
If you’ve ever watched a hole saw skate across the surface, burn the wood, or rip a ragged exit hole, you already know this isn’t just “push harder.” Clean holes matter for electrical box knockouts, door hardware, plumbing penetrations, HVAC pass-throughs, and any time the edge will stay visible.
Below is a practical, jobsite-friendly way to get cleaner cuts in wood, drywall, metal, plastic, and tile, plus a quick table for matching your setup to the material.
Pick the right hole saw and arbor (most clean holes start here)
Clean results get a lot easier when the cutter matches the material, and when the arbor (the holder) runs true. A cheap, dull, or wrong-tooth saw can still “make a hole,” but it often leaves tear-out, scorch marks, and an out-of-round cut.
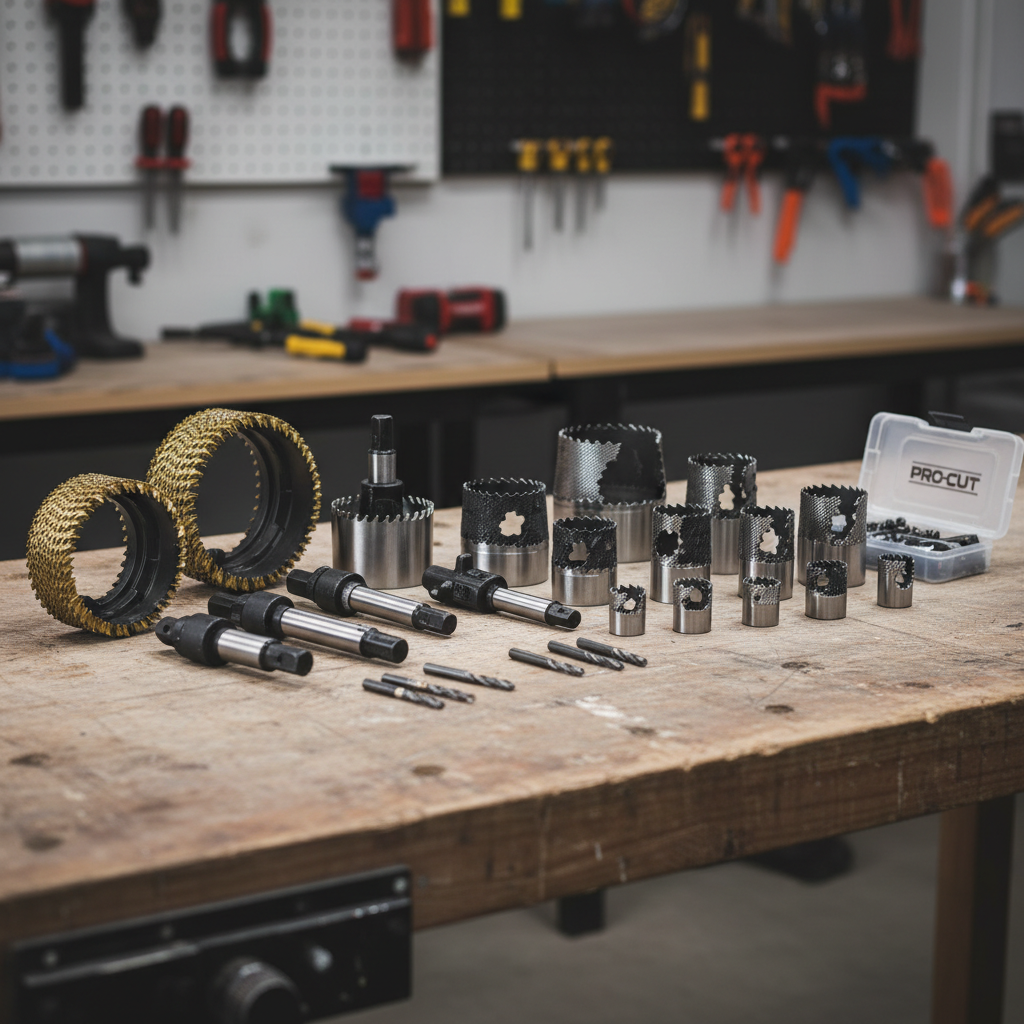
Common hole saw types (what they’re good at)
- Bi-metal: a solid all-around choice for wood, drywall, thin metal, and plastic. Often the best “one kit” option.
- Carbide-tipped: better for harder materials, thicker wood, cement board, and some metals, usually cuts cooler and stays sharp longer.
- Diamond grit: the typical go-to for tile, porcelain, and stone, usually used wet for dust control and cooler cutting.
Arbor details that affect cut quality
- Match the arbor to the saw size range (small vs large). A loose fit invites wobble.
- Use a sharp pilot bit. A wandering pilot makes the whole saw wander.
- Check runout (wobble). If the saw visibly wobbles, you’ll fight chatter and ragged edges.
Set up for control: speed, support, and a clean start
Most rough holes aren’t “bad luck,” they come from a shaky first second. You want the pilot bit to establish a centered path, then the teeth to start cutting without bouncing.
Drill selection and speed
- Use low speed, high torque for larger diameters and for metal. High RPM builds heat and dulls teeth fast.
- A side handle helps on a high-torque drill. Hole saws can grab, especially in thick stock.
- Consider a drill press when possible. If “clean hole” is the priority, vertical stability wins.
Clamping and backing
- Clamp the work. Holding by hand is how pieces spin, edges chip, and wrists get tweaked.
- Add a sacrificial backer board for wood and laminates. It supports fibers at the exit and reduces blowout.
- Mark center clearly and punch a small dimple if the surface is slick (especially on metal).
Material-by-material settings (quick reference table)
If you only take one shortcut, use this table. The right speed and cooling approach prevents burning, melted plastic, and blue-hot metal teeth.

| Material | Hole saw type | Speed approach | Key “clean edge” move |
|---|---|---|---|
| Softwood/plywood | Bi-metal or carbide | Low to medium | Use a backer board, pause to clear chips |
| Hardwood | Carbide preferred | Low | Score the rim, keep feed steady to avoid burn |
| Drywall | Bi-metal | Medium | Light pressure, avoid tearing paper face |
| Thin steel/aluminum | Bi-metal or carbide | Low | Use cutting oil, peck to manage heat |
| PVC/plastic | Bi-metal fine-tooth | Low | Short pecks so plastic doesn’t melt and weld |
| Tile/porcelain | Diamond grit | Low | Keep bit cool with water, start at an angle |
According to OSHA, controlling dust and using appropriate PPE can reduce exposure risks on jobsites, which matters when cutting drywall, cement board, or tile where fine dust becomes an issue.
Step-by-step: the technique that prevents tear-out and wandering
This is the part most people skip because it sounds “slow,” but it’s the fastest way to a clean hole since you avoid rework.
1) Start the cut without skating
- Set the pilot bit on your center mark, keep the drill perfectly perpendicular.
- Feather the trigger until the pilot establishes, then let the teeth kiss the surface.
- If the surface is slick, use painter’s tape over the mark, or a center punch on metal.
2) Score a shallow groove before committing
- Cut a shallow ring, then stop and check alignment.
- This tiny groove guides the teeth and reduces chatter marks.
3) Use “pecking” to clear chips and manage heat
- Cut for a few seconds, back out to clear chips, then continue.
- On metal, add a drop or two of cutting oil to keep temperatures down.
4) Protect the exit side
- When you’re about to break through wood, slow down and reduce pressure.
- Better: stop when the pilot bit pokes through, flip the workpiece, finish from the other side for a clean exit rim.
Key takeaway: steady feed beats brute force. If you hear squealing, smell burning, or see smoke, the tool is telling you the speed or pressure is off.
A quick self-checklist (diagnose why your holes look rough)
If your results are inconsistent, it’s usually one of these issues. The fix is often simple, but it helps to name the problem.
- Wandering at start: pilot bit dull, no punch mark, drill not square, too much trigger too soon.
- Tear-out on the back: no backer board, breaking through too fast, finishing from one side only.
- Burn marks in wood: RPM too high, dull teeth, chips packed in kerf, feed pressure too light and rubbing.
- Chatter and oval hole: loose arbor, workpiece not clamped, drill runout, starting before pilot bites.
- Metal turns blue / teeth dull fast: no oil, speed too high, not clearing chips.
- Plastic melts: too much heat, continuous drilling without pecking, wrong tooth pattern.
Clean-up and finishing moves that make the hole look “intentional”
Even with perfect technique, many holes benefit from 30 seconds of cleanup, especially if the hole edge stays visible.
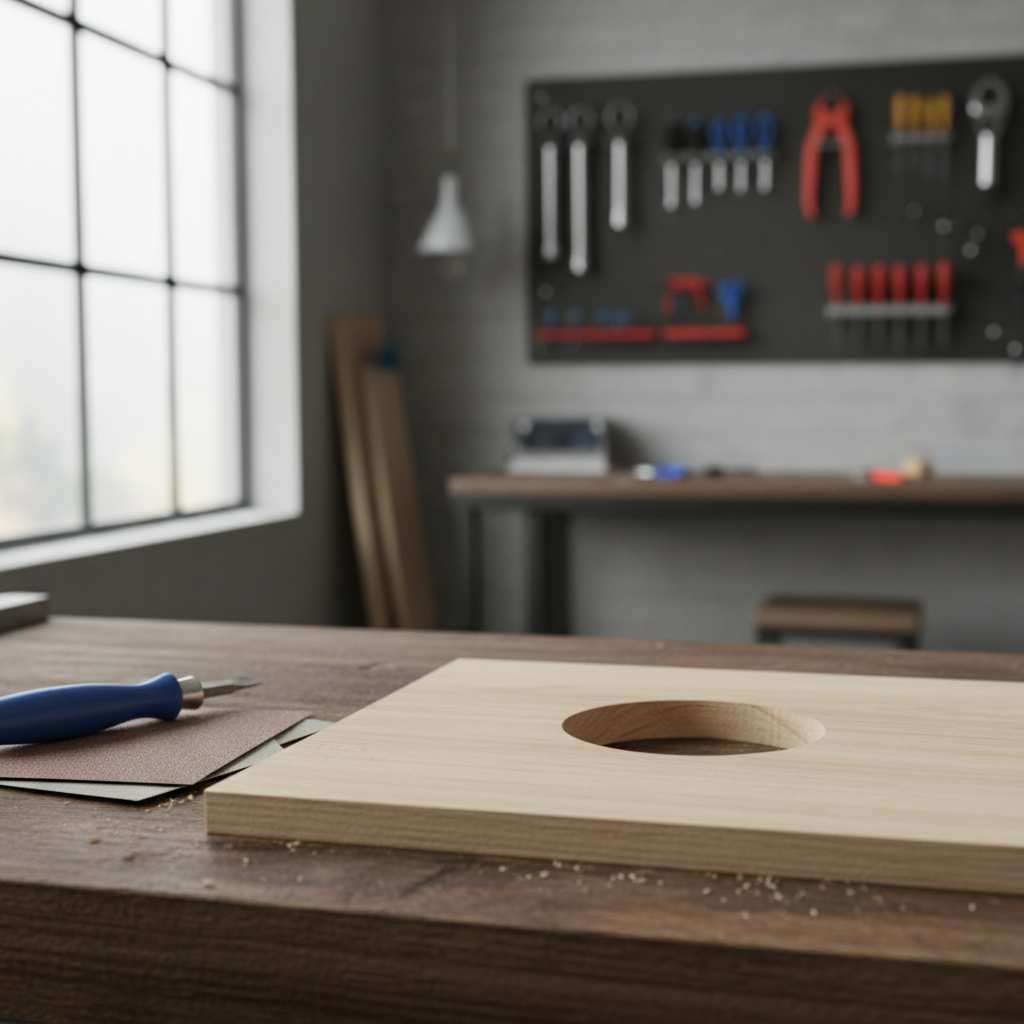
- Deburr metal edges with a deburring tool or a file, sharp burrs can cut hands and snag wires.
- Light sand wood edges with 120–180 grit for a crisp rim, especially on plywood.
- Seal exposed wood fibers when the hole will see moisture, a small brush of primer or sealant can help.
- Test-fit the hardware before you put tools away. A tiny adjustment is easier now than later.
Safety notes and when to get help
Hole saws bite, and they do it suddenly. If the saw binds, the drill can twist hard enough to injure a wrist or damage the workpiece.
- Clamp the work and keep your stance stable, especially with larger diameters.
- Use eye protection, and consider hearing protection for metal cutting.
- Watch for wiring and plumbing before drilling into walls. In many situations, a stud finder with wire detection helps, but it’s not perfect.
- Control dust with a vacuum attachment when practical, and wear a respirator if dust is heavy or the material is unknown.
If you’re cutting through load-bearing framing, exterior masonry, or you suspect asbestos-containing materials in older buildings, it’s smart to pause and consult a qualified contractor or abatement professional. That’s not alarmism, it’s just how expensive surprises get avoided.
Conclusion: a clean hole is mostly process, not luck
Once you dial in the basics, how to use a hole saw for clean holes feels repeatable: choose the right saw, start gently and square, manage chips and heat, then protect the exit side. If your holes still look rough, treat it as a diagnostic problem, not a skill issue, the checklist above usually points to the culprit.
Action steps: on your next cut, add a backer board and slow the breakthrough, then compare the edge quality. If you cut metal or tile often, consider upgrading to the right specialty hole saw, it tends to pay for itself in fewer ruined pieces.
If you need a more predictable setup for repeated holes, a quality arbor, fresh pilot bits, and a simple clamping jig can make the process feel almost boring, which is exactly what you want.