
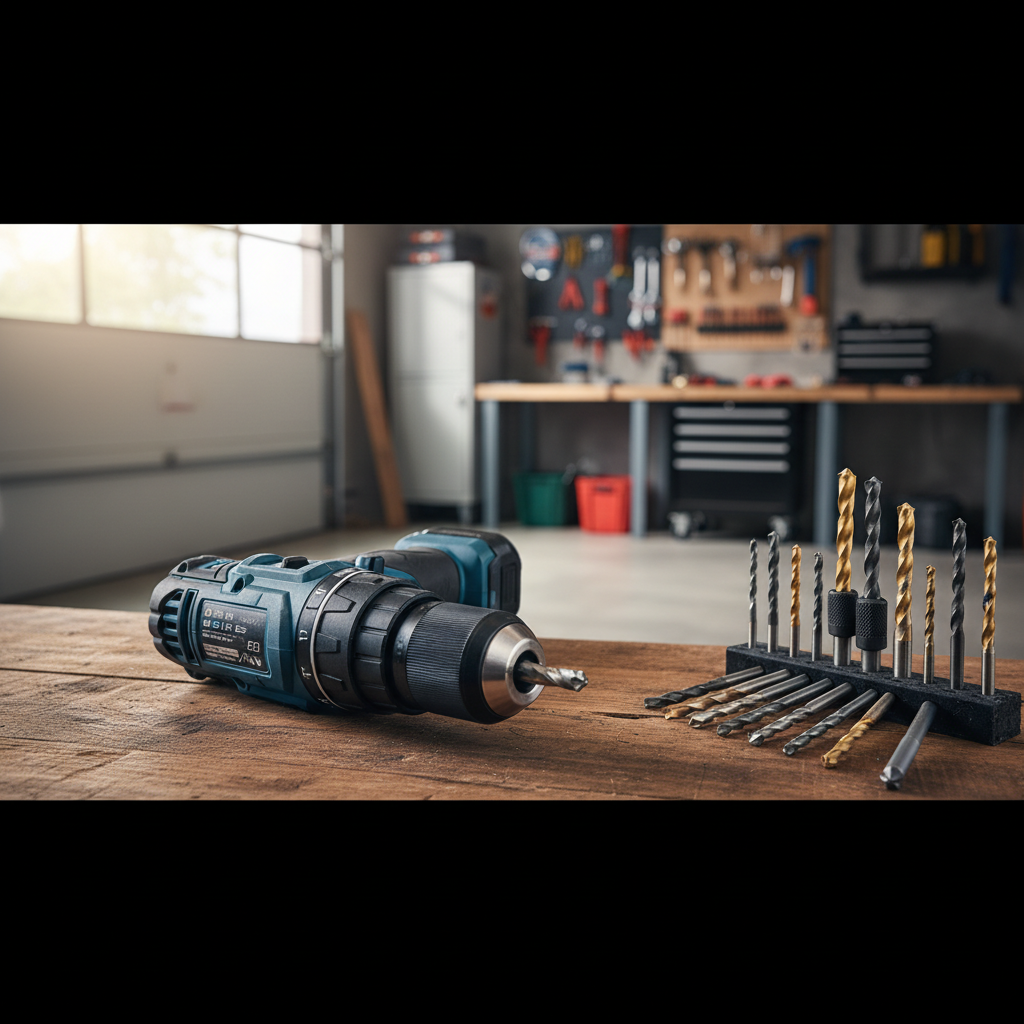
How to change a drill bit is one of those “simple” tasks that still trips people up, usually when you’re mid-project, your hands are dusty, and the bit refuses to budge.
The good news is that most drill bit swaps come down to knowing which chuck you have, how to lock the drill, and how tight is tight enough, without overdoing it. Once you get the feel, it becomes a 30-second habit.
This guide walks through keyed and keyless chucks, what to do when a bit is stuck, and a few safety checks that prevent annoying wobble, stripped screws, and snapped bits.
Before you start: quick safety and setup
Changing a bit is where a lot of accidental trigger presses happen, especially with cordless drills. According to OSHA, guarding and safe tool handling practices help reduce common jobsite injuries, so treat the bit change as a “power off” moment, not a casual adjustment.
- Remove power: unplug a corded drill, or pop the battery out on a cordless model.
- Let the bit cool: bits can get hot after drilling metal or masonry.
- Wear eye protection: small chips or a dropped bit can bounce in weird ways.
- Use the right bit style: round shank bits fit most chucks, hex shank bits also fit many quick-change setups.
If you’re on a ladder or working overhead, step down first. It’s not dramatic, it’s just where “minor” mistakes turn into real problems.
Identify your chuck type (this changes the steps)
Most homeowner drills in the U.S. use a keyless chuck, meaning you hand-tighten the chuck sleeve. Some older or heavier-duty models use a keyed chuck with a separate chuck key. Impact drivers are different again, they usually take 1/4-inch hex bits with a quick-release collet.
| Tool / Chuck | How it tightens | Common clue |
|---|---|---|
| Keyless drill chuck | Twist by hand | No chuck key; often says “keyless” on the sleeve |
| Keyed drill chuck | Chuck key turns gear teeth | Has a small key; toothed ring around chuck |
| Impact driver collet | Pull collar, insert/remove hex bit | 1/4-inch hex only; no multi-jaw chuck |
How to change a drill bit on a keyless chuck (most common)
This is the version most people mean when they search how to change a drill bit, and it’s also where wobble happens if the bit isn’t seated straight.
Step-by-step
- Set the drill to “reverse” (counterclockwise) and a low speed setting if your drill has a 1/2 selector.
- Hold the chuck with one hand and lightly squeeze the trigger with the other to loosen, or twist the chuck by hand if it’s already loose.
- Open the jaws enough to drop the old bit out, then wipe dust from the jaws if needed.
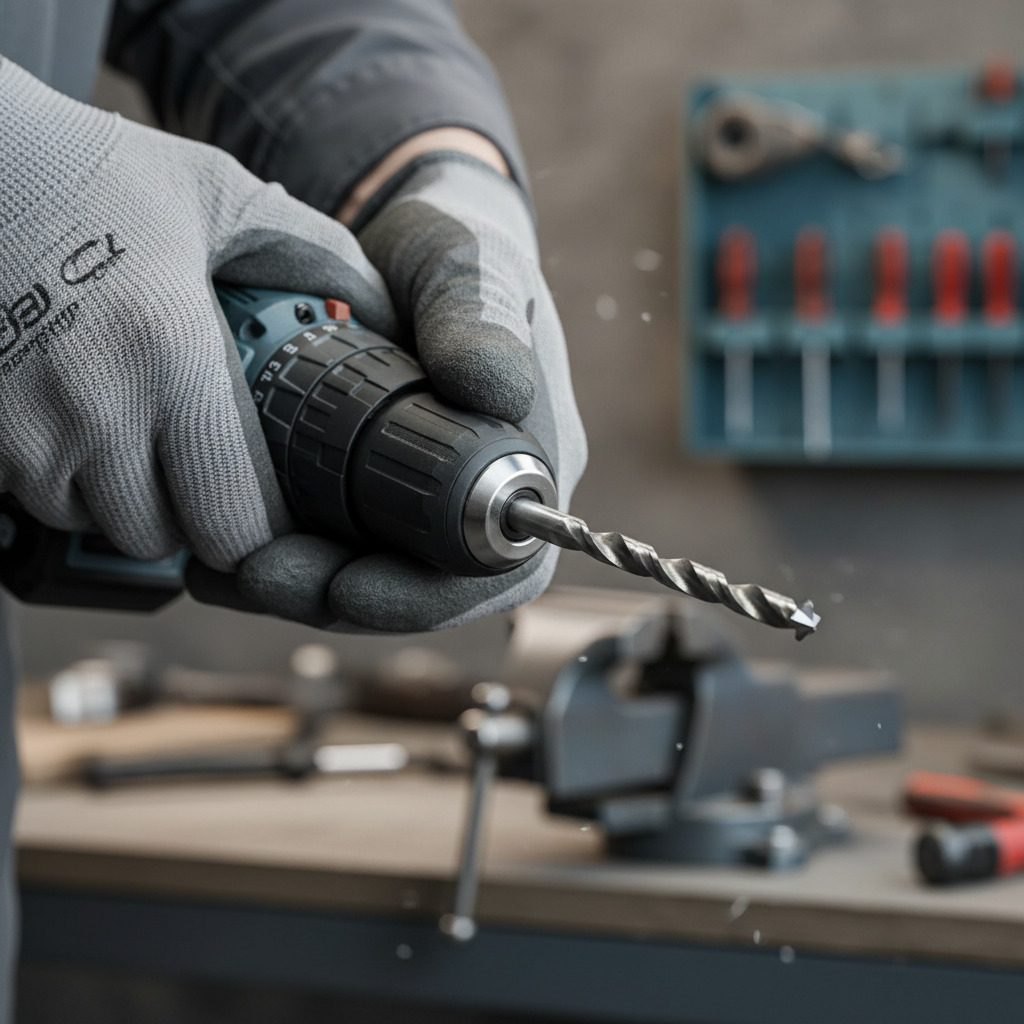
- Insert the new bit fully, then pull it back out about 1/16 inch so it doesn’t bottom out and bind.
- Hand-tighten the chuck until it feels snug, then give it an extra firm twist. Many drills “click” when tight, that’s normal.
- Reinstall the battery / plug in, then do a quick slow spin test to check for wobble.
Key point: if you tighten while the bit is off-center, the jaws can clamp unevenly. If it looks crooked, loosen and reseat, don’t try to “tighten it straight.”
How to change a drill bit on a keyed chuck
Keyed chucks hold very securely, but you need to tighten them evenly. If you only tighten one spot, the bit can sit slightly off-axis and drill rough.
Step-by-step
- Remove power (yes, even more important here because your hands are close to the jaws).
- Insert the chuck key into one of the holes on the chuck, then turn counterclockwise to loosen.
- Open the jaws until the old bit slides out.
- Insert the new bit centered, again avoid bottoming out completely.
- Tighten in 2–3 positions: tighten one hole, then rotate the chuck and tighten another hole, then repeat once more if your chuck has three holes.
- Remove the chuck key before restoring power. Don’t leave it in “for a second.”
If your chuck key keeps slipping, check the teeth on the chuck and the key for wear. Worn teeth can make tightening feel strong when it’s not.
Quick self-check: are you using the right bit and installing it correctly?
Most “my drill won’t drill” complaints aren’t motor failures, they’re bit choice or installation issues. Run through this list before you blame the tool.
- The bit shank matches your chuck size (commonly 3/8-inch or 1/2-inch capacity).
- The bit is seated straight and tightened, no visible wobble on slow spin.
- You’re using drill bits for drilling and driver bits for screws, not mixing them.
- For masonry, you’re using a masonry bit and the drill is in hammer mode only if the tool supports it.
- For metal, you’re running a slower speed and using cutting oil when appropriate.
If you’re still uncertain, the bit packaging usually tells you the material it’s intended for. That info matters more than brand in many cases.
Troubleshooting: stuck bits, slipping chucks, and other annoyances
This is the part nobody mentions until you’re already frustrated. Here are fixes that work in a lot of garages and jobsites, without getting reckless.
If the bit is stuck in a keyless chuck
- Try reverse + hand twist: set to reverse, hold the chuck sleeve, and pulse the trigger lightly.
- Use two hands: brace the drill body against your hip or a bench, then twist the chuck sleeve with both hands.
- Rubber glove trick: extra grip can be enough to break it free.
If it still won’t move, avoid clamping the chuck in a metal vise without protection, it can mar the chuck and create permanent runout. A padded vise or a strap wrench is usually safer.
If the bit keeps slipping while drilling
- Clean the jaws: dust and oil reduce grip.
- Check the bit shank: smooth, worn shanks slip more, swapping the bit often fixes it.
- Tighten properly: with keyless chucks, many people stop at “snug.” Go a bit firmer.
If you routinely drill large holes or mix mortar, a basic drill might be underpowered, and the chuck can loosen under high torque. In that case, stepping up to a heavier-duty drill or using an impact-rated setup may help.
If the drill wobbles after changing the bit
- Reseat the bit: loosen, reinsert centered, retighten.
- Try a different bit: some bits are slightly bent from drops or heavy use.
- Inspect the chuck: visible damage or gritty rotation can point to a failing chuck.
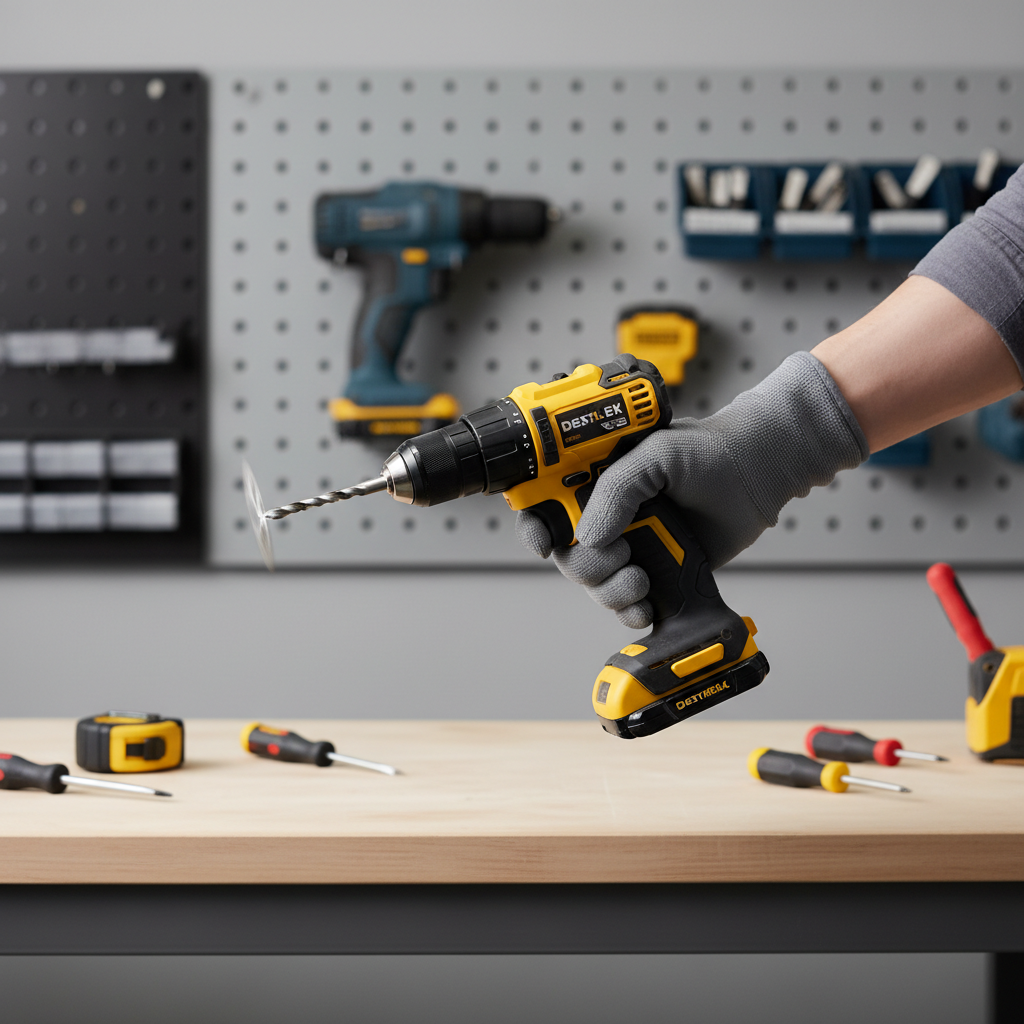
Practical tips that make bit changes faster (and less annoying)
Once you know how to change a drill bit, the next win is reducing how often you have to fight with it. A few small habits go a long way.
- Keep a bit index nearby so you’re not digging through a loose pile.
- Match pilot holes to screw size to reduce broken bits and cam-out.
- Use hex shank bits if you switch frequently between drilling and driving, many setups feel smoother.
- Don’t over-tighten keyed chucks to the point the next removal becomes a battle.
- Store bits dry: light rust on the shank can increase sticking.
If you share tools, it also helps to agree on one rule: battery out during changes. It prevents the “I thought it was off” moment.
When it’s worth getting professional help (or replacing a part)
If your chuck won’t tighten reliably, or the bit wobbles even with brand-new straight bits, the chuck might be worn or damaged. Many chucks can be replaced, but the process depends on the drill model and may require removing a retaining screw or dealing with thread-lock.
If you’re unsure, check the manufacturer manual for your exact model, or bring the drill to a local repair shop or hardware store service counter. For job-critical tools, a technician’s quick diagnosis can be cheaper than burning time mid-project.
Conclusion: a clean bit swap saves time and broken hardware
How to change a drill bit comes down to three things: cut power, identify your chuck, and tighten the bit straight with enough force to hold under load. Do that, and you avoid most slipping, wobble, and stuck-chuck drama.
If you want one action to take today, check your drill’s chuck type and practice one swap at the bench before your next project, it’s much easier to learn when nothing is on the line.