
How to cut curves with a coping saw comes down to three things most people skip: the right blade for the material, proper blade tension, and letting the frame rotate instead of forcing your wrist.
If your cuts keep wandering, the blade snaps, or the wood tears out on the edge, it’s rarely “bad saw skills” and more often a setup problem, dull blade, or trying to turn too tightly in one pass.
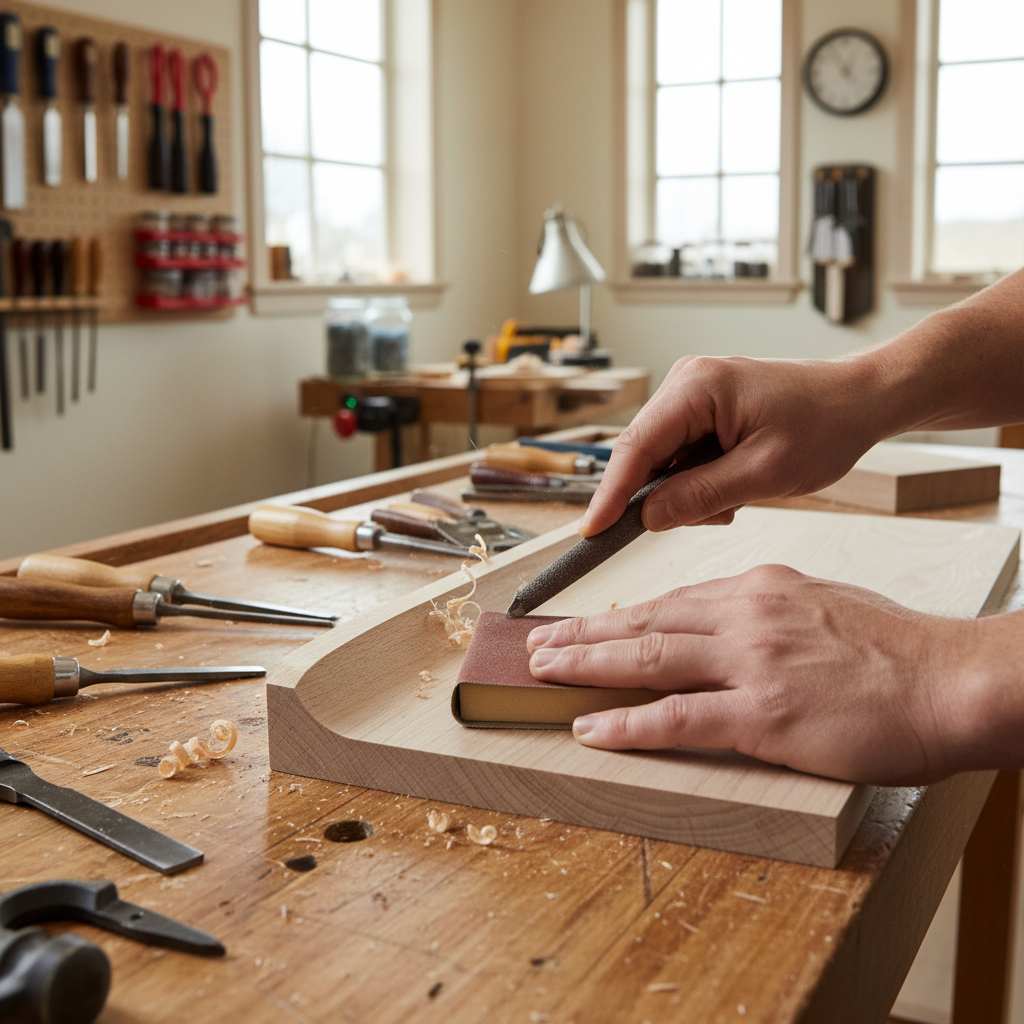
What you want instead is a controlled cut that stays on the waste side of your line, then a quick refine step so the curve looks intentional. That’s the difference between “good enough” and “this actually fits.”
Choose the right coping saw blade for curves
Most coping saws look similar, but blades vary a lot, and that choice decides how tight a curve you can turn and how clean the edge comes out.
- Higher TPI (teeth per inch) usually cuts slower but leaves a smoother edge, and it tends to behave better in thin stock.
- Lower TPI clears sawdust faster in thicker wood, but it can splinter more and feels “grabby” on turns.
- Blade width matters: narrower blades turn tighter, wider blades track straighter on gentle arcs.
If you’re cutting small interior curves in hardwood, a finer-tooth blade is often easier to steer. For softwood or thicker pieces, you may prefer a slightly coarser blade so you’re not fighting clogging.
Quick blade selection table
| Material / task | Blade tendency | What you’ll notice |
|---|---|---|
| Thin plywood curves | Finer tooth count | Less tear-out, slower feed |
| Hardwood (3/4 in) gentle arcs | Medium tooth count | Better tracking, moderate finish |
| Tight scroll-like turns | Narrower blade profile | Easier turning, easier to twist if forced |
| Rough cut then sand to line | Coarser tooth count | Fast, more cleanup |
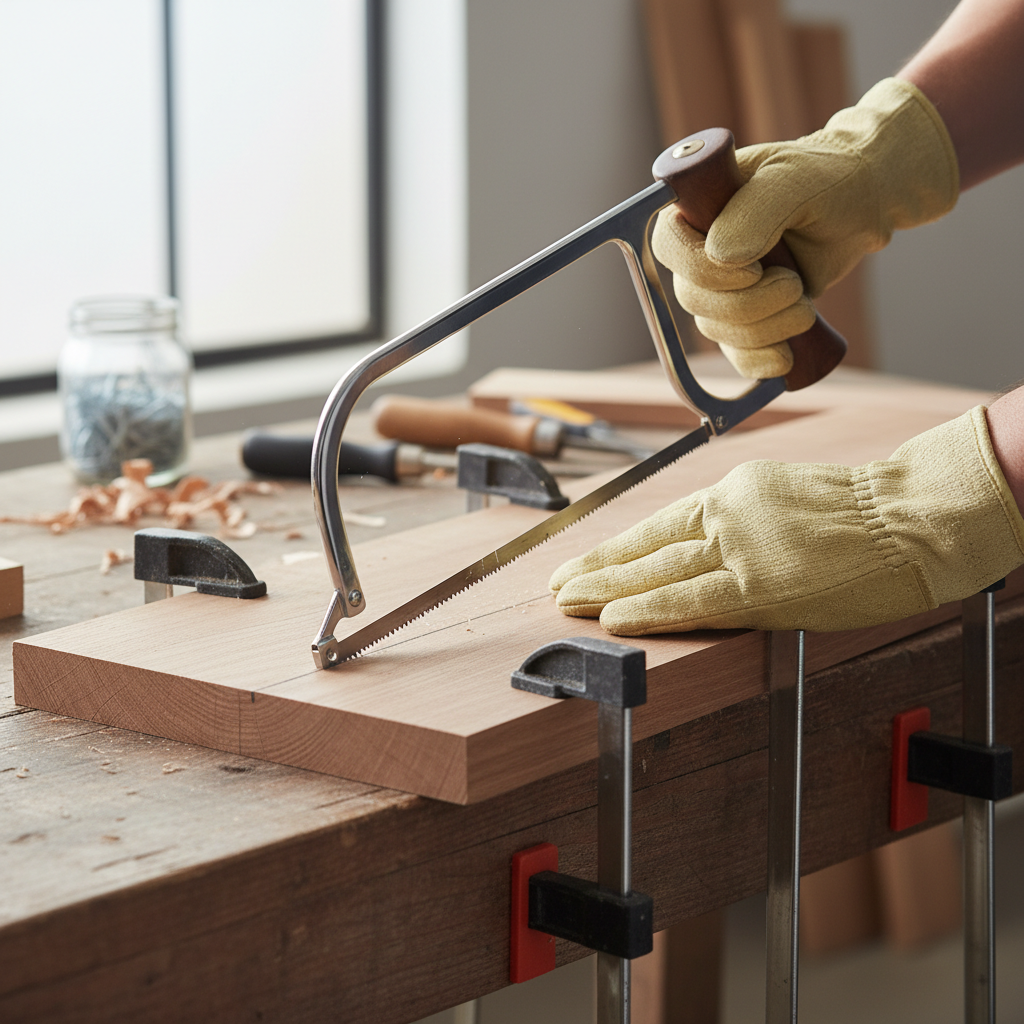
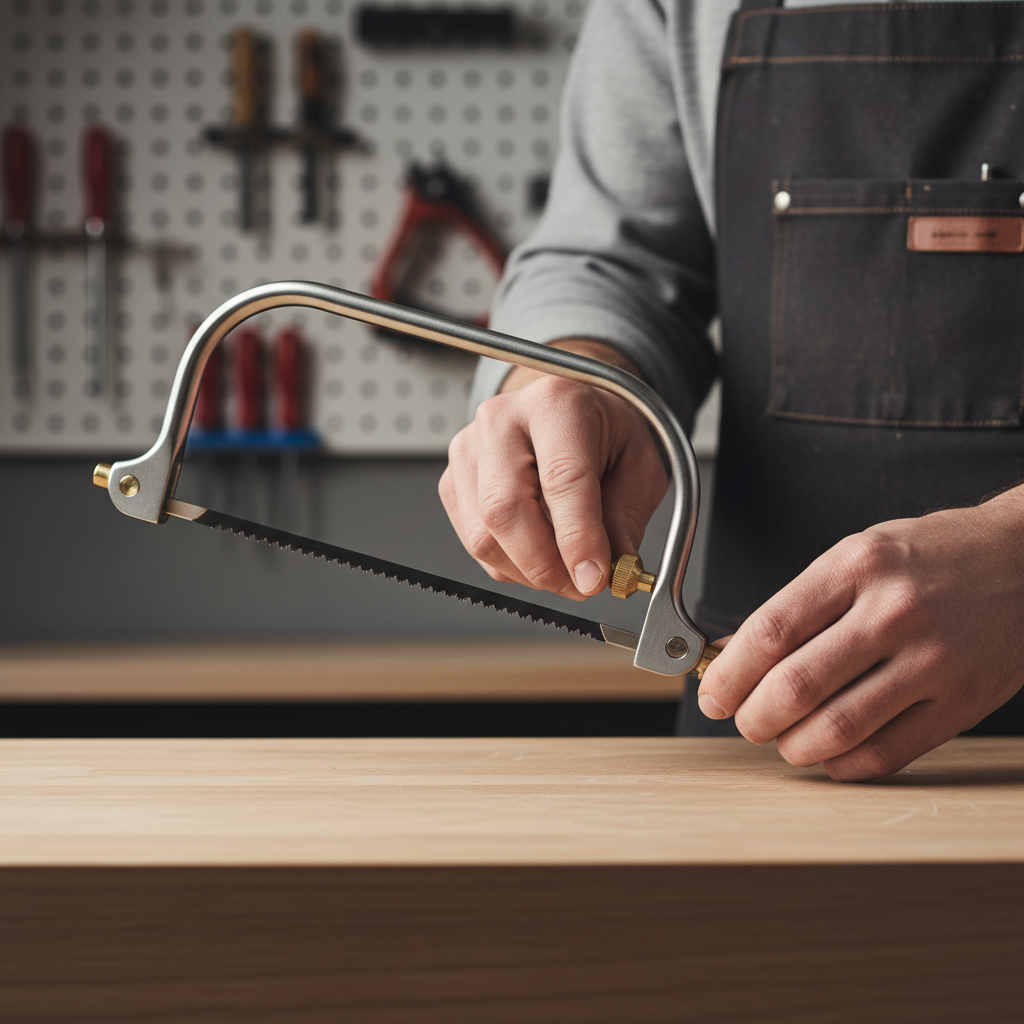
Set up the saw so it can actually follow the line
A coping saw can cut surprisingly clean curves, but only if the blade stays tensioned and aligned. A loose blade bows and “votes” for its own direction.
- Max out tension to the point the blade “pings” when plucked, without overstressing the frame.
- Teeth face the right direction: many coping saws cut on the pull stroke, so the teeth typically point toward the handle. Check your saw’s design before you commit.
- Angle the blade for control by rotating the blade in the frame so the handle stays comfortable while the blade follows the curve.
Also, don’t ignore workholding. If the board flexes or chatters, the blade binds mid-turn and you compensate by twisting, which is where blades snap.
Lay out the curve and leave yourself “steering room”
Before you touch the saw, draw the curve clearly and decide where the final edge truly matters. For a lot of projects, you don’t need to saw the final line perfectly, you need a clean, controlled cut that can be tuned.
- Mark a bold cut line (pencil works, knife line for cleaner edges on hardwood).
- Plan to cut on the waste side so you can sand or file to the line without shrinking the part.
- For tight inside curves, consider drilling a starter hole if you need an internal cutout.
Many people try to cut exactly on the line from the first stroke, then panic when the blade drifts. Leaving a hair of waste gives you options.
Technique: how to cut curves without twisting the blade
If you only remember one thing about how to cut curves with a coping saw, make it this: the blade wants to stay in the same plane, so you guide the turn by rotating the saw frame and moving the work, not by cranking your wrist sideways.
Step-by-step for a clean curve
- Start with light strokes to establish a kerf that tracks your layout.
- Use a relaxed grip, letting the saw do the work while you control direction.
- Shorten your stroke on turns; long strokes increase the chance of binding mid-curve.
- “Nibble” tight curves with small forward progress, backing out occasionally to clear dust.
- Turn in stages: cut to a point, back up slightly, rotate, then continue, instead of forcing a 90° turn in one spot.
On very tight radii, it can help to make small relief cuts into the waste side, so offcuts break away and the blade stops pinching.
Troubleshooting: common curve-cutting problems and fixes
When a coping saw misbehaves, it usually sends a clear signal. The trick is reading it instead of pushing harder.
- Blade keeps wandering: increase tension, slow down, switch to a finer blade, and make sure the workpiece is firmly clamped.
- Edge splinters or tears out: use painter’s tape over the cut line on plywood, cut slower, or choose a finer tooth blade.
- Blade breaks on turns: you’re twisting, the blade is dull, or the turn is too tight for that blade profile; back out and “nibble” the corner.
- Cut looks faceted (little flats instead of a smooth curve): you’re steering in abrupt angles; slow down and refine after with sanding or a rasp.
One more reality check: coping saws are great for many curves, but they aren’t magic. If you need ultra-tight scrollwork all day, a scroll saw may fit the job better.
Safety and workholding that actually matters
Curve cutting invites awkward hand positions, especially when you’re rotating the frame and leaning in to see the line. That’s where little mistakes happen.
- Clamp the work so both hands control the saw, not the board.
- Keep fingers out of the cut path, especially when you’re backing out of a kerf.
- Wear eye protection because blades can snap and offcuts can flick up. According to OSHA, eye and face protection is recommended when hazards from flying particles exist.
- Use a stable bench height so you’re not muscling the stroke, which tends to cause slips.
If you’re unsure about your setup, a local woodworking shop or experienced friend can usually spot the problem in a minute, and that beats guessing when sharp tools are involved.
Key takeaways and a simple practice drill
Key points: tension the blade, pick a blade that matches your curve, cut on the waste side, and turn gradually by rotating the saw frame rather than twisting the blade.
If you want a fast way to improve, draw three curves on scrap: a wide arc, an S-curve, and a tight U-turn. Cut each leaving a thin margin, then sand to the line. After a couple rounds, the “wandering” problem usually drops a lot because your hands learn the feel.
Next time you need a clean curve, set up the blade, clamp the work, and take the first ten strokes slower than you think you should, that’s where the cut gets decided.