
Spirit level long aluminum tools solve a very specific, very common frustration: your line looks straight until you stand back, or until the trim, tile, or framing shows the truth.
If you do any work where “close enough” turns into visible gaps, lippage, or doors that swing on their own, a longer aluminum level can feel like cheating, in a good way. More length usually means you bridge more highs and lows, so your reference becomes more trustworthy.
This guide breaks down what a long aluminum spirit level is best for, how to pick length and features without overbuying, and how to use it so the bubble actually tells the truth. I’ll also call out the mistakes that make people blame the tool when it’s really technique or the surface.
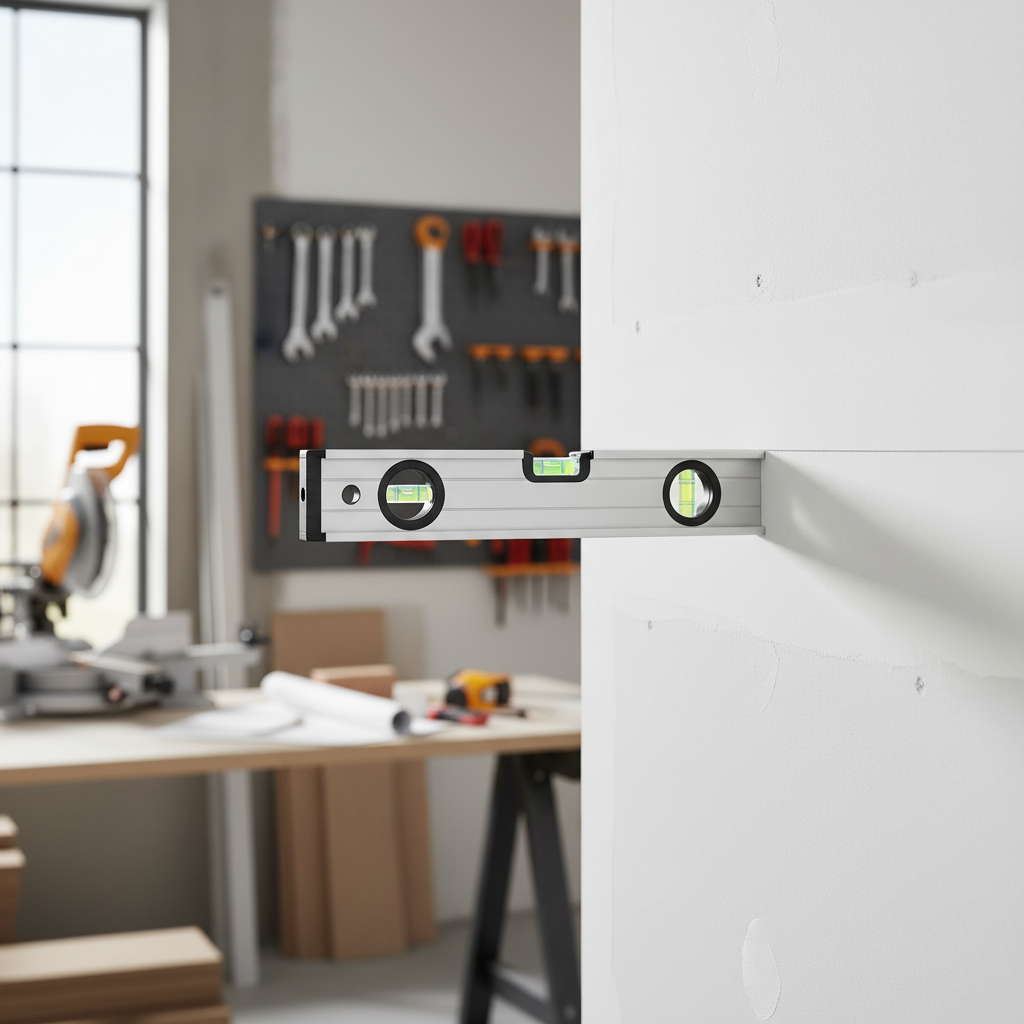
Why longer aluminum levels help with straight lines
When people say they need “straight lines,” they usually mean one of three things: a true level line, a true plumb line, or a straight reference across a surface that has dips and crowns. A longer body helps in all three cases, especially the last one.
- You average out surface bumps: a 48–78 inch level spans more drywall waves, stud crowns, or slab variation than a short torpedo level.
- You reduce cumulative error: marking multiple short sections and connecting them can introduce tiny offsets that add up.
- You get better visual feedback: a long edge makes it easier to “see” bowing or daylight gaps against the workpiece.
Aluminum is popular because it’s light for its stiffness and typically resists rust. That said, “aluminum” alone doesn’t guarantee straightness; manufacturing quality and how the tool gets treated matter more than the metal nameplate.
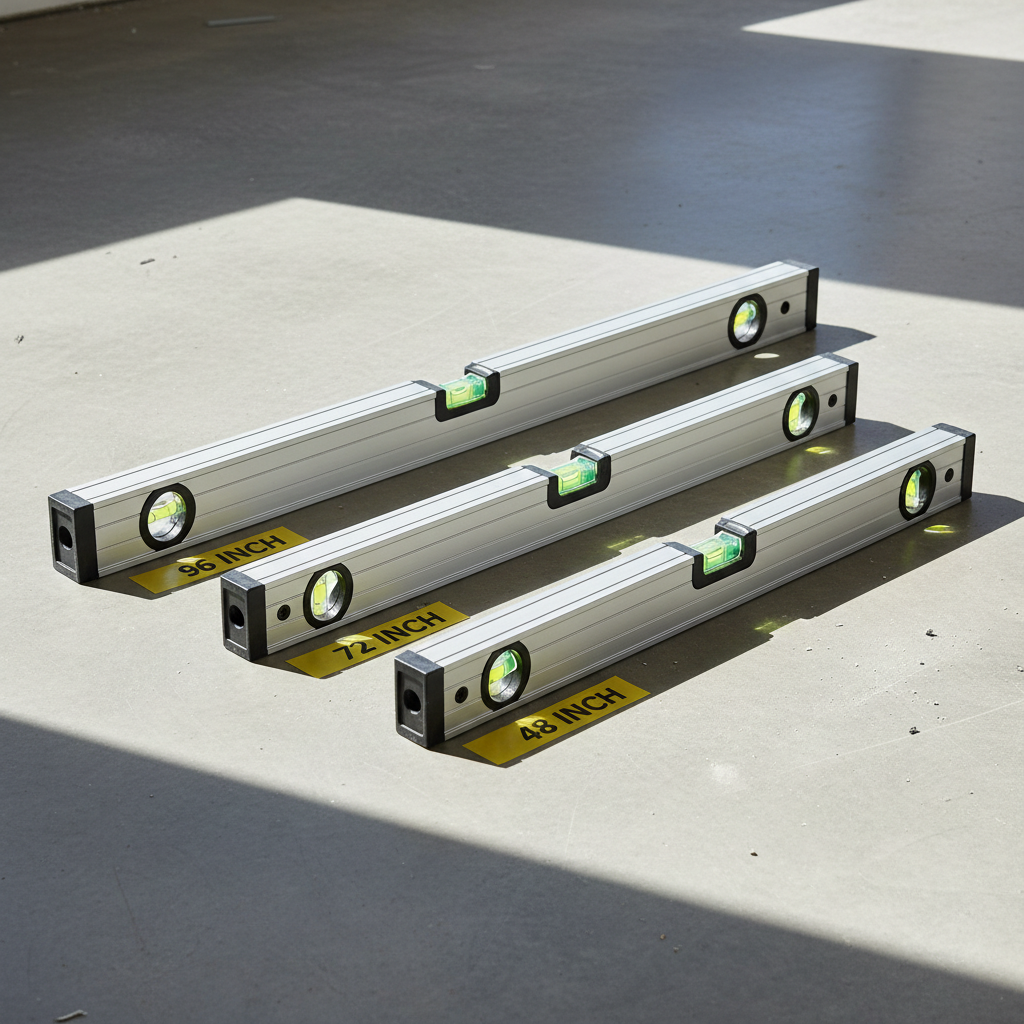
Choosing the right length: 48, 72, or 96 inches?
Picking length is less about what looks impressive and more about what you can handle accurately in your space. Longer isn’t always better if you can’t seat the tool flat or you keep bumping it into corners.
Quick rule of thumb
- 48 in.: general interior work, cabinets, short walls, basic layout.
- 72 in.: framing checks, longer wall runs, shower walls, bigger tile areas.
- 96 in.: slab work, long countertops, big doors, commercial-scale walls, and when you want fewer “reset” points.
If you frequently work alone, a 72-inch level is often the sweet spot: long enough to be meaningful, short enough to control without fighting it.
What to look for in a spirit level long aluminum model (features that matter)
Two long levels can feel identical in the aisle and behave totally differently on a wall. Focus on the parts that affect accuracy and day-to-day use.
- Accuracy rating: many brands publish a spec like “X mm/m” or “X in/ft.” If it’s not stated, you’re guessing.
- Milled edge(s): helps the tool sit flatter on framing, tile, and metal studs; also improves marking.
- Vial visibility: high-contrast vials and good glare control matter more than you think in bright rooms.
- Vial count and orientation: most people need level and plumb; 45° vials are nice but not essential.
- Shock protection: end caps that actually absorb drops protect the frame and vial alignment.
- Grip/handling: long tools get awkward; good handholds reduce twisting, which reduces false readings.
Magnetic edges can be helpful on steel studs, pipe, and metal frames, but magnets also pick up jobsite grit, which can keep the level from seating perfectly flat unless you wipe it often.
Fast self-check: is your “crooked line” problem the level, the wall, or your method?
Before you replace a tool, it’s worth a 3-minute check. Many straight-line problems come from how the level is placed, not from a bad vial.
Try this quick checklist
- Flip test (level vial): place the level on a surface, note bubble position, rotate the level 180° in the same spot. If the reading changes, something is off.
- Plumb flip test: repeat against a wall or stud, then flip end-for-end.
- Seat check: look for drywall mud ridges, tile spacers, thinset chunks, sawdust, or burrs under the edge.
- Light-gap check: hold the level edge to the work and look for daylight, which signals a bowed surface or debris.
- Marking discipline: if you mark the line in sections, confirm overlap points, not just the ends.
According to NIST (National Institute of Standards and Technology), measurement reliability depends on calibration and proper use conditions; in plain terms, even accurate tools can mislead if the setup is inconsistent or contaminated by dirt.
How to use a long aluminum spirit level for straight lines (step-by-step)
This is the part people rush, especially when the bubble “looks close.” With longer levels, small twists in your hands can move the bubble enough to matter.
1) Prep the contact area
- Wipe the level edge and the surface with a clean rag.
- Knock down obvious drywall blobs or tile mortar crumbs if they hold the tool off the surface.
2) Set the level without forcing it
- Press evenly near both ends, not just in the middle.
- Let the level “find” the surface, then fine-tune.
3) Read the bubble like a measurement, not a vibe
- Get eye level with the vial to reduce parallax (reading error from angle).
- Wait a beat for the bubble to settle, especially if you just bumped the tool.
4) Mark smart for long runs
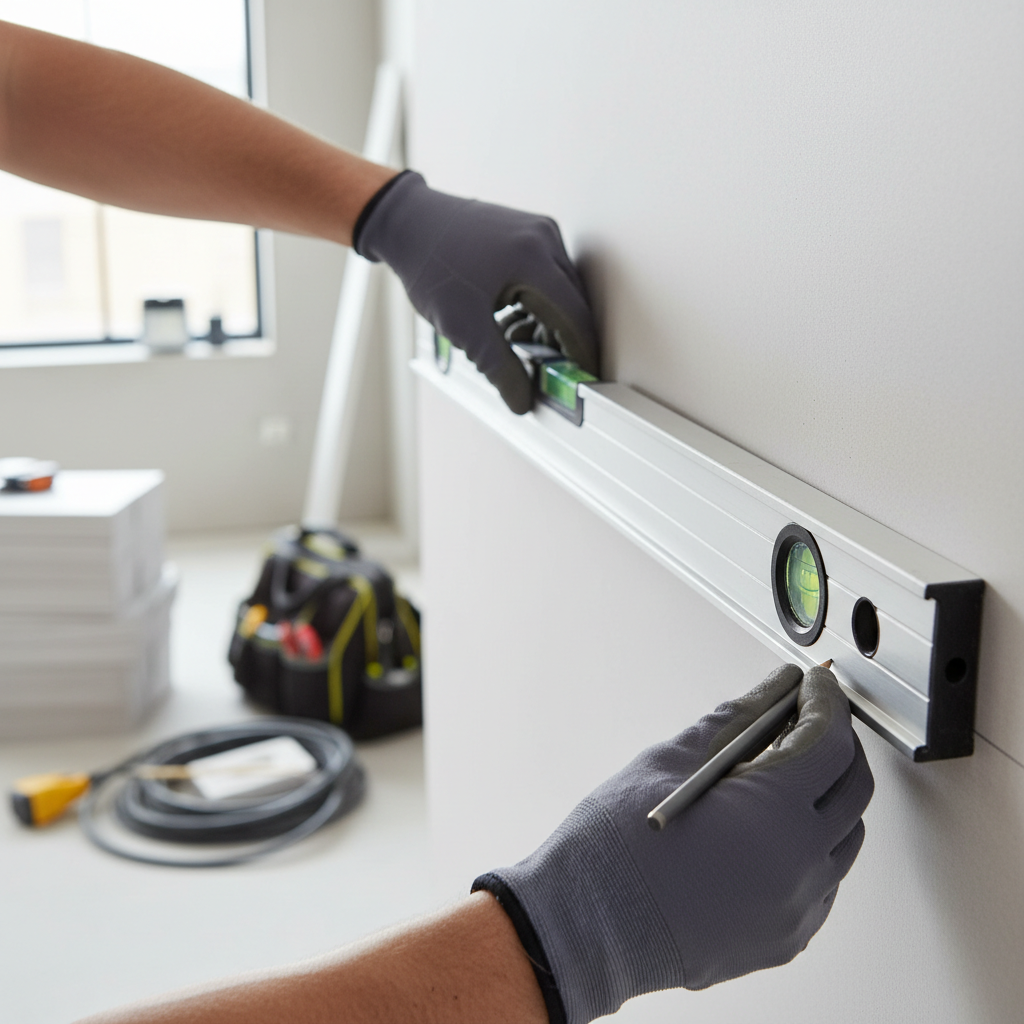
- For a long line, make two small reference marks, then connect with a chalk line or straightedge.
- When you reposition, overlap the level by several inches and re-check before committing to the next mark.
If you’re chasing straightness on a surface that’s visibly bowed, use the long level as a reference and decide whether you want “level/plumb” or “looks straight” relative to the room. In remodeling, those two goals sometimes conflict.
Common mistakes that make long levels “feel inaccurate”
Long tools amplify technique issues. That’s frustrating, but also useful because it exposes what’s really happening.
- Twisting the frame: gripping hard in the center can bow the level slightly; hold closer to ends and apply even pressure.
- Reading on an edge that’s dinged: one dent can keep the level from seating, especially on tile or metal.
- Trusting one point: checking only the middle of a wall ignores bows; move the level up/down or left/right to understand the surface.
- Using a level as a straightedge after a drop: vials can stay “fine” while the frame is no longer straight enough for layout.
- Ignoring temperature and storage: leaving tools in hot vehicles can stress plastics and adhesives; it may not break it, but it’s not helping.
Practical buying guide: match the level to the job
If you’re choosing one spirit level long aluminum tool for straight lines, it helps to match your most common work to a sensible setup. Here’s a quick comparison that reflects typical tradeoffs.
| Typical job | Recommended length | Helpful features | What to watch out for |
|---|---|---|---|
| Cabinets, shelving, interior trim | 48 in. | Milled edge, clear vials | Too long becomes awkward in tight rooms |
| Shower walls, tile layout, long wall runs | 72 in. | High-visibility vials, sturdy end caps | Needs clean seating to avoid false gaps |
| Framing checks, slabs, big doors | 96 in. | Rigid frame, strong grips | Harder solo handling, storage/transport issues |
| Metal stud work | 48–72 in. | Magnets, milled edge | Magnets attract debris, clean often |
Key takeaway: buy the longest level you can realistically keep flat and stable in your normal working space, then protect it like a measuring instrument, not a pry bar.
When to consider a pro check or a different tool
If your flip test fails, or your lines still drift after you clean the edges and slow down your marking, it may be time to verify the tool against a known straight reference. In some shops, that means a granite surface plate or a trusted straightedge; in the field, a reputable tool retailer or service center may help confirm accuracy.
Also, a spirit level is not always the fastest way to project a long, continuous line around a room. For layout across multiple walls, a quality laser level can be more efficient. If you work on high-value finishes, it can be worth having both, using the long aluminum level to verify critical points where the laser line hits the surface.
For safety-critical work (structural framing concerns, load-bearing changes, or anything regulated), it’s smart to consult a qualified professional, because “level” is only one part of what makes a build safe and compliant.
Conclusion: getting straighter lines without fighting your tools
A spirit level long aluminum model earns its keep when you treat it as a precision reference: keep edges clean, avoid drops, verify with a quick flip test, and choose a length you can control. Most “crooked line” headaches shrink once you stop forcing the tool and start checking seating and overlap marks.
If you want one action step, do this on your next job: clean the edge, run a flip test, then mark your line with overlaps instead of separate segments. It’s boring, but it saves rework.
Key points to remember
- Length helps because it bridges surface variation and reduces reset errors.
- Milled edges and visibility usually matter more than extra vials.
- Technique is part of accuracy, especially with longer frames.
FAQ
What length long aluminum level is best for straight lines?
For many homeowners and remodelers, 72 inches balances reach and control. If you mostly do cabinets and trim, 48 inches is often enough; if you do slab or long commercial walls, 96 inches can reduce reset points.
How do I know if my spirit level is accurate?
Use the flip test on a stable surface: read the bubble, rotate the level 180° in the same position, and compare. A noticeable change suggests the level or the setup surface has an issue, so repeat on another surface to confirm.
Are aluminum levels accurate enough for tile work?
Usually, yes, if the level has a stated accuracy spec and a clean, flat edge. Tile work is sensitive to tiny variations, so cleaning the edge and checking multiple spots on the wall matters as much as the brand.
Do I need a magnetic long aluminum spirit level?
Only if you regularly work on steel studs or metal frames. Magnets are convenient, but they also collect metal dust and grit, which can keep the level from sitting flush unless you wipe it frequently.
Why does my line look level but still looks crooked?
Rooms are often out of square or out of plumb, especially in older homes. A line can be truly level and still look “off” next to a ceiling that sags or trim that isn’t consistent, so you may need to choose between mathematical level and visual alignment.
Can a long spirit level replace a straightedge?
Sometimes, but only if the frame is straight and the edge is undamaged. If the level has been dropped or the edge is dinged, it might still read “level” yet be a poor straightedge for layout.
What’s the easiest way to make a long straight line on a wall?
Use the long level to establish two accurate reference points, then snap a chalk line or connect marks with a reliable straightedge. This reduces drift compared with making many short marks and connecting them by eye.
If you’re trying to speed up layout work, a practical approach is pairing a long aluminum level for spot-checking with a laser for projecting across distance, so you get both confidence and efficiency without overcomplicating the setup.