
Center punch tool metal is the quickest way to stop a drill bit from skating across steel, aluminum, or stainless, especially when you need the hole to start exactly on your mark.
If you’ve ever watched a bit wander, chew up a finish, or start off-center and never recover, you already know the pain: bad starts create bad holes. A center punch gives the bit a small, controlled divot to bite into, which usually means less rework, fewer ruined parts, and cleaner layouts.
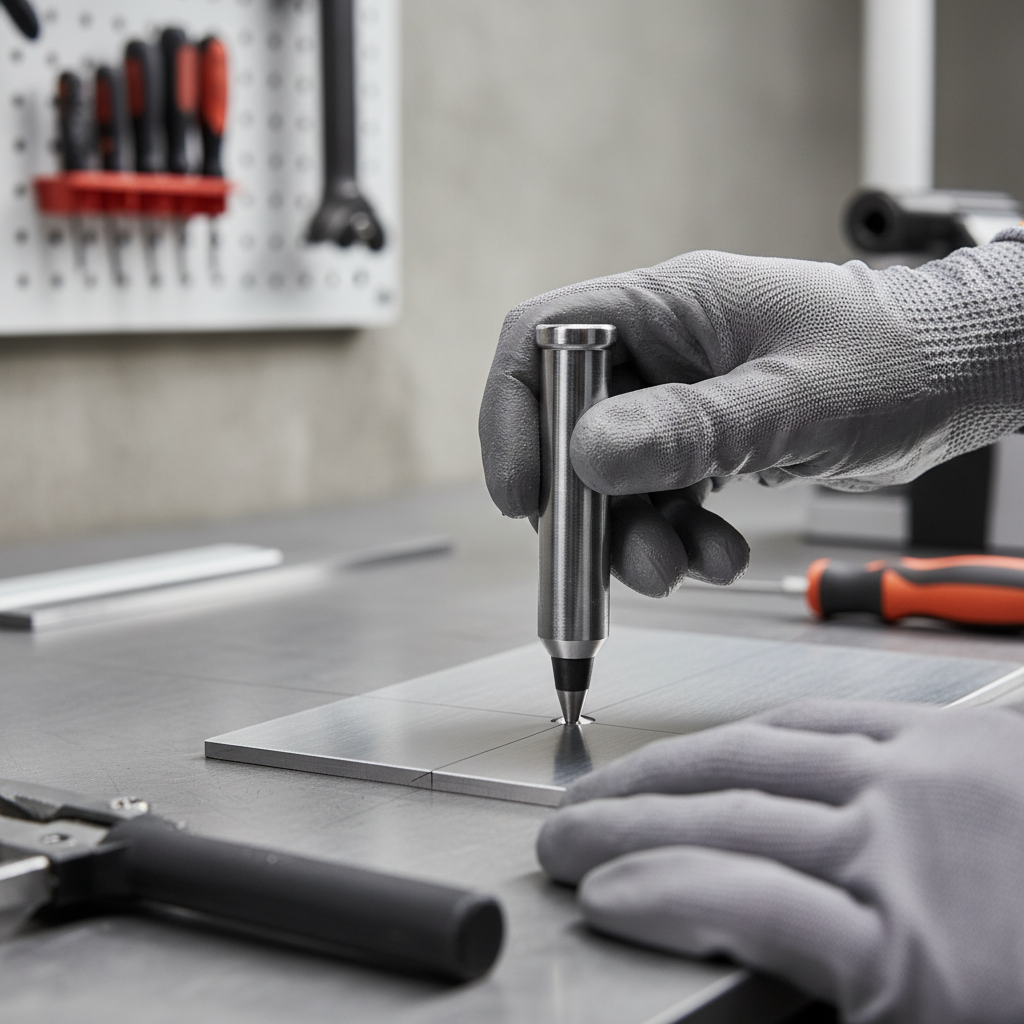
This guide breaks down why punches work, how to pick the right type for your material, and how to use one so the mark helps instead of making drilling harder. I’ll also call out the small mistakes that waste time, because they’re more common than most people admit.
Why drill bits wander on metal (and why punching fixes it)
Metal is unforgiving at the start of a hole. The tip wants to slide until it finds something to stabilize it, and on many surfaces that “something” is the wrong spot.
- Hard, smooth surfaces (stainless, hardened steel, polished plate) give the bit very little initial traction.
- Curved or angled parts (round bar, tubing, brackets) encourage the point to walk downhill.
- Split points help, but don’t solve everything. Even good bits can drift if the surface is slick or the angle is awkward.
- High RPM at the start can exaggerate skating, especially with small bits.
A punch mark works because it creates a tiny cone or crater that centers the bit tip. Done right, it’s not about brute force, it’s about a crisp reference point the bit can’t ignore.
According to OSHA, employers must provide a workplace free from recognized hazards, and using the right hand tools and PPE is part of that expectation in many shop environments. If you’re drilling metal regularly, treat punching and clamping as basic safety habits, not optional steps.
Types of center punches: which one fits your job
“Center punch” gets used loosely, but the type matters. Here’s what typically shows up in U.S. garages and fabrication shops.
Manual (hammer-driven) center punch
The classic approach: you place the punch on the mark, hit it with a hammer, and you’re done. It’s simple, cheap, and very strong on thicker steel where you want a deeper divot.
- Best for: thicker stock, heavy drilling, layout work on plate
- Watch for: double strikes, slipping off the mark, over-denting thin sheet
Automatic (spring-loaded) center punch
Push down and it snaps itself. Great for quick work, one-handed use, and repeatability when you don’t want to swing a hammer near a finished surface.
- Best for: sheet metal, quick marking, field work
- Watch for: under-powered marks on hard alloys, worn tips that smear instead of bite
Prick punch vs. center punch (yes, there’s a difference)
A prick punch typically has a sharper angle for layout marks, while a center punch tends to be blunter and stronger for drilling starts. Many people use one tool for both, but if you care about accuracy, it helps to separate “marking” from “starting.”
Quick comparison table
| Tool type | How it works | Typical use case | Common downside |
|---|---|---|---|
| Manual center punch | Hammer strike | Thick steel, deeper divots | Needs both hands, can slip |
| Automatic center punch | Spring impact | Sheet metal, fast repeat work | May be too light for hard metal |
| Prick punch | Hammer strike, sharper point | Layout lines, fine marking | Not ideal as final drill starter |
Choosing a center punch tool metal users actually like (materials, tips, ergonomics)
If you’re buying one for metalwork, don’t overthink branding, but do pay attention to tip quality and how the tool feels in your hand. A sloppy tip makes sloppy starts.
- Tip hardness and grind: a properly hardened, sharply ground tip bites cleaner and stays centered longer. If the tip mushrooms or flattens quickly, accuracy drops.
- Replaceable tips: useful if you punch a lot, or if you work stainless and dull tools fast.
- Body grip: knurling that actually grips matters when your hands are oily. Comfort matters more than people think when you need consistency.
- Adjustable impact (automatic): helpful when you bounce between thin sheet and thicker material.
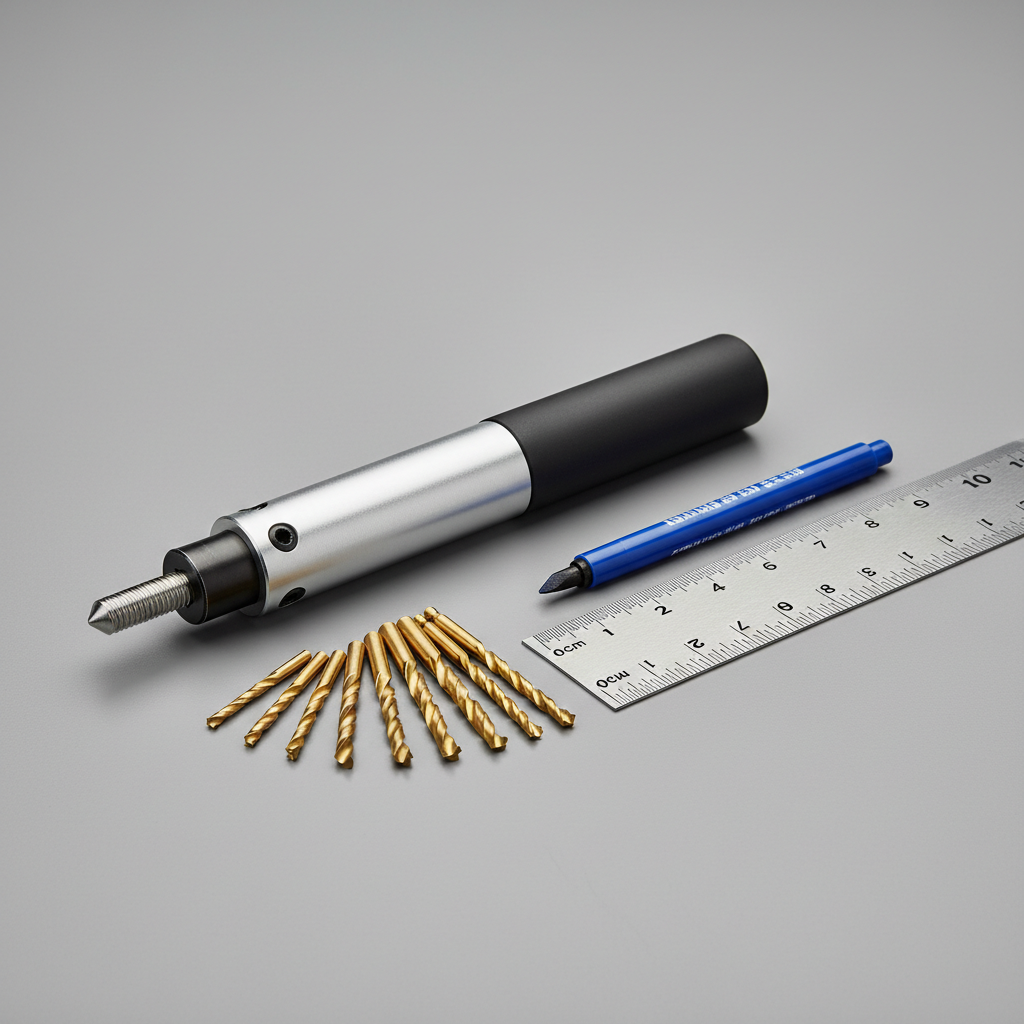
One more practical detail: if you’re doing precision drilling for fasteners, a punch that makes a consistent cone helps you keep pilot holes centered. That consistency is the whole game.
Fast self-check: do you need a punch, or is something else causing the problem?
Sometimes the drill start fails even with a punch mark. Before you blame the tool, run through this quick list.
- You’re drilling thin sheet and the metal flexes or oil-cans under pressure.
- The part isn’t clamped, so the bit grabs and shifts the work.
- The bit is dull or the cutting lips are uneven, so it pulls to one side.
- You’re starting at too high a speed for the bit size and metal type.
- You’re using a large bit with no pilot hole, and it chatters out of the divot.
- The punch mark is off-center, which sounds obvious, but it’s the most common reason holes end up wrong.
If two or more items fit, punching helps, but the bigger fix might be clamping, a pilot hole, or a better bit.
How to use a center punch for starting drills (step-by-step)
This is the workflow that usually keeps holes on location without turning the part into a cratered mess.
1) Mark and control the surface
- Mark the location with a scribe or marker, then verify measurement.
- If the surface is slick, a little layout dye can make your mark easier to see, but it’s optional.
- Clamp the work when possible. Handholding metal while drilling is a bad habit that can escalate fast.
2) Make the punch mark correctly
- Set the point on the intersection, then lean your eyes, not the tool: keep the punch vertical.
- For a manual punch, one firm hit usually beats multiple taps, which tend to walk the tip.
- For an automatic punch, press straight down and let the mechanism do the work, avoid rocking.
3) Start the drill like you actually want it to stay centered
- Start at a lower RPM, apply steady pressure, and let the bit seat into the divot.
- If you need a larger final hole, drill a pilot hole first, then step up sizes.
- Use cutting fluid where appropriate. According to NIST, machining fluids can reduce friction and heat in many metal-cutting operations, though the right choice depends on material and process.
4) For thin sheet, consider a different “start” strategy
Thin sheet can distort if you over-punch. Often you want a lighter mark, then a sharp bit, then a step drill for the final size. The goal is control, not depth.
Common mistakes that waste time (and how to avoid them)
Most punching problems are subtle. The tool “works,” but the hole still ends up off. These are the patterns that show up again and again.
- Over-punching: deep craters can make small bits snap or start crooked, especially on thin stock.
- Punching on a rounded surface without support: round bar and tubing often need a V-block, a jig, or at least a stable setup.
- Skipping the pilot hole: large bits can chatter and climb out even with a good divot.
- Ignoring tip condition: a chipped or flattened point can “skid” during punching and move your center.
- Not deburring after drilling: burrs can throw off fitment, especially with bolts, rivets, or tapped holes.
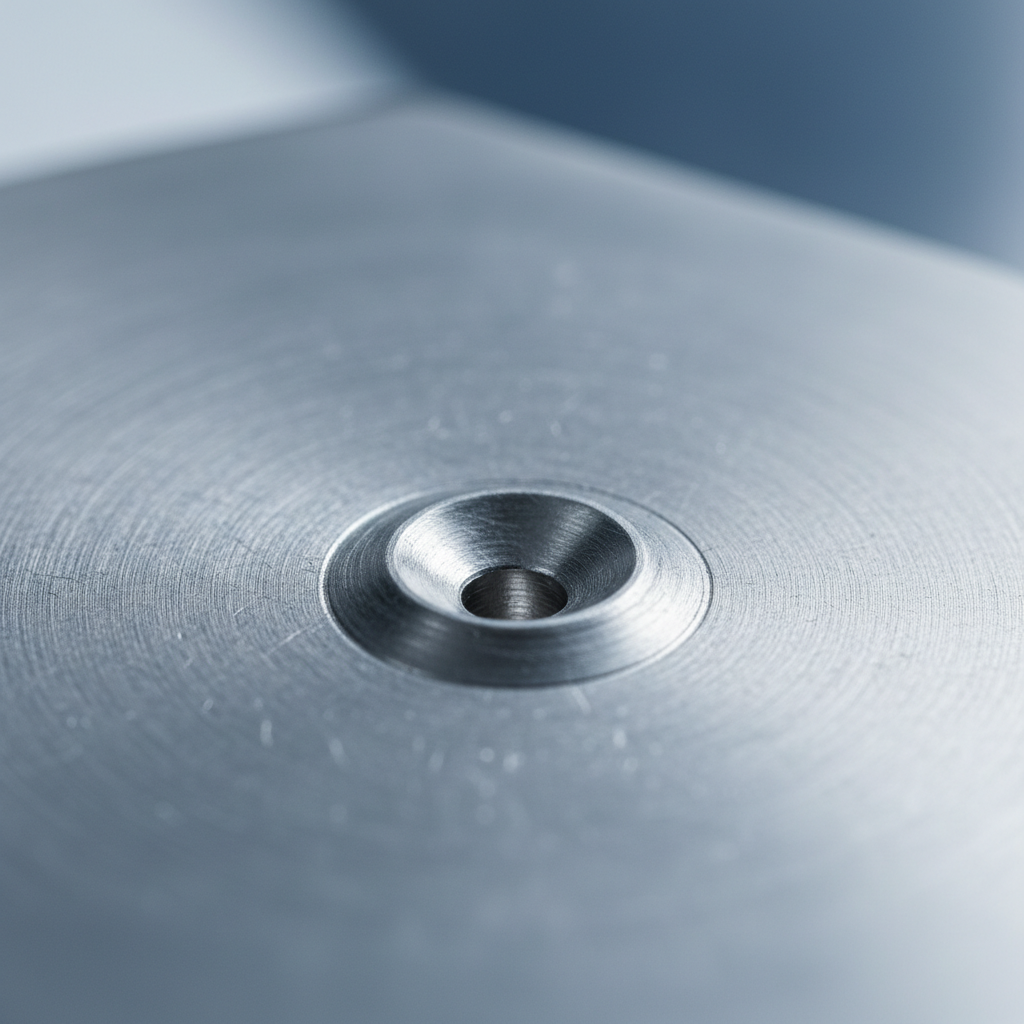
Key takeaway: punching is only one part of accuracy. Clamping, bit sharpness, and how you start the cut often decide whether that divot helps or just becomes a misleading target.
When it makes sense to get professional help (or a better setup)
If you’re drilling a one-off bracket, you can usually fix issues with better technique. If you’re drilling parts that affect safety, alignment, or expensive assemblies, it’s smart to slow down and consider outside help.
- You’re drilling into unknown alloys or hardened material and bits keep burning or snapping.
- Hole location tolerance is tight, or parts must align across multiple pieces.
- You need repeated accuracy and hand tools are too variable, a drill press, jig, or fixture becomes worth it.
- You’re unsure about clamping or safe workholding. If anything feels sketchy, ask a qualified machinist or shop lead, or consult a professional.
Conclusion: a small tool that saves big frustration
A center punch tool metal workers keep within reach is rarely about tradition, it’s about controlling the start so the rest of the drilling process stays predictable. Choose a punch with a good tip, match impact to your material, and pair it with clamping and a sensible pilot-hole routine.
If you want one action step, do this: punch, pilot, then size up on any hole that matters. It adds a minute, but it usually saves more than that in corrections.
FAQ
What size center punch should I use for metal drilling?
Most general-purpose punches work fine, but the practical answer is to match the punch mark to the pilot bit. If your pilot bit is tiny, a huge crater can make it wander inside the divot, so use a lighter strike or a smaller punch tip.
Is an automatic center punch strong enough for steel?
Often yes for mild steel and thin-to-medium stock, but harder steels may need a manual punch for a deeper, sharper divot. If your drill still walks, the punch mark may be too shallow or the bit may be dull.
Can a center punch damage thin sheet metal?
It can. Thin sheet tends to dent and distort, which may affect fit or appearance. In many cases a light punch plus a sharp bit, or using a step drill for enlargement, keeps things flatter.
Do I still need a punch if I use a split-point drill bit?
Sometimes you can skip it on flat mild steel, especially with a quality split point, but on stainless, angled starts, or any slick surface, a punch mark still improves repeatability. It’s a low-effort insurance step.
Why does my drill bit still wander after punching?
Common reasons include an off-center punch mark, starting at high RPM, poor clamping, or a bit with uneven cutting edges. If the part can move, it usually will, and the hole follows.
Should I use cutting oil when drilling after punching?
For many metals, cutting fluid can help control heat and extend bit life, but the right product depends on the alloy and operation. If you’re unsure, follow your bit manufacturer guidance or ask a machinist for a recommendation.
How do I keep a punch from slipping off my mark?
Make sure the tip is sharp, hold the tool vertical, and don’t “walk” into the hit. Many people lightly seat the tip first, confirm position, then commit to one clean strike.
If you want an easier, more repeatable setup
If you’re drilling a lot of holes and consistency matters more than improvising, it may be worth pairing a reliable punch with a simple jig, a drill press, or a clamping kit so your layout marks translate into holes without constant corrections.