
hammer claw steel forged is the combo most people end up wanting once they’re tired of cheap hammers that mushroom, vibrate your hand, or glance off nail heads when the job gets even slightly awkward.
If you’re buying a forged steel claw hammer specifically for nails, the tricky part is this, a lot of hammers look similar on a shelf, but small details change how fast you can set a nail, how straight it drives, and how cleanly you can pull it back out when you miss.
This guide breaks down what “forged” actually means in practice, how to match weight and handle to the work you do, and a few technique fixes that usually make a bigger difference than people expect.
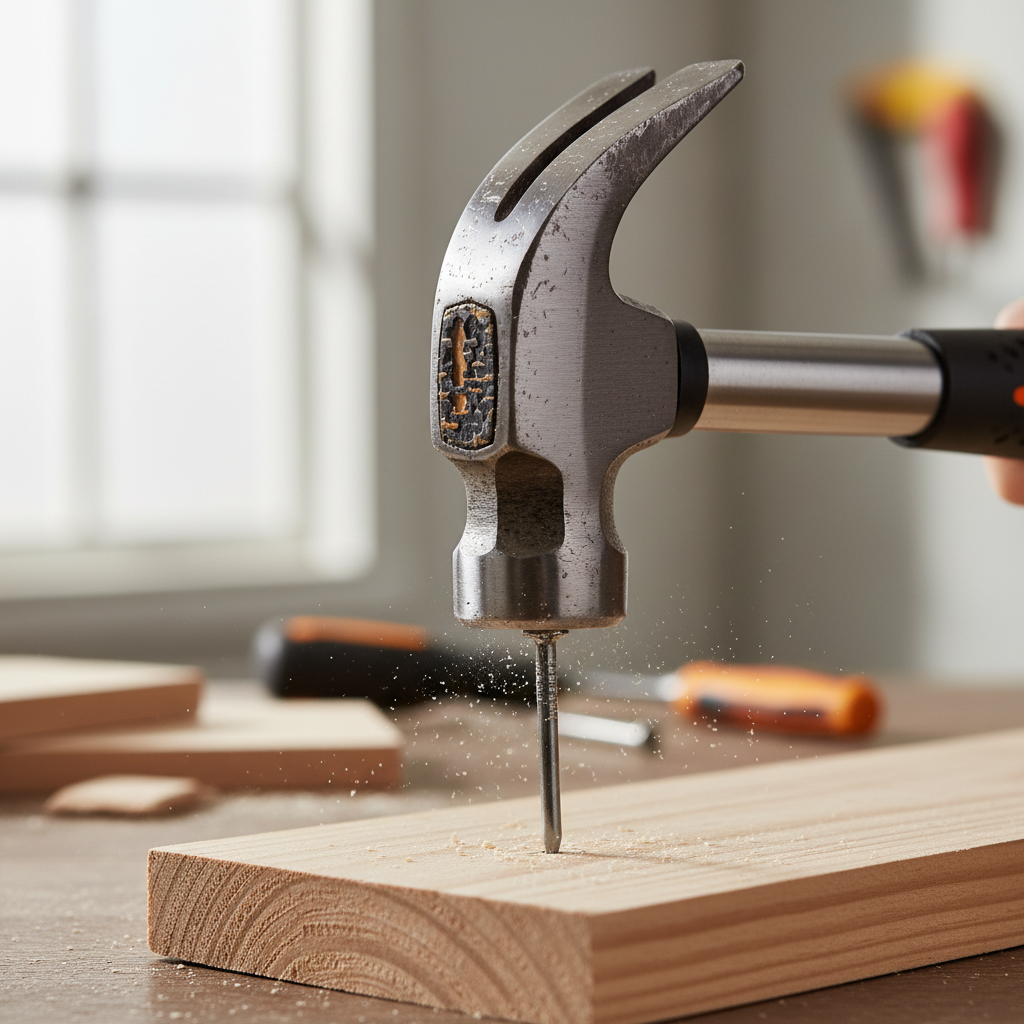
Why a forged steel claw hammer matters for nail work
“Forged” is less about marketing and more about how the head is made. In many cases, forging creates a tighter grain structure in the metal, which tends to help the head resist chipping and deforming when you strike nails all day.
That matters because nail driving punishes a hammer in two ways, repeated impact on steel nail heads, and occasional mis-hits on hardened surfaces like hangers or masonry edges. A forged head usually tolerates those mistakes better, even if you’re not trying to abuse it.
Typical benefits you feel immediately
- Cleaner strikes, the face stays flatter longer, so the hammer doesn’t start “skipping” on nail heads.
- More predictable balance, many forged models keep their swing feel consistent, which helps accuracy.
- Better claw durability, pulling stubborn nails stresses the claw and neck, and stronger steel helps.
Choosing the right hammer: weight, handle, and face style
People often overthink brands and underthink fit. A hammer that matches your most common nail size and working position will usually outperform a “nicer” hammer that’s the wrong weight or handle length.
Quick comparison table for common nail tasks
| Task | Suggested head weight | Face | Claw style | Notes |
|---|---|---|---|---|
| Light DIY, picture hooks, small finish nails | 12–16 oz | Smooth | Curved claw | Less fatigue, lower chance of denting trim |
| General home projects, decking repairs | 16–20 oz | Smooth | Curved claw | Good “one hammer” range for most homeowners |
| Framing, 16d nails, hangers | 20–22 oz | Milled or smooth | Straight claw | Straight claw pries better, heavier head speeds driving |
| Demo and nail pulling | 22 oz+ | Milled | Straight claw | Pair with a bar when leverage, not impact, is the limiter |
For nails in finished surfaces, a smooth face is usually the safer bet. Milled faces grip nail heads better, but they can leave “waffle” marks on trim or visible framing that you planned to paint lightly.
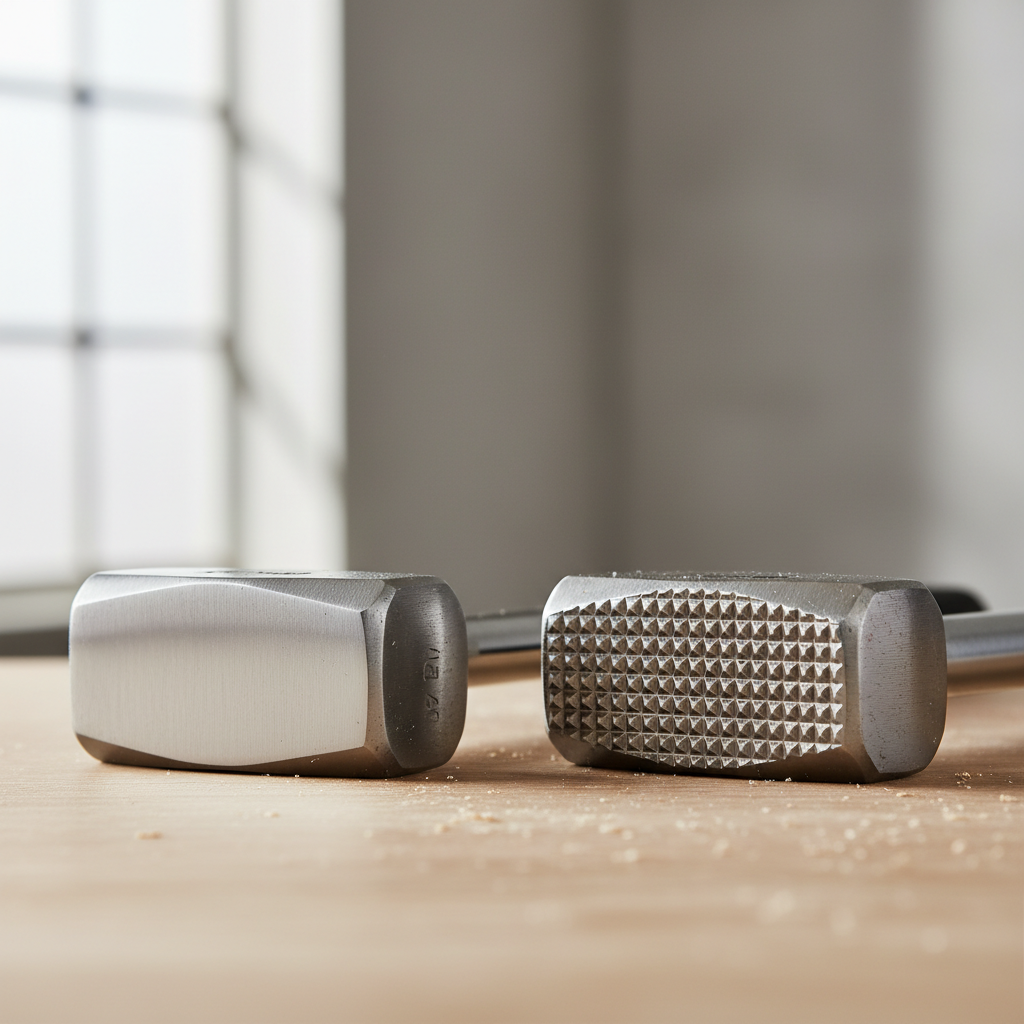
Handle material is about vibration and control
- Hickory wood feels warm and controlled, and many people find it easier on the hands, but it can crack if overstruck.
- Fiberglass often reduces sting and holds up well in a truck, it can feel slightly “springy” depending on the model.
- Steel handle with overmold is durable, but if vibration control is poor, it can wear you down fast.
If your hands go numb after a short session, don’t ignore it. It may be technique, but it may also be a poor vibration setup, and switching to a better-balanced forged steel claw hammer can help in many situations.
How to tell if a hammer will drive nails well (before you buy)
You can do a decent “store test” without being weird about it. You’re looking for head-to-handle alignment, face quality, and a claw that actually bites nails without slipping.
Fast checklist
- Face finish, flat with clean edges, no obvious pits or sharp burrs.
- Balance, hold near the end of the handle, the head shouldn’t feel like it’s dragging you off-line.
- Claw gap, wide enough to fit common nail heads but not so wide that it feels sloppy when pulling.
- Neck thickness, looks robust where the head transitions to the handle, this area takes abuse during prying.
- Handle grip, secure when your hand is dusty or sweaty, not just comfortable in a showroom.
One more practical sign, if the hammer is marketed for framing and still offers a clean, well-defined smooth face option, it usually means the maker expects it to do precise nail setting too, not just rough work.
Practical nail-driving technique (small fixes that save a lot of time)
Even with a hammer claw steel forged head, the most common reason nails bend is angle and early over-swing. Most people swing too hard too soon, then blame the nail or the hammer.
A simple three-step routine
- Start light, tap the nail in with two to three controlled hits while you stabilize the shaft with your fingers at a safe distance.
- Then accelerate, once the nail stands on its own, increase swing speed, not wild arm motion.
- Finish clean, the last hit should be intentional, if you’re near a finished surface, stop early and use a nail set.
Accuracy tips that feel “too basic” but work
- Watch the nail head, not the hammer face, your body will correct the swing path better.
- Choke up slightly for tight spots, then slide back down the handle when you have clearance.
- If nails keep wandering in hardwood, pre-drill or use a slightly smaller pilot hole for thick stock.
According to OSHA, employers should select and maintain hand tools so they’re safe for the task, and damaged tools should be removed from service. For homeowners, the takeaway is straightforward, if the face is chipped, the handle is loose, or the claw is spreading, retire it before it turns into a flying metal problem.

Pulling nails without wrecking the surface
A claw hammer is a nail puller, but it’s also a lever. If you pry directly on drywall or finished wood, you’ll leave a crater. The fix is simple, add a sacrificial layer and change your leverage point.
Cleaner nail-pull steps
- Set a thin wood shim or a wide putty knife under the claw as a buffer.
- Seat the claw firmly under the nail head, then roll the hammer on its rounded shoulder.
- If the nail head is buried, use end nippers or a small pry bar to lift it first, then switch back to the claw.
If you’re pulling a lot of framing nails, a straight claw often wins because it can pry in-line with less twisting. Curved claws feel smoother for light pulls, but they can fight you on stubborn fasteners.
Common mistakes (and what to do instead)
Most “bad hammer” complaints come from predictable mismatches, the wrong face for the surface, too much weight for the user, or using the claw when a pry bar should do the heavy leverage.
- Using a milled face on visible trim, switch to smooth face, or plan to set and fill.
- Buying the heaviest head to hit fewer times, heavier can help, but fatigue ruins accuracy and increases mis-hits.
- Overstriking the handle, if you miss and hit the handle on the work, that’s how cracks start, slow down and shorten the swing arc.
- Using the hammer as a demolition bar, for glued assemblies or tight sheathing, grab a flat bar and let the hammer do impact work.
Conclusion: what to buy and what to do next
If nails are the main job, a forged steel claw hammer earns its keep when it fits your hands, matches your common nail sizes, and stays stable after months of impacts. A 16–20 oz smooth-face model covers most homeowners, while heavier heads and straight claws make sense when framing or frequent nail pulling shows up in your week.
Action ideas, pick the weight you can swing accurately for ten minutes without your grip collapsing, then practice the light-start technique on scrap lumber before your next real project. That small reset is often what makes the tool feel “better” overnight.