
How to polish a car by machine correctly comes down to three things: choosing the right tool and pad, using a polish that matches the paint defects, and controlling heat and pressure so you correct the finish without creating new problems.
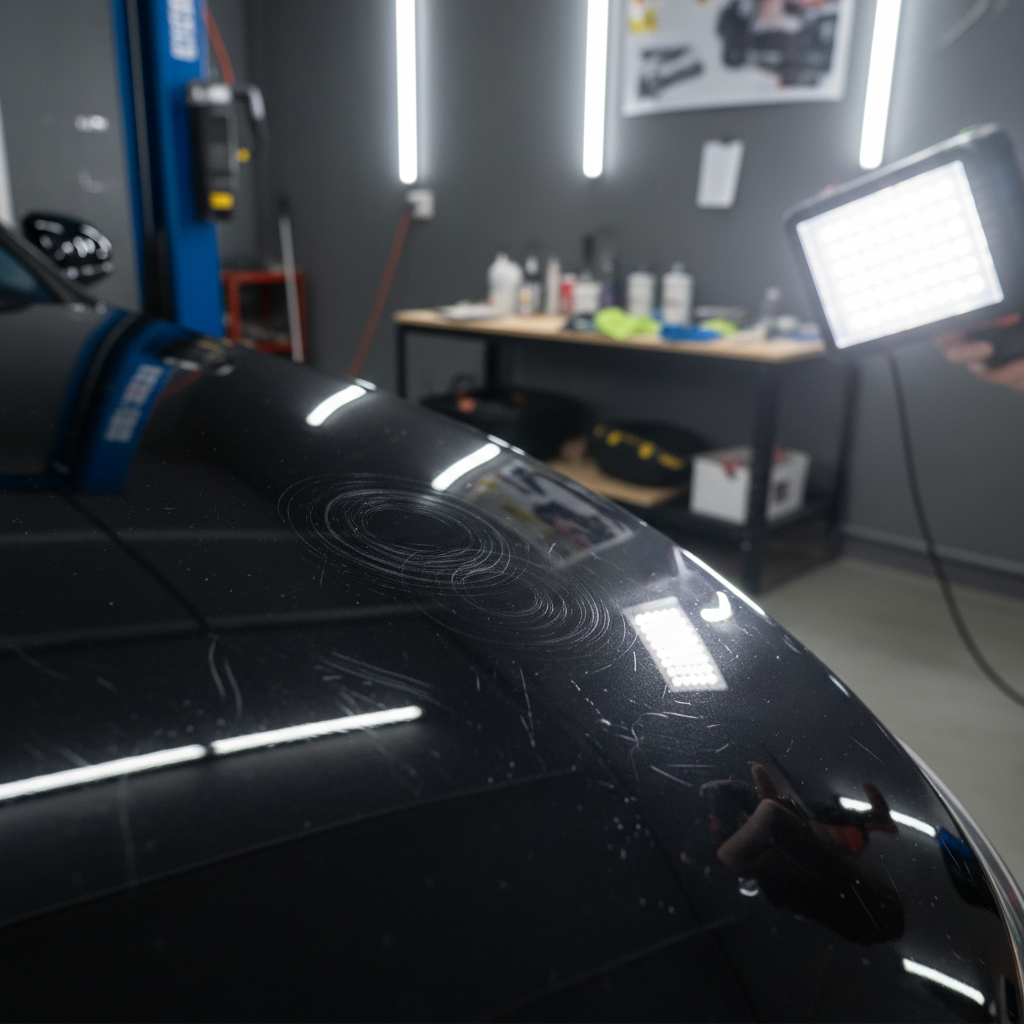
If you have swirls under sunlight, a dull-looking clear coat, or that “washed-but-still-not-clean” haze, machine polishing can be the difference between “fine” and genuinely glossy. But it’s also where people get nervous, because they’ve heard stories about burning edges or leaving holograms.
Here’s the honest deal: most DIY mistakes happen before you even turn the machine on, wrong pad/polish combo, skipping decontamination, or trying to fix everything with one aggressive step. This guide walks you through a safe, repeatable process you can adapt to your car, your paint, and your comfort level.
What “correctly” means in machine polishing (and what it doesn’t)
Polishing is paint correction, you’re leveling tiny defects in the clear coat so light reflects evenly. “Correctly” usually means you remove as many defects as you safely can, while keeping a clean finish and leaving enough clear coat for the future.
- Correction: reducing swirls, light scratches, oxidation, water spot etching (sometimes).
- Finish quality: no haze, no buffer trails, no patchy gloss.
- Control: minimal heat, consistent arm speed, clean pads, measured passes.
What it doesn’t mean: chasing perfection on every panel, especially on older or thin paint. Some deeper scratches will remain unless you compound harder, and that’s where risk goes up.
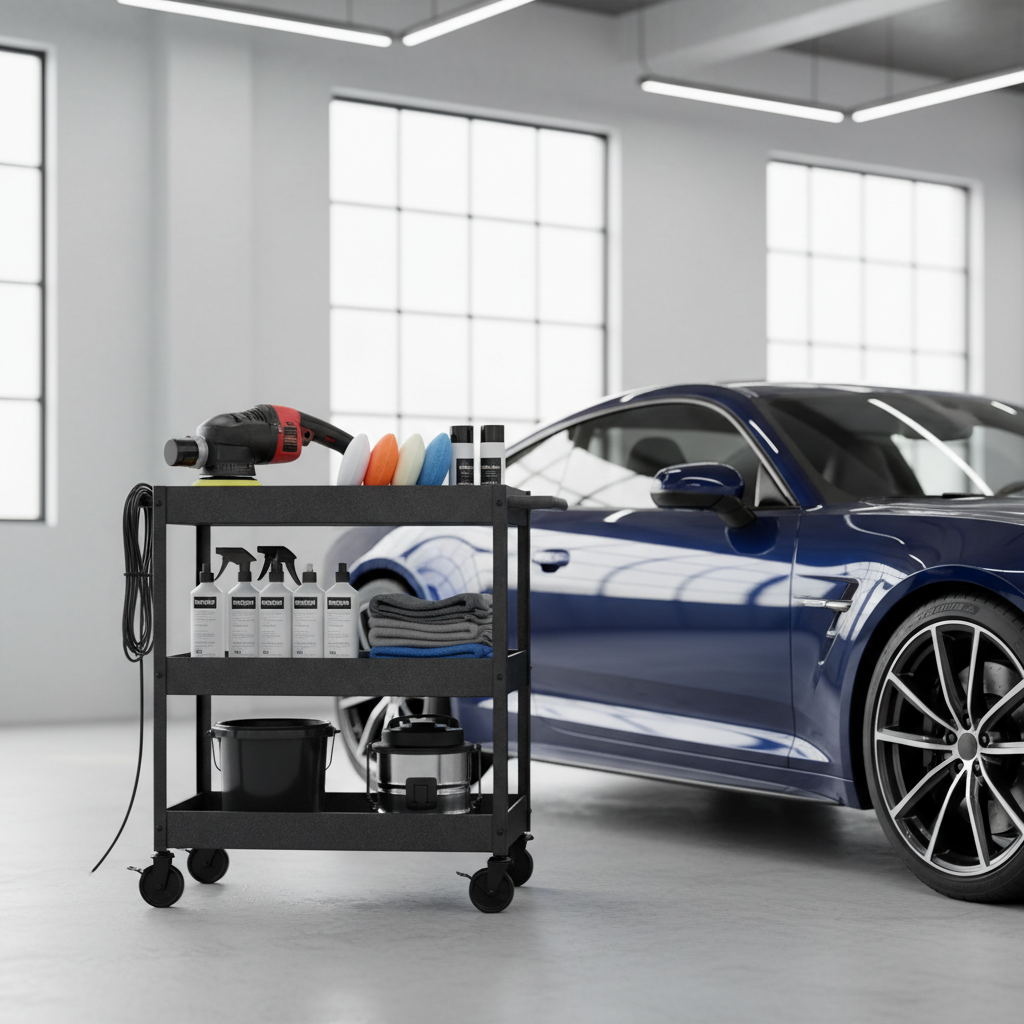
Tools and materials: what you actually need (and what’s optional)
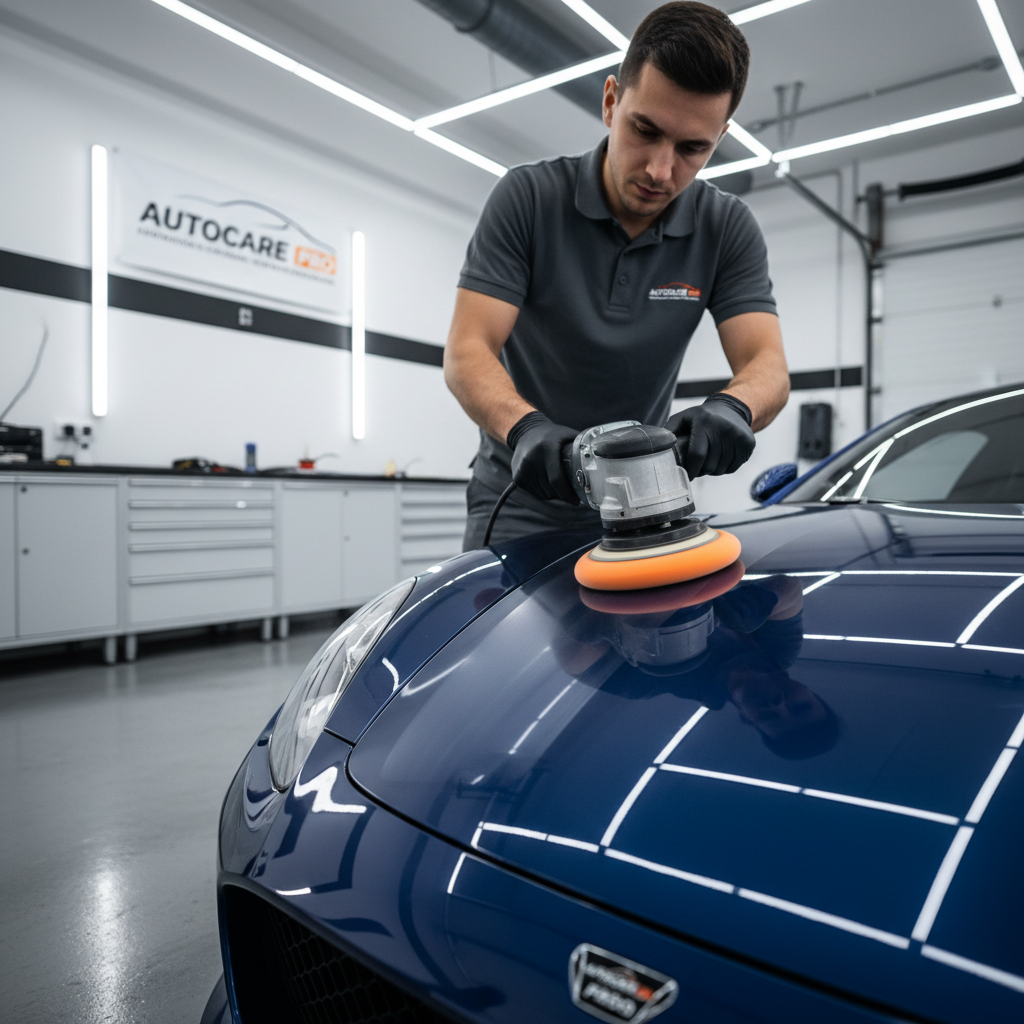
If you’re polishing at home, a dual-action (DA) polisher is the safer default. A rotary can correct faster, but it’s less forgiving with edges and heat. Many enthusiasts get excellent results with a DA plus good pads.
Core kit
- DA polisher (5-inch backing plate is common)
- Pads: cutting (or microfiber), polishing, finishing
- Polish/compound: at least one medium polish; optional compound for heavier defects
- Panel prep (paint-safe IPA mix or dedicated prep spray) for wipe-down
- Microfiber towels (edgeless preferred), pad cleaning brush
- Painter’s tape for trim, badges, sharp edges
- Lighting: a strong handheld light helps you see results
Nice-to-have, not mandatory
- Clay bar or synthetic clay mitt (recommended if paint feels rough)
- Iron remover and tar remover (helpful on neglected paint)
- Paint thickness gauge (great for advanced work, not required)
Quick self-check: what level of correction do you need?
Before you decide how aggressive to go, do a fast assessment in good light. This saves time and prevents overdoing it.
- Light swirls visible only in direct sun: usually a one-step polish with a polishing pad.
- Haze/oxidation on older paint: often starts with a medium polish; may need compound first.
- Random deeper scratches you can catch with a fingernail: polishing may improve them, but don’t expect full removal.
- Etched water spots: sometimes polish works, sometimes they’re too deep and need more aggressive work.
If you’re unsure, choose the least aggressive combo first and test it. That test spot tells you almost everything.
Prep work that makes polishing easier (and safer)
Prep is where many “mystery results” come from. If the surface still has embedded grit, you’ll fight the machine and potentially add micro-marring.
Minimum prep workflow
- Wash thoroughly using a gentle car shampoo.
- Dry fully (water hiding around mirrors and trim can sling onto your pad).
- Decontaminate if needed: if paint feels rough, clay it with proper lubricant.
- Tape off delicate trim, textured plastics, and sharp edges you don’t want to hit.
According to the International Detailing Association (IDA), proper surface preparation and safe work practices are key parts of professional detailing standards, especially when you’re using power tools on painted surfaces.
Pad and polish selection: a practical pairing table
If you want to polish a car by machine correctly, pairing matters more than brand names. Start mild, then step up only if the test spot doesn’t meet your goal.
| Paint issue | Suggested pad | Product type | Typical outcome |
|---|---|---|---|
| Light swirls, mild haze | Foam polishing pad | Medium polish | Clean gloss, minimal risk |
| Moderate swirls, light oxidation | Foam cutting pad or microfiber cutting pad | Compound or heavy polish | Stronger correction, may need a finishing step |
| Soft paint marring (common on some Japanese cars) | Foam finishing pad | Finishing polish | Clarity boost with low haze risk |
| Hard clear coat, stubborn defects | Microfiber cutting pad (test first) | Compound | Better bite, watch heat and dusting |
One more real-world note: new pads cut more. A “broken-in” pad often finishes nicer. That’s normal.
Step-by-step: how to machine polish without inducing haze or burns
This is the repeatable process most people can follow with a DA. Adjust product instructions if your polish specifies different speeds or pad priming.
1) Do a test spot first
Pick a 2 ft x 2 ft area on a representative panel (hood or trunk). Use your mild combo. Your goal is to find the simplest approach that gives the look you want.
- Prime the pad lightly (a thin film or a few small dots depending on pad type).
- Spread on low speed to avoid sling.
- Work on a moderate speed with steady arm speed and overlapping passes.
2) Use a consistent section method
- Work a small area at a time, don’t chase the whole hood in one go.
- Use cross-hatch passes: left-to-right, then up-and-down.
- Keep the pad flat, tilting increases haze and heat.
3) Control pressure and heat
Most of the time you want light to moderate pressure, enough to keep the pad engaged but not bogging the machine. If the pad stops rotating on a DA, you’re usually pushing too hard or working on too sharp a curve.
- Edges and body lines: reduce pressure, reduce time, consider taping.
- Don’t “dry buff” a section, add a bit more product if it’s flashing too fast.
4) Clean your pad often
A loaded pad stops cutting and starts smearing. After each section or two, brush the pad or blow it out, then add a small amount of product. If the pad feels saturated, swap to a fresh one.
5) Wipe and inspect correctly
- Wipe residue with a clean microfiber, gentle pressure.
- Use panel prep to remove polishing oils so you see the true finish.
- Inspect under a strong light from different angles.
Common mistakes that ruin results (even with good products)
You can have the perfect machine and still end up with haze if technique slips. These are the issues I see most often in DIY workflows.
- Skipping decontamination, the pad drags embedded grit and adds micro-scratches.
- Working too large an area, polish dries out and you get uneven correction.
- Too much product, it gums up the pad and masks defects until wipe-down.
- Tilting the pad, increases heat on an edge and can leave trails.
- Not doing a panel prep wipe, oils hide swirls and you think you’re “done.”
- One pad for the whole car, by mid-job it’s saturated and performance collapses.
If you’re chasing a stubborn area, pause and change one variable at a time: pad, product, speed, or number of passes. Random changes usually create random outcomes.
After polishing: protection and maintenance that keeps the gloss
Polish doesn’t “seal” paint. Once you’re happy with correction, lock it in with protection. Wax works, sealants last longer, and coatings last longer still, though coatings demand careful prep.
- Apply protection: synthetic sealant or wax within the same day if possible.
- Use safer washes: quality mitt, good shampoo, and drying towels to reduce new swirls.
- Top-up strategy: a spray sealant after washes can help maintain slickness.
When people ask how to polish a car by machine correctly and keep it looking that way, the real answer is maintenance. A perfect correction can look tired again after a few careless washes.
When to step back or call a pro
If any of these apply, it may be smarter to consult a professional detailer, especially if you care about preserving clear coat.
- Unknown paint history, repaint panels, or very thin paint (a gauge helps confirm).
- Severe defects that tempt you to compound aggressively on edges and lines.
- Rotary-only work, heavy wet sanding, or deep water spot etching that won’t budge.
Also, if you notice the panel getting hot to the touch, stop and let it cool. Heat management is a safety issue and can reduce the chance of damaging trim, paint, or adhesives.
Conclusion: a clean process beats aggressive polishing
To polish a car by machine correctly, focus on a solid test spot, a mild-first pad and polish choice, and disciplined technique, small sections, clean pads, flat contact, and honest inspection after a panel wipe-down. If you do that, the finish usually improves fast, and you avoid the spiral of adding haze while trying to remove swirls.
Action steps: pick your test spot today, run one mild combo, and only step up if the result truly needs it. Then protect the paint so your work lasts.