
A pex crimp tool kit for plumbing is often the quickest path from “why is this line dripping again?” to a repair you can trust, especially when the alternative is patchy clamps or a temporary fix that fails the next time pressure spikes.
If you do any PEX work in the U.S., even simple jobs like swapping a shutoff valve or adding a tee, the tool choice matters more than people expect. Most “PEX leaks” in DIY repairs aren’t the pipe’s fault, they come from a crimp ring that wasn’t sized right, placed right, or checked right.
This guide focuses on what to buy, what to check, and how to crimp so your connection holds up in real-world plumbing, not just on a test piece. I’ll also call out the common “looks fine to me” mistakes that end up as callbacks.
What a PEX crimp tool kit really includes (and what’s often missing)
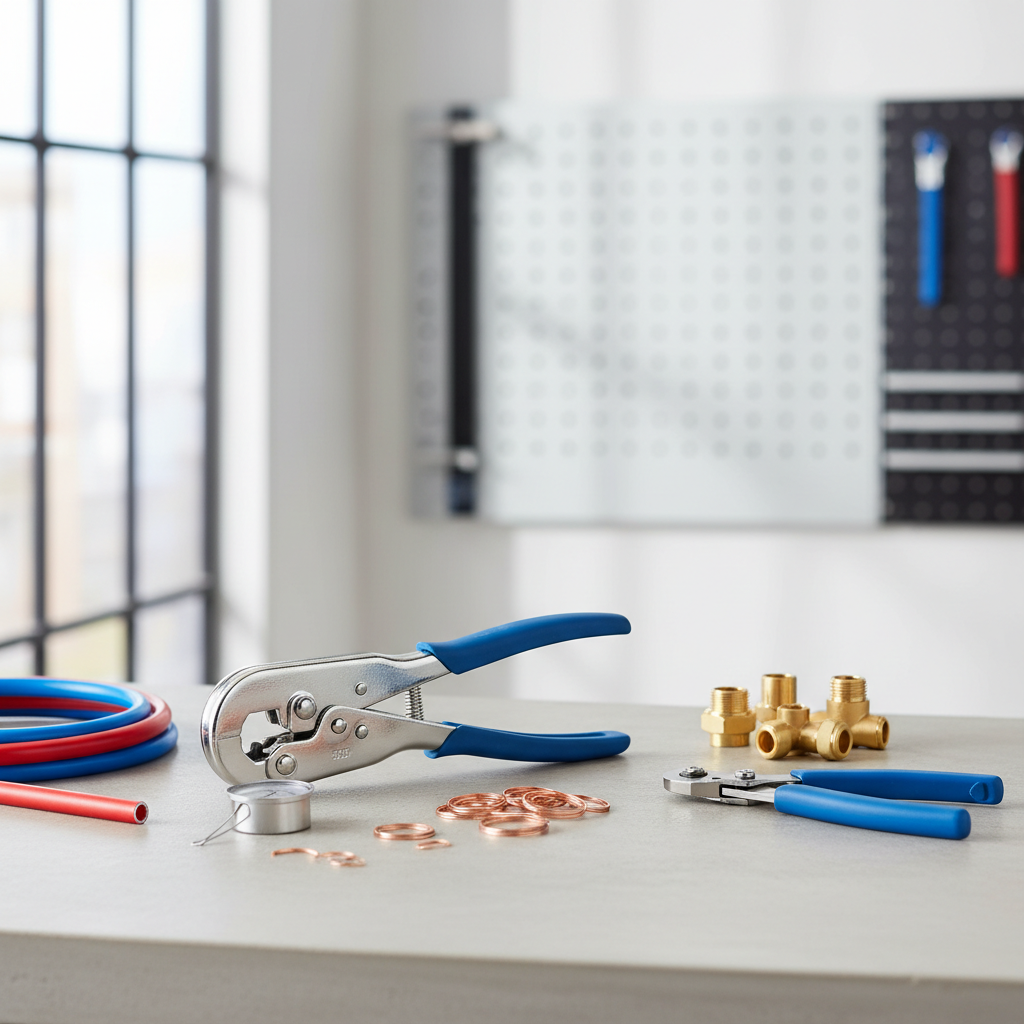
Most kits look similar online, but the details decide whether you’re set for a weekend repair or stuck mid-job. A practical kit usually includes the tool, a cutter, rings, and some fittings, but the go/no-go gauge is the piece you should treat as non-negotiable.
- Crimp tool: Typically sized for 1/2 in. and 3/4 in. (sometimes 3/8 in.).
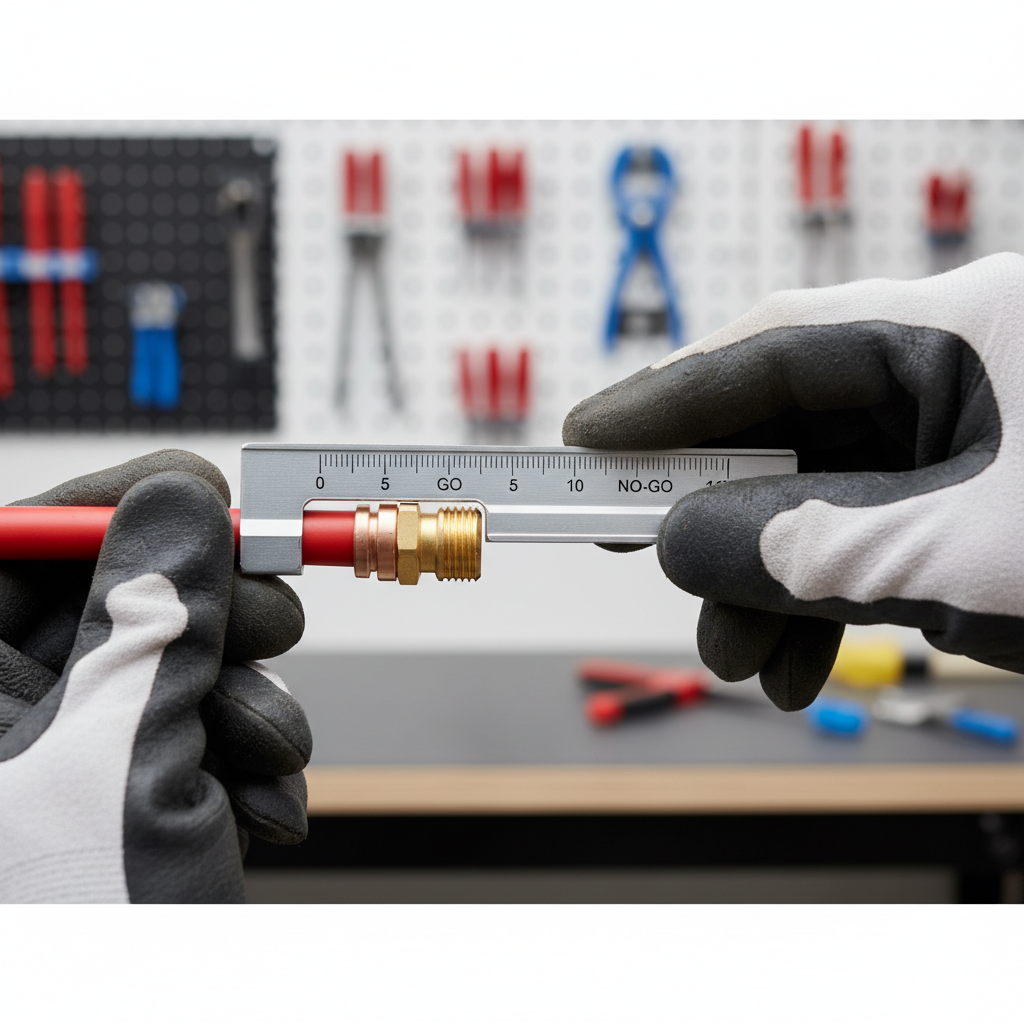
- Go/no-go gauge: Confirms the finished crimp diameter is within spec.
- PEX cutter: A square cut makes a better seal; dull cutters create angled cuts and headaches.
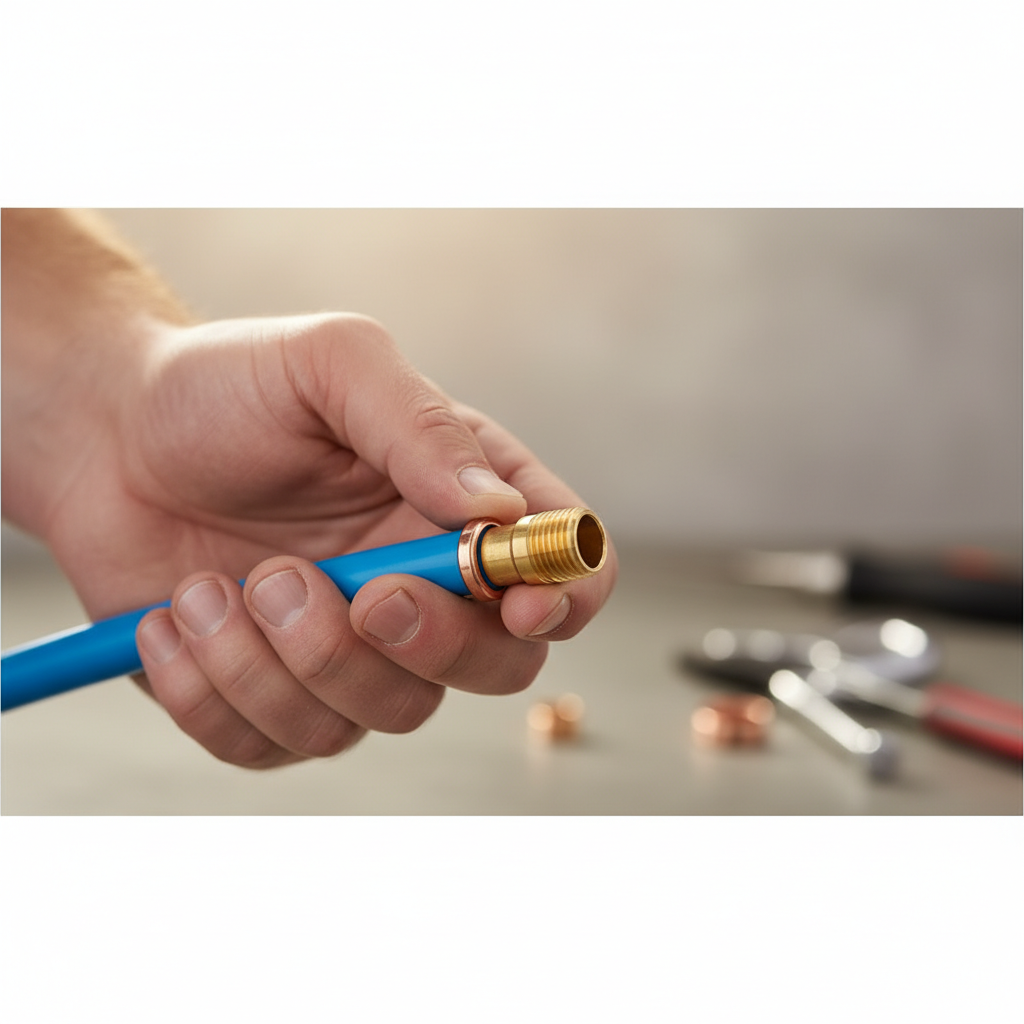
- Copper crimp rings: The classic “PEX crimp” method; you’ll want the sizes you actually use.
- Assorted fittings: Tees, elbows, couplings, adapters; quality varies a lot by kit.
What’s often missing: extra rings (you burn through them quickly while learning), a deburring tool for rigid pipe transitions, and clear documentation stating which standard the tool supports.
Crimp vs clamp vs expansion: choose the system you can verify
Homeowners commonly mix up PEX connection methods because they all “look like a ring.” They’re not interchangeable. Picking the wrong kit can mean buying fittings twice.
- Crimp (copper rings): Uses a crimp tool + copper ring. Easy to learn, widely available.
- Clamp (stainless cinch): Uses a ratcheting clamp tool and stainless clamps. Works well in tight spaces.
- Expansion (ASTM F1960): Uses an expansion tool and expansion fittings; popular with some pros, different ecosystem.
According to ASTM International, PEX connection methods align to specific ASTM standards (for example, crimp and clamp styles map to different specifications and dimensions), which is why “close enough” parts can still leak.
If you’re doing basic plumbing repairs and want a simple pass/fail check, a crimp setup with a gauge is usually the most straightforward. Clamp tools can be easier in tight cabinets, but the “kit” needs to match your fittings from day one.
Quick self-check: do you need a kit, or just one missing piece?
Before you buy a full pex crimp tool kit for plumbing, do a quick inventory. Many people already own half the solution and just lack the gauge or the right ring size.
- You’re repairing 1–2 joints total and already have a decent cutter and the correct rings
- You can confirm your fittings are PEX barb fittings designed for copper crimp rings
- You have space to swing a crimp tool, or you know you’ll work mostly in open bays
- You can get a go/no-go gauge (included or purchased separately)
Go for a full kit when you expect repeat use, you’re upgrading multiple shutoffs, or you want fittings on hand for “surprise plumbing” moments.
Buying checklist: what to look for so you don’t fight the tool
The best kit for you depends on where you’ll use it and how often, but a few signals consistently separate a “works once” kit from one you’ll keep.
Tool and calibration
- Clear compatibility: Look for explicit mention of ASTM standards the tool supports (common crimp tools reference ASTM F1807/F2159 style crimp dimensions).
- Comfort + leverage: Long handles matter if you crimp more than a couple joints in a row.
- Adjustment access: Some tools allow calibration if crimps drift out of spec over time.
Gauge and ring quality
- Included go/no-go gauge: If the kit skips it, add one to cart immediately.
- Even, round rings: Cheap rings that aren’t perfectly round can create uneven crimps.
- Right ring sizes: For many U.S. homes, 1/2 in. dominates; 3/4 in. is common near trunks and heaters.
Fittings you can trust
Fittings in bargain assortments can be a mixed bag. If you care about long-term reliability, it’s often smarter to buy the tool kit and source fittings from a known plumbing supplier, especially for shutoff valves and critical joints.
How to crimp PEX for a reliable repair (step-by-step)
Using a pex crimp tool kit for plumbing isn’t complicated, but the sequence matters. Most leaks come from rushing the setup or skipping the gauge check.
- Shut off water and relieve pressure: Open a nearby faucet so the line isn’t fighting you.
- Cut square: Use the PEX cutter and make a straight, clean cut. If it’s angled, redo it.
- Slide ring on first: Put the copper ring over the tubing before inserting the fitting.
- Seat the fitting fully: Push the barb fitting in until it bottoms out. Partial insertion is a classic slow-leak cause.
- Set ring position: A common rule is to place the ring a short distance from the tube end (often around 1/8–1/4 inch). Follow the fitting/ring guidance if provided.
- Crimp straight: Keep the tool perpendicular to the ring so the crimp compresses evenly.
- Gauge every joint: Use the go/no-go gauge right away. If it fails, cut the joint out and redo it with a new ring.
If you’re working in a tight cabinet, do a dry run with the tool before you commit to the cut. Sometimes the real decision is “crimp won’t fit here,” and that’s when a clamp tool or a different access approach saves time.
Common mistakes that cause leaks (even when the crimp looks fine)
- Skipping the gauge: The connection can look perfect and still be out of spec.
- Re-crimping the same ring: If the first crimp fails the gauge, don’t try to “squeeze more.” Cut it out and start over.
- Ring too close to the end: The ring can pinch the tubing edge and compromise the seal.
- Not fully seated on the barb: This shows up as a drip that starts hours later.
- Ovaling the tube: Over-handling or using the wrong tool can distort the tube, especially on warm, flexible PEX.
- Mixing systems: Clamp fittings, expansion fittings, and crimp fittings follow different geometries.
Also, don’t ignore temperature and access. Working overhead or in a cold crawlspace makes it harder to keep things square, and “good enough” alignment is where small leaks begin.
Kit comparison table: what to choose for your typical repair
There isn’t one universal winner, but you can usually narrow it fast by matching the kit style to your work area and how you like to verify results.
| Scenario | What to prioritize | Why it matters |
|---|---|---|
| Occasional homeowner repairs | Crimp tool + go/no-go gauge, 1/2 in. focus | Simple pass/fail checks, parts easy to find |
| Tight cabinets, behind toilets | Compact head, consider clamp system | Tool swing space becomes the limiting factor |
| Multiple upgrades (valves, manifolds) | Comfortable handles, extra rings, better fittings | Fatigue and inconsistent crimps show up mid-project |
| Cold garage/crawlspace work | Sharp cutter, good lighting, patience with alignment | Square cuts and straight crimps get harder in awkward conditions |
When to stop DIY and call a pro
PEX is DIY-friendly, but some situations deserve a licensed plumber, or at least a second opinion, because the risk of hidden damage is real.
- You see water staining on framing, drywall, or insulation, which suggests ongoing leakage
- The repair sits near an electrical panel, appliance, or finished ceiling where a small drip becomes expensive
- You suspect high pressure, water hammer, or temperature issues at a water heater connection
- Your local code requirements are unclear, especially around shutoff placement or water heater connections
According to ICC (International Code Council), plumbing work in many jurisdictions needs to meet adopted code requirements and may require permits depending on scope. If you’re unsure, checking local rules before opening walls can save you a lot of backtracking.
Key takeaways before you buy (and before you crimp)
- A pex crimp tool kit for plumbing is only as good as its go/no-go gauge and ring quality.
- Match the kit to your connection system, don’t mix crimp, clamp, and expansion parts.
- Square cuts, full seating, correct ring placement, and gauging every joint prevent most leaks.
- If access is tight, decide that early; the “wrong” tool in the right place still fails.
Pick a kit you can verify, keep extra rings on hand, and practice on a scrap piece before you touch the live line. That small warm-up often makes the real repair feel routine instead of stressful.
FAQ
What should a pex crimp tool kit for plumbing include at minimum?
At minimum: a crimp tool in your pipe sizes, a go/no-go gauge, and a decent PEX cutter. Rings and fittings help, but the gauge is what keeps you from guessing.
Can I use copper crimp rings on any type of PEX tubing?
Many PEX types work with crimp-ring barb fittings, but compatibility still depends on the fitting system and standard. If the tubing or fitting packaging calls out a different connection method, don’t assume crimp rings will behave the same.
Why did my crimp pass visually but still leak?
Most often it’s ring placement, a not-quite-seated barb, or a slightly angled crimp. That’s exactly why the gauge exists, it catches out-of-spec crimps that look “fine.”
Do I need to calibrate a PEX crimp tool?
Some tools can drift with heavy use or rough handling. If your crimps start failing the gauge more often, calibration or replacement becomes worth considering. For occasional home use, it may not come up often.
Is a clamp (cinch) tool better than a crimp tool for beginners?
Clamp tools can be easier in tight spaces and have a simple ratcheting action, but you still need matching clamps and fittings. Beginners usually do best with the system they can fully match and verify.
How many extra rings should I keep on hand?
If you’re learning, plan on a few do-overs. Having a small bag of spare rings in each size prevents the “I’ll try to reuse this one” mistake, which typically backfires.
Can I crimp PEX when there’s still a little water in the line?
A small amount of residual water isn’t unusual, but active flow makes it hard to seat fittings and work safely. If you can’t get the line to stop draining, it may be worth addressing the shutoff issue first or calling a plumber.
How do I know if my fittings are for crimp or expansion?
Expansion fittings are designed for an expanded tube to recover around them and typically pair with expansion rings, while crimp fittings use copper rings compressed around the tube. If packaging is missing, bring a sample to a plumbing supply counter rather than guessing.
If you’re trying to get one dependable setup for ongoing repairs, a well-matched crimp kit plus the right rings and a gauge tends to be the “set it and forget it” approach, and if you want, tell me the pipe sizes and where you’re working, under-sink, crawlspace, or near a water heater, and I can help you narrow the kit features that actually matter.