
Radiator pressure tester kit problems usually show up the same way, coolant smell, random overheating, or a reservoir that keeps dropping even though you never see a puddle. A pressure test turns that guessing game into something you can actually confirm, because it recreates operating pressure while the engine stays off and cool.
That matters more than people expect, because many cooling system leaks only appear under pressure, and some “leaks” are really a bad cap, trapped air, or a weak hose clamp that only seeps when things warm up. If you’ve ever topped off coolant twice and still felt unsure, you already understand the value.
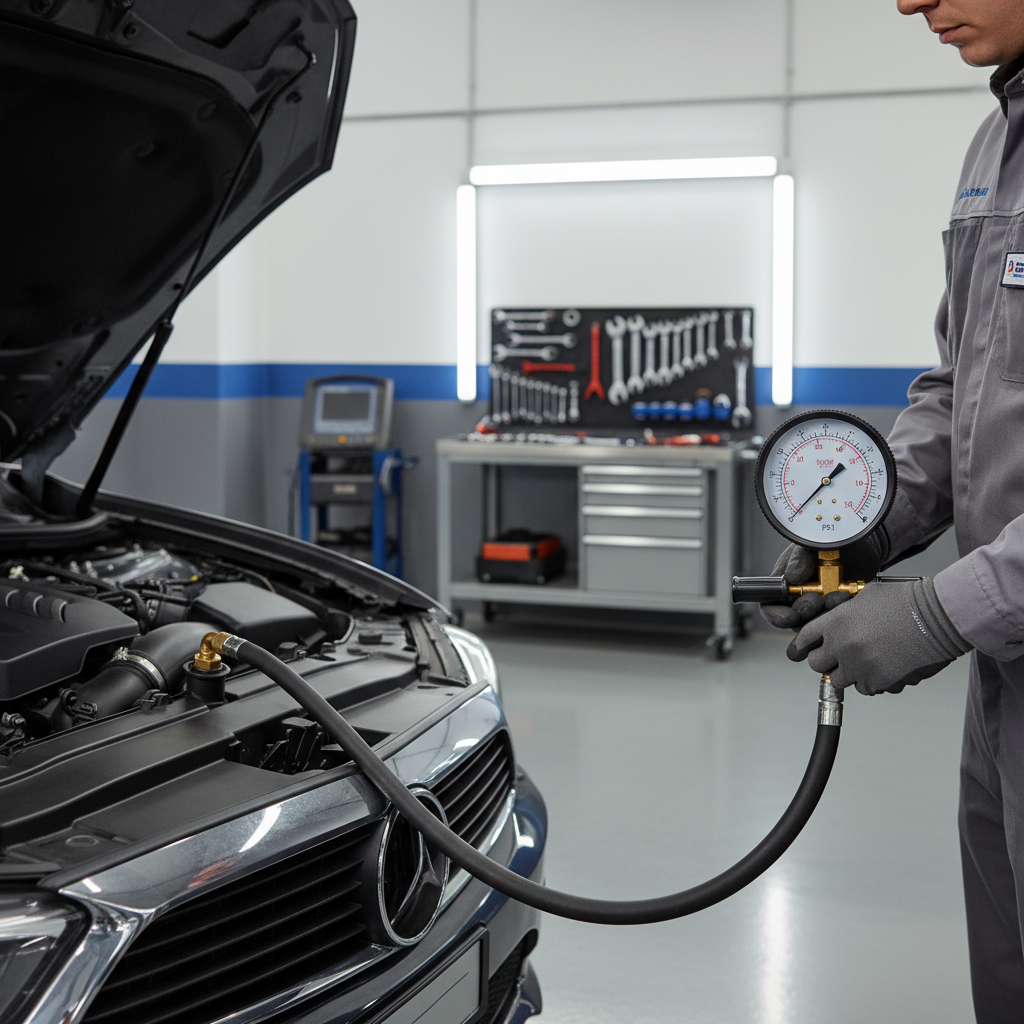
This guide walks through what a pressure tester actually tells you, how to use it without creating new problems, and how to choose a kit that fits your vehicle and your comfort level. I’ll also flag the moments where it’s smarter to stop and hand things to a shop.
What a radiator pressure test really tells you (and what it doesn’t)
A pressure test is simple in concept, you pressurize the cooling system to a set PSI and watch whether it holds. In practice, it answers a few very specific questions.
- External leaks: hoses, radiator seams, water pump weep holes, heater core lines, reservoir cracks, loose clamps.
- Cap performance: with the right cap adapter, you can test whether the cap holds its rated pressure.
- Pressure stability: a slow drop suggests a seep or small leak, a fast drop suggests a larger opening or a loose connection.
What it usually can’t prove on its own is an internal leak into the combustion chamber or oil passages. You might suspect it if pressure drops but you see no external seep, yet confirmation often needs other tests.
According to NHTSA, engine overheating can increase crash risk due to sudden loss of power or stalling, so if your car has been overheating regularly, treat diagnosis as a safety item, not just an inconvenience.
Common reasons people buy a radiator pressure tester kit
Most buyers are not doing this for fun, they’re trying to stop a recurring annoyance, or avoid an expensive misdiagnosis.
- Coolant loss with no visible leak: especially after highway driving or heat-soak after shutdown.
- Overheating at idle: could be airflow, thermostat, fan control, or coolant level dropping over time.
- Sweet smell in the cabin: often points toward heater core seepage, pressure testing can help spot it at fittings.
- After a repair: confirming you sealed the system before a long trip saves stress.
- Used-car baseline check: pressure testing can expose neglected hoses and aging plastic tanks.
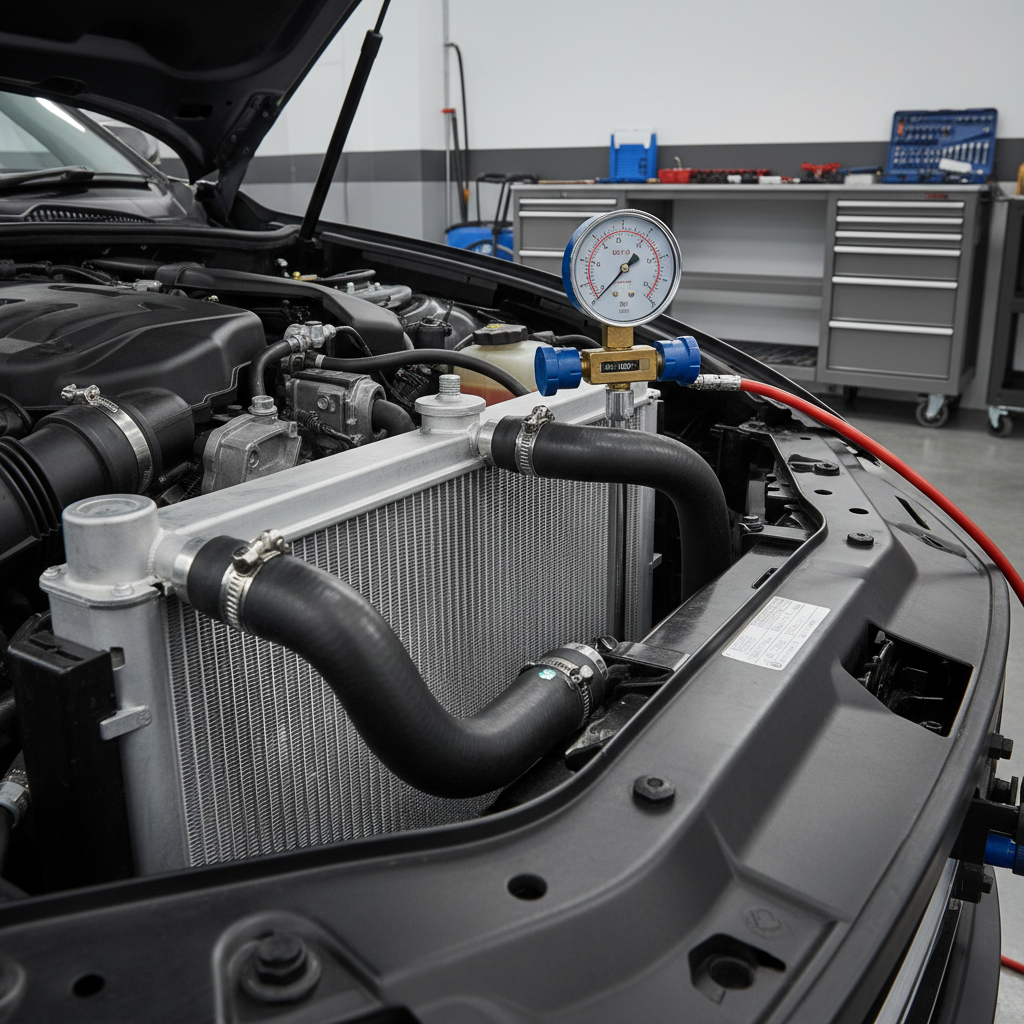
One quick reality check, a pressure test is not a substitute for basic cooling-system health. If the radiator is clogged internally or the fan never turns on, the system may “hold pressure” and still overheat on the road.
Quick self-check: are you dealing with a leak, a cap issue, or something else?
Before you pump anything up, sort your symptoms. It helps you interpret results without jumping to conclusions.
- Coolant level drops and you see crusty residue near a hose end or radiator tank seam, an external seep is likely.
- Overflow bottle looks overfull after driving but low when cold, a cap issue or air pocket is possible.
- White exhaust smoke that persists after warm-up, plus coolant loss, may suggest internal leakage, confirm with additional tests.
- Oil looks milky or coolant looks oily, stop driving and get professional help, mixing fluids can cause engine damage.
- Only overheats at highway speed and coolant level stays stable, think airflow blockage, thermostat behavior, or radiator efficiency.
If you’re unsure where to start, pressure testing is still a reasonable first step because it’s non-invasive when done cold and carefully.
How to use a radiator pressure tester kit (step-by-step, real-world safe)
Radiator pressure tester kit use is safest when the engine is fully cool. Hot systems can release scalding coolant under pressure, so don’t rush this part.
1) Prep and adapter selection
- Park on level ground, let the engine cool completely.
- Remove the radiator cap or reservoir cap slowly with a rag, even when cool, just in case.
- Choose the correct adapter for your radiator neck or expansion tank threads/bayonet tabs.
- Inspect the adapter gasket, if it’s torn or dry-rotted, your test result won’t mean much.
2) Set target pressure (don’t guess)
- Look for the cap rating, commonly 13–16 psi on many passenger vehicles, but not always.
- Pump to the cap rating, not beyond. Over-pressurizing can create leaks that weren’t there.
3) Watch the gauge, then look and listen
- A steady gauge for 2–5 minutes suggests no meaningful leak under static pressure.
- A slow drop means start inspecting with a bright light, follow hose runs, tank seams, thermostat housing, and water pump area.
- A fast drop usually means a loose connection, split hose, cracked plastic fitting, or an adapter not seated correctly.
4) After the test
- Release pressure using the tester’s valve (if equipped) before removing the adapter.
- Clean any coolant, it can be slippery and attractive to pets.
According to OSHA, many shop injuries come from contact with hot liquids and pressurized systems, so the “cold engine only” rule is not just a suggestion.
Choosing a kit: what matters more than the number of pieces
It’s tempting to buy the biggest case, but fit and build quality matter more than 30 extra adapters you’ll never use.
| Feature | Why it matters | What to look for |
|---|---|---|
| Adapter coverage | Wrong adapter causes false leaks and frustration | Matches your make/model style (radiator neck vs expansion tank) |
| Gauge readability | Small drops are easy to miss | Clear markings, stable needle, protective housing |
| Hose and quick couplers | Leaks at couplers mimic vehicle leaks | Solid locking mechanism, no wobble, quality seals |
| Cap testing ability | A weak cap can mimic a system leak | Dedicated cap-test head or cap adapters included |
| Case and labeling | Saves time when you need the right piece | Labeled cutouts or clear chart |
If you maintain multiple vehicles, a broader adapter set makes sense. If you just want to diagnose one car, prioritize the correct adapter and a trustworthy gauge over sheer quantity.
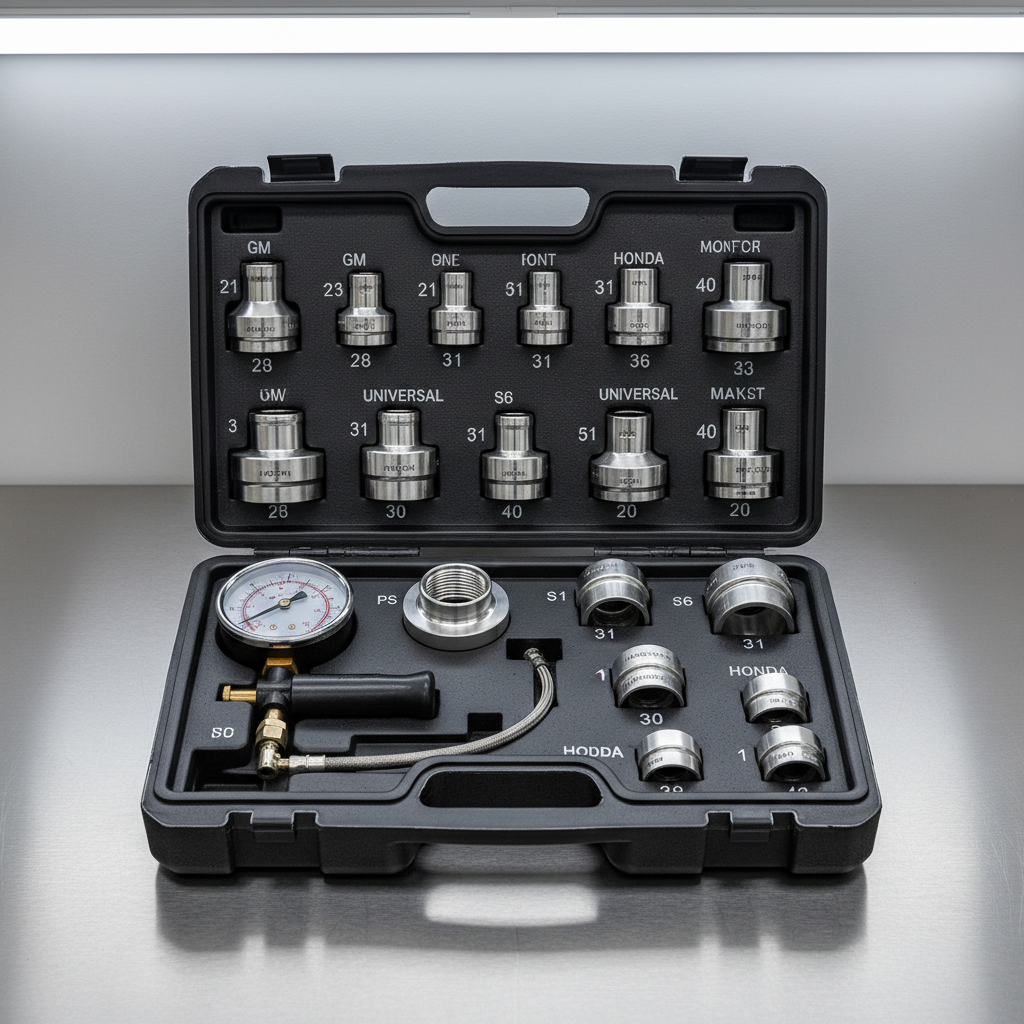
Key point: a mid-priced kit that seals consistently often beats a bargain kit that “kind of fits” and wastes your weekend.
Interpreting results: what to do when pressure drops
When your test shows pressure loss, the next move depends on what you see. This is where a lot of DIY diagnostics go sideways, people replace parts that were never bad.
- You see coolant forming at a hose end: re-seat the hose, replace the clamp if it’s weak, then retest.
- Wet area at radiator tank seam: many plastic-aluminum radiators crack at crimp seams with age, repair is often replacement.
- Drip near water pump: check the weep hole area, if it leaks under pressure, pump replacement may be near.
- No visible leak but steady gauge drop: check inside cabin for damp carpet, sniff near heater core lines, and consider additional diagnostics.
Also test the cap if your kit supports it. A cap that vents early can push coolant into the reservoir and mimic “mysterious loss” without a classic drip.
Mistakes that cause false readings (and wasted repairs)
Radiator pressure tester kit results only help when the setup stays tight and consistent. These issues show up constantly.
- Wrong adapter or cross-threaded reservoir fitting: it may seal at first, then leak around the tool.
- Pumping above cap rating: you can create a leak, especially on older plastic fittings.
- Testing on a warm engine: heat expansion changes readings and increases burn risk.
- Ignoring small, slow drops: tiny seeps add up, especially on long drives.
- Assuming “no drop” means perfect health: flow issues and fan control problems won’t show up in a static pressure test.
If you get inconsistent readings, do one boring thing before buying parts, retest with a different adapter orientation and confirm the tool itself holds pressure off the vehicle.
When it’s time to involve a professional
If your pressure test points toward internal leakage, or you see signs of fluid mixing, it’s usually smarter to stop. A shop can run complementary checks like combustion-gas detection in coolant, cylinder leak-down testing, or system vacuum fill to eliminate trapped air.
- Persistent overheating even after confirming the system holds pressure
- Coolant in oil or oil in coolant
- Pressure spikes quickly right after startup, which can suggest combustion gases entering the system
- You can’t safely access components due to packaging, turbo plumbing, or tight engine bays
In many cases a pressure tester helps you walk into the shop with better information, which often speeds up diagnosis and prevents “parts darts.”
Conclusion: a practical way to stop guessing
A radiator pressure tester kit is one of those tools that pays for itself when it prevents a wrong part replacement, or when it catches a small seep before it becomes a roadside overheat. Use it on a cold engine, match the adapter correctly, test to the cap rating, then let the evidence guide the next step.
If you want a simple action plan, pressure-test the system, cap-test if possible, and retest after any fix. That small loop catches most repeat leaks before they turn into bigger problems.
FAQ
Can a radiator pressure test find a head gasket leak?
Sometimes it can raise suspicion, especially if pressure drops with no external leak, but it rarely confirms the cause by itself. For a clearer answer, a professional may combine it with a combustion-gas test or a cylinder leak-down test.
How much pressure should I pump with a radiator pressure tester kit?
Match the cap’s rated pressure whenever possible. If you’re unsure, check the cap label or service info for your vehicle, and avoid “just a little more” pumping since it can create new leaks.
Why does the gauge drop slowly but I see no coolant anywhere?
Common causes include a tiny seep that evaporates, a leak at the tester connection, or a heater core leak that stays inside the cabin. Retesting the tool off the car and checking carpet moisture helps narrow it down.
Do I need to test the radiator cap too?
In a lot of real-world cases, yes. A weak cap can vent early, push coolant out, and make it look like the system “loses coolant,” even when hoses and radiator look fine.
Is it safe to pressure test on an expansion tank instead of the radiator?
Usually yes, if your vehicle is designed that way and you have the correct threaded adapter. The key is a proper seal, forcing the wrong adapter can damage plastic threads.
What if the system holds pressure but my car still overheats?
Then you’re likely dealing with a flow or control problem, thermostat behavior, radiator restriction, fan operation, air pockets, or coolant mixture issues. A pressure test is one tool, not the full diagnosis.
How often should I pressure test my cooling system?
Most drivers don’t need a routine schedule. It’s most useful when you have symptoms, after repairs, or before a long trip if the cooling system has been acting suspicious.
If you’re trying to choose a kit without buying a huge adapter set, focus on confirmed fitment for your vehicle type, a clear gauge, and cap-testing support, that combination usually makes the tool feel “worth it” in day-to-day DIY troubleshooting.